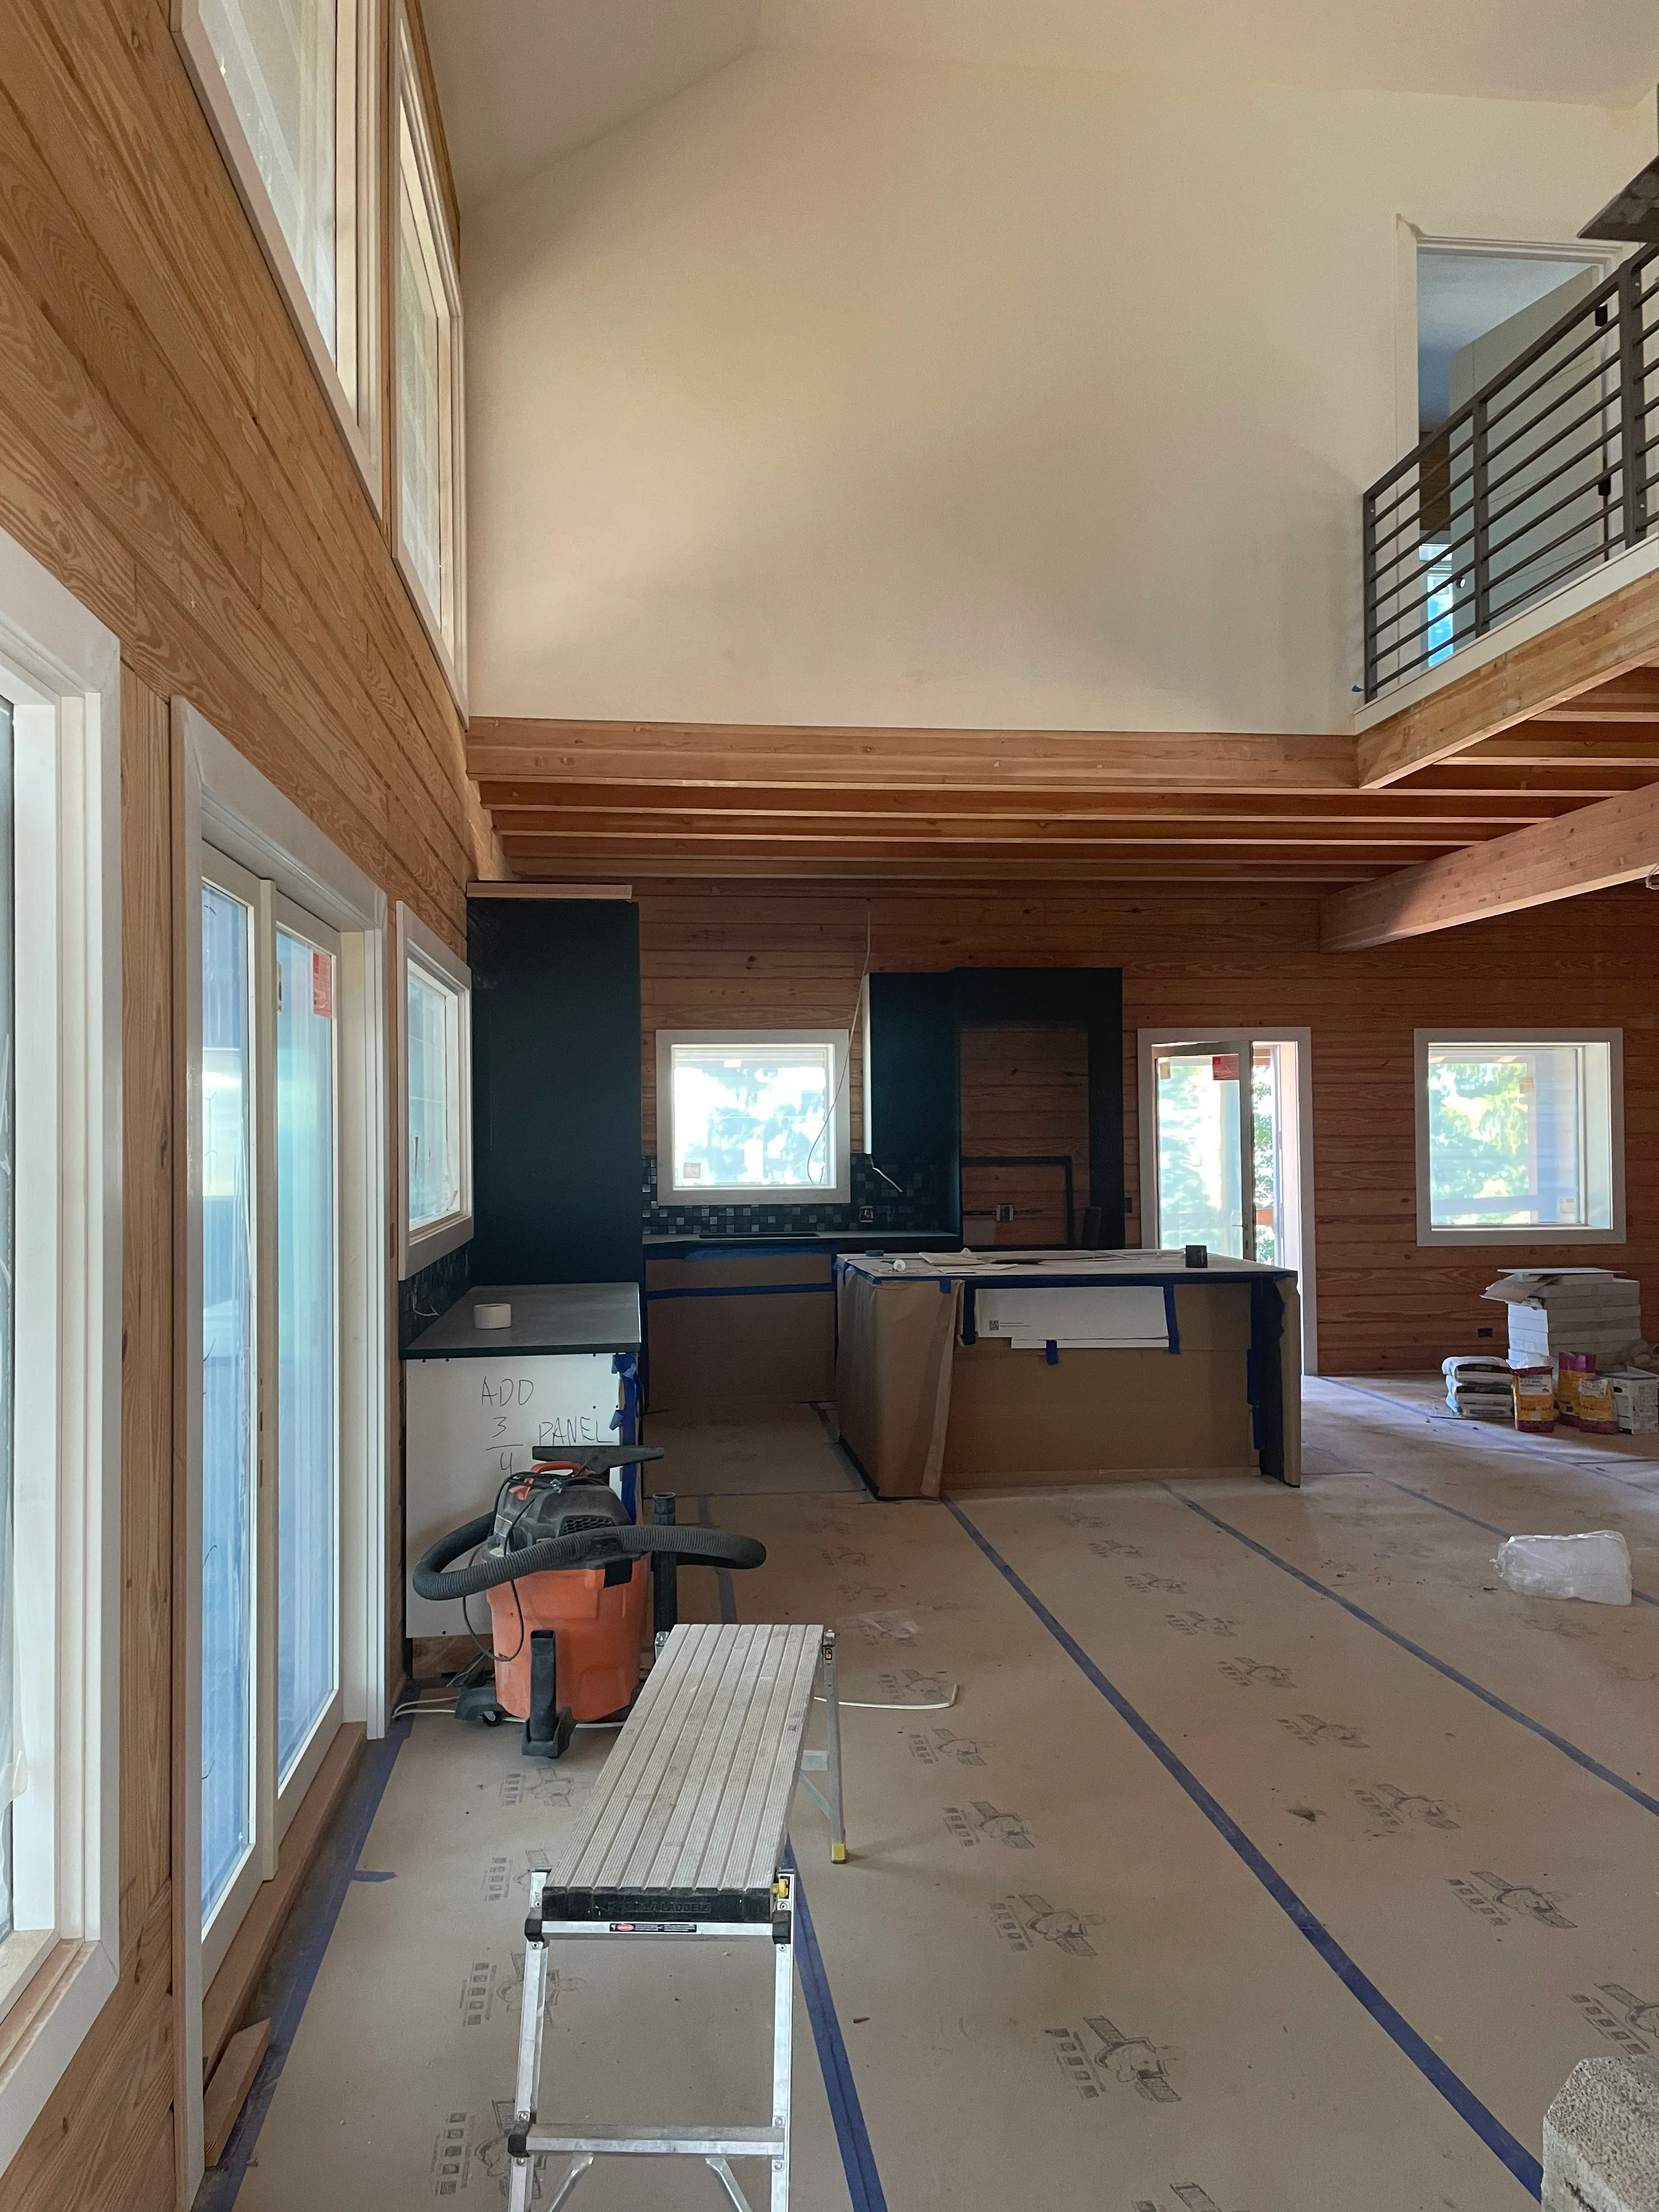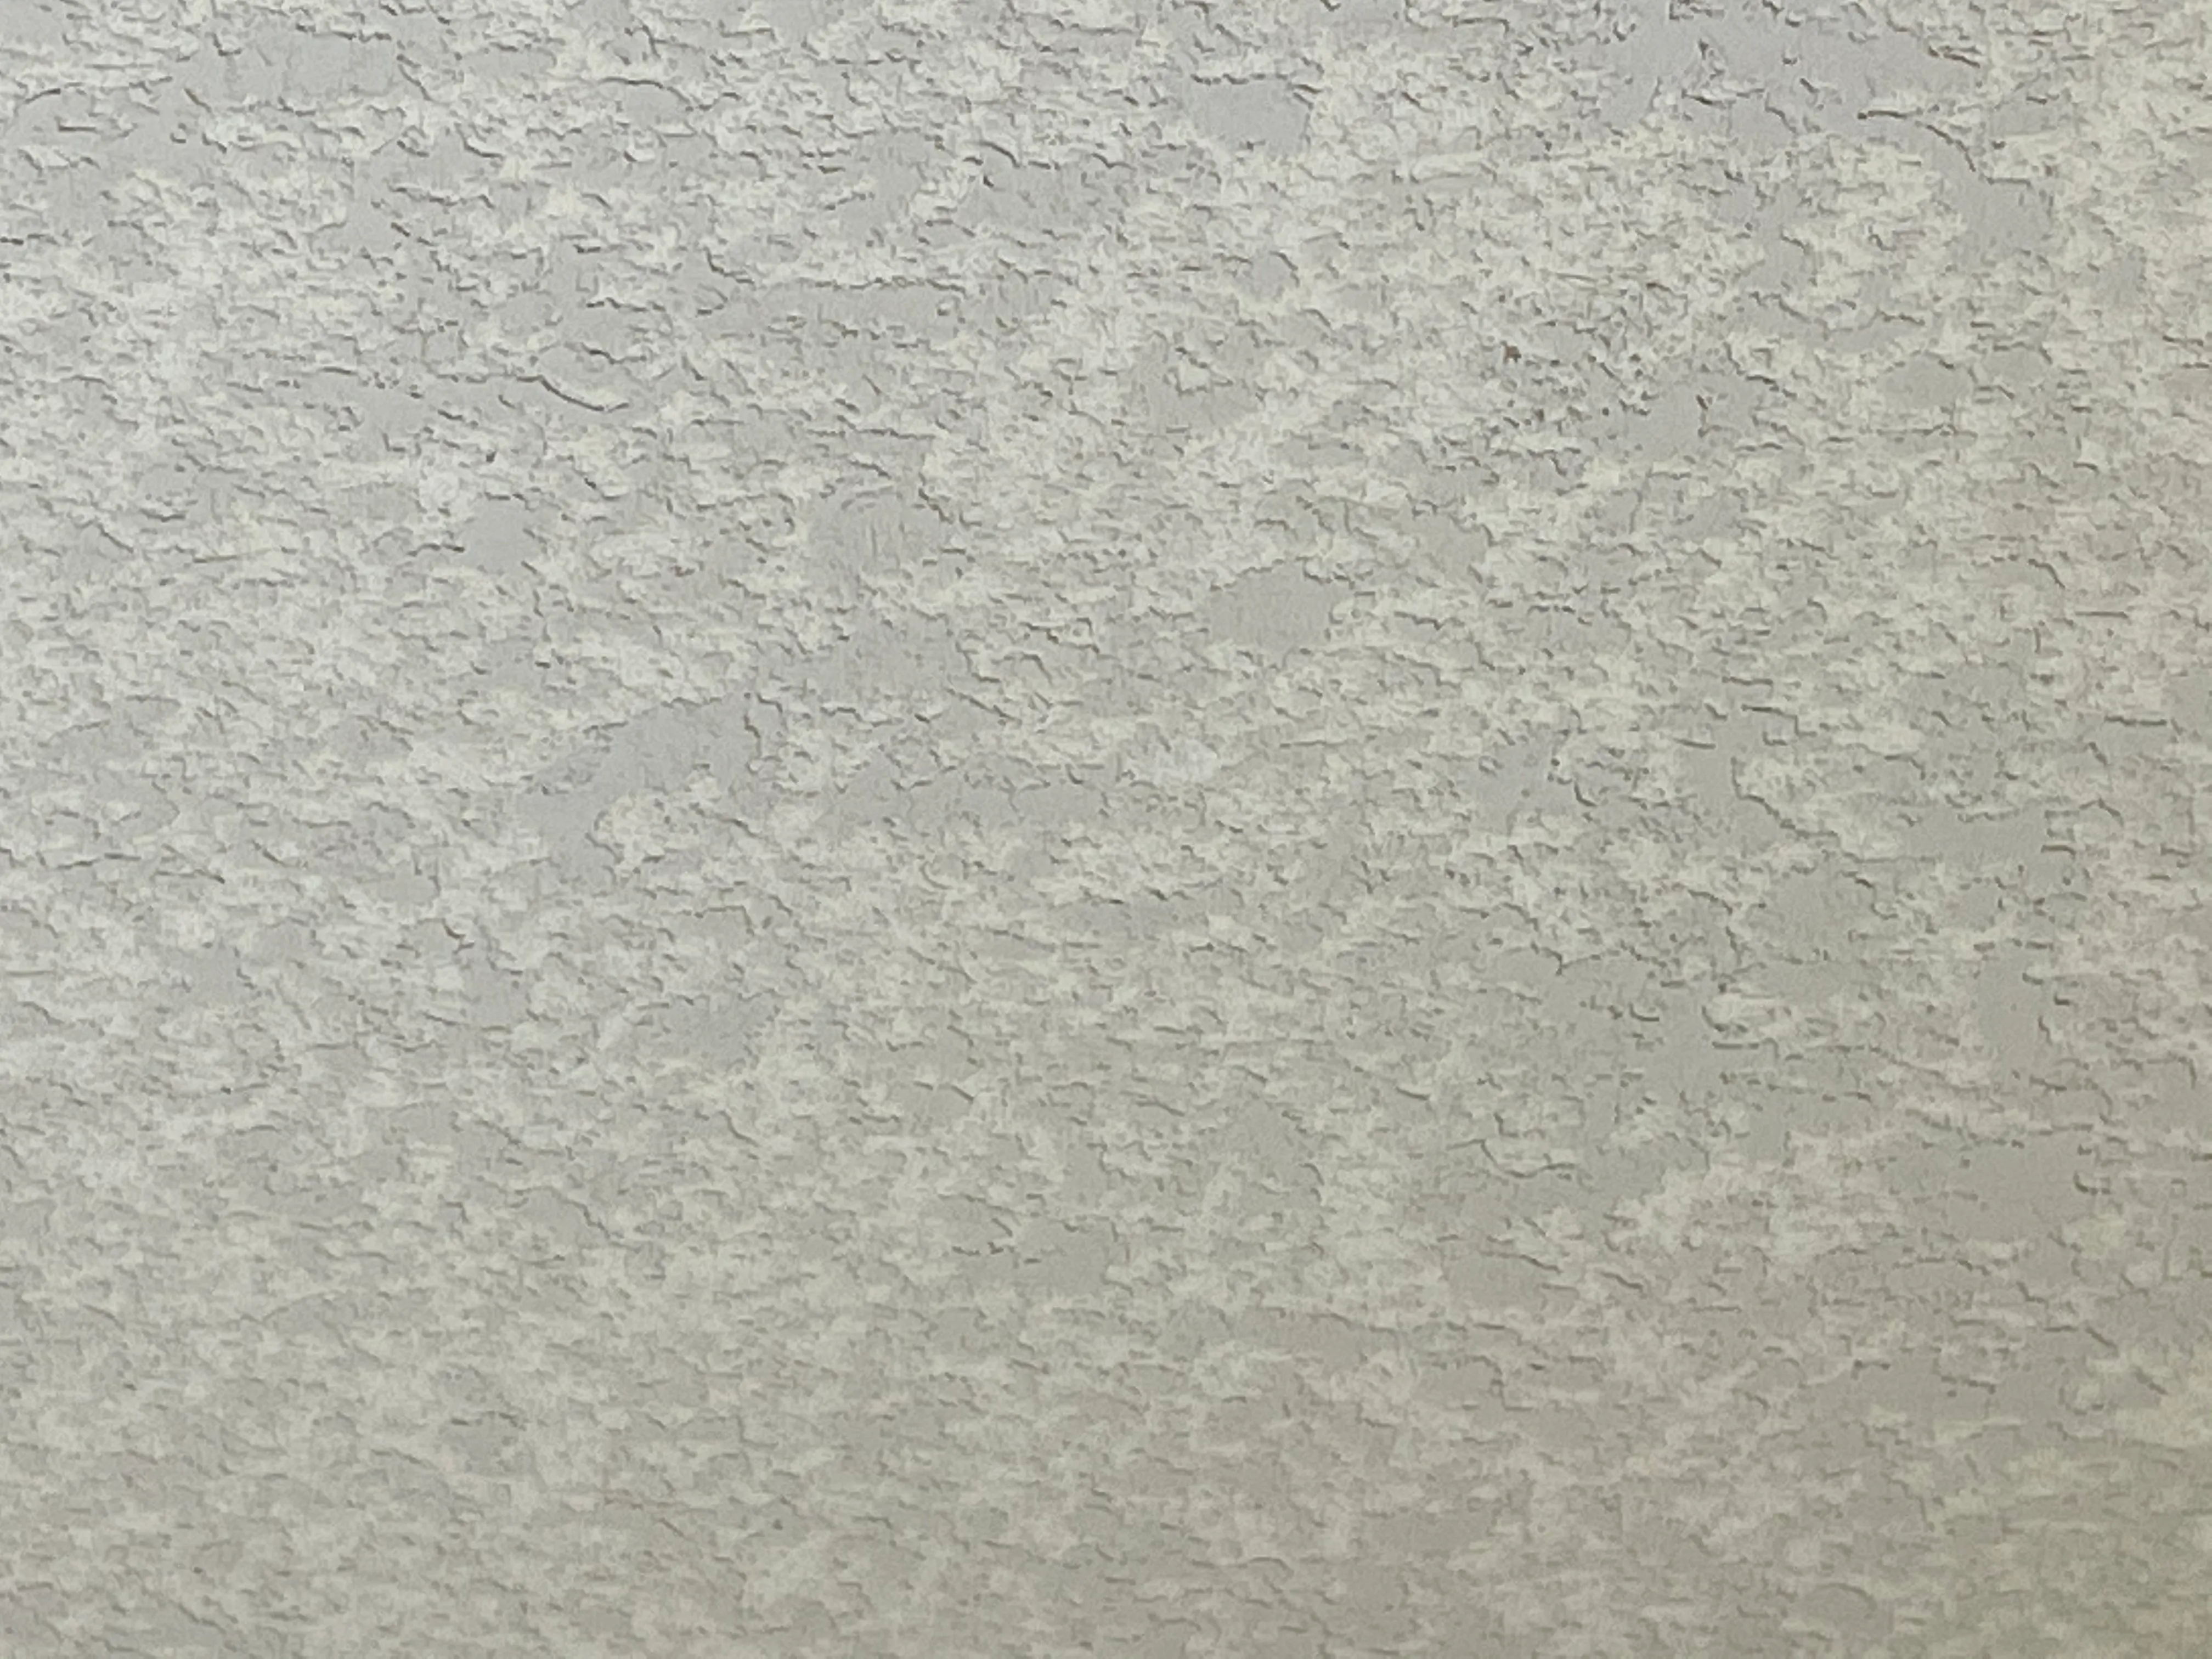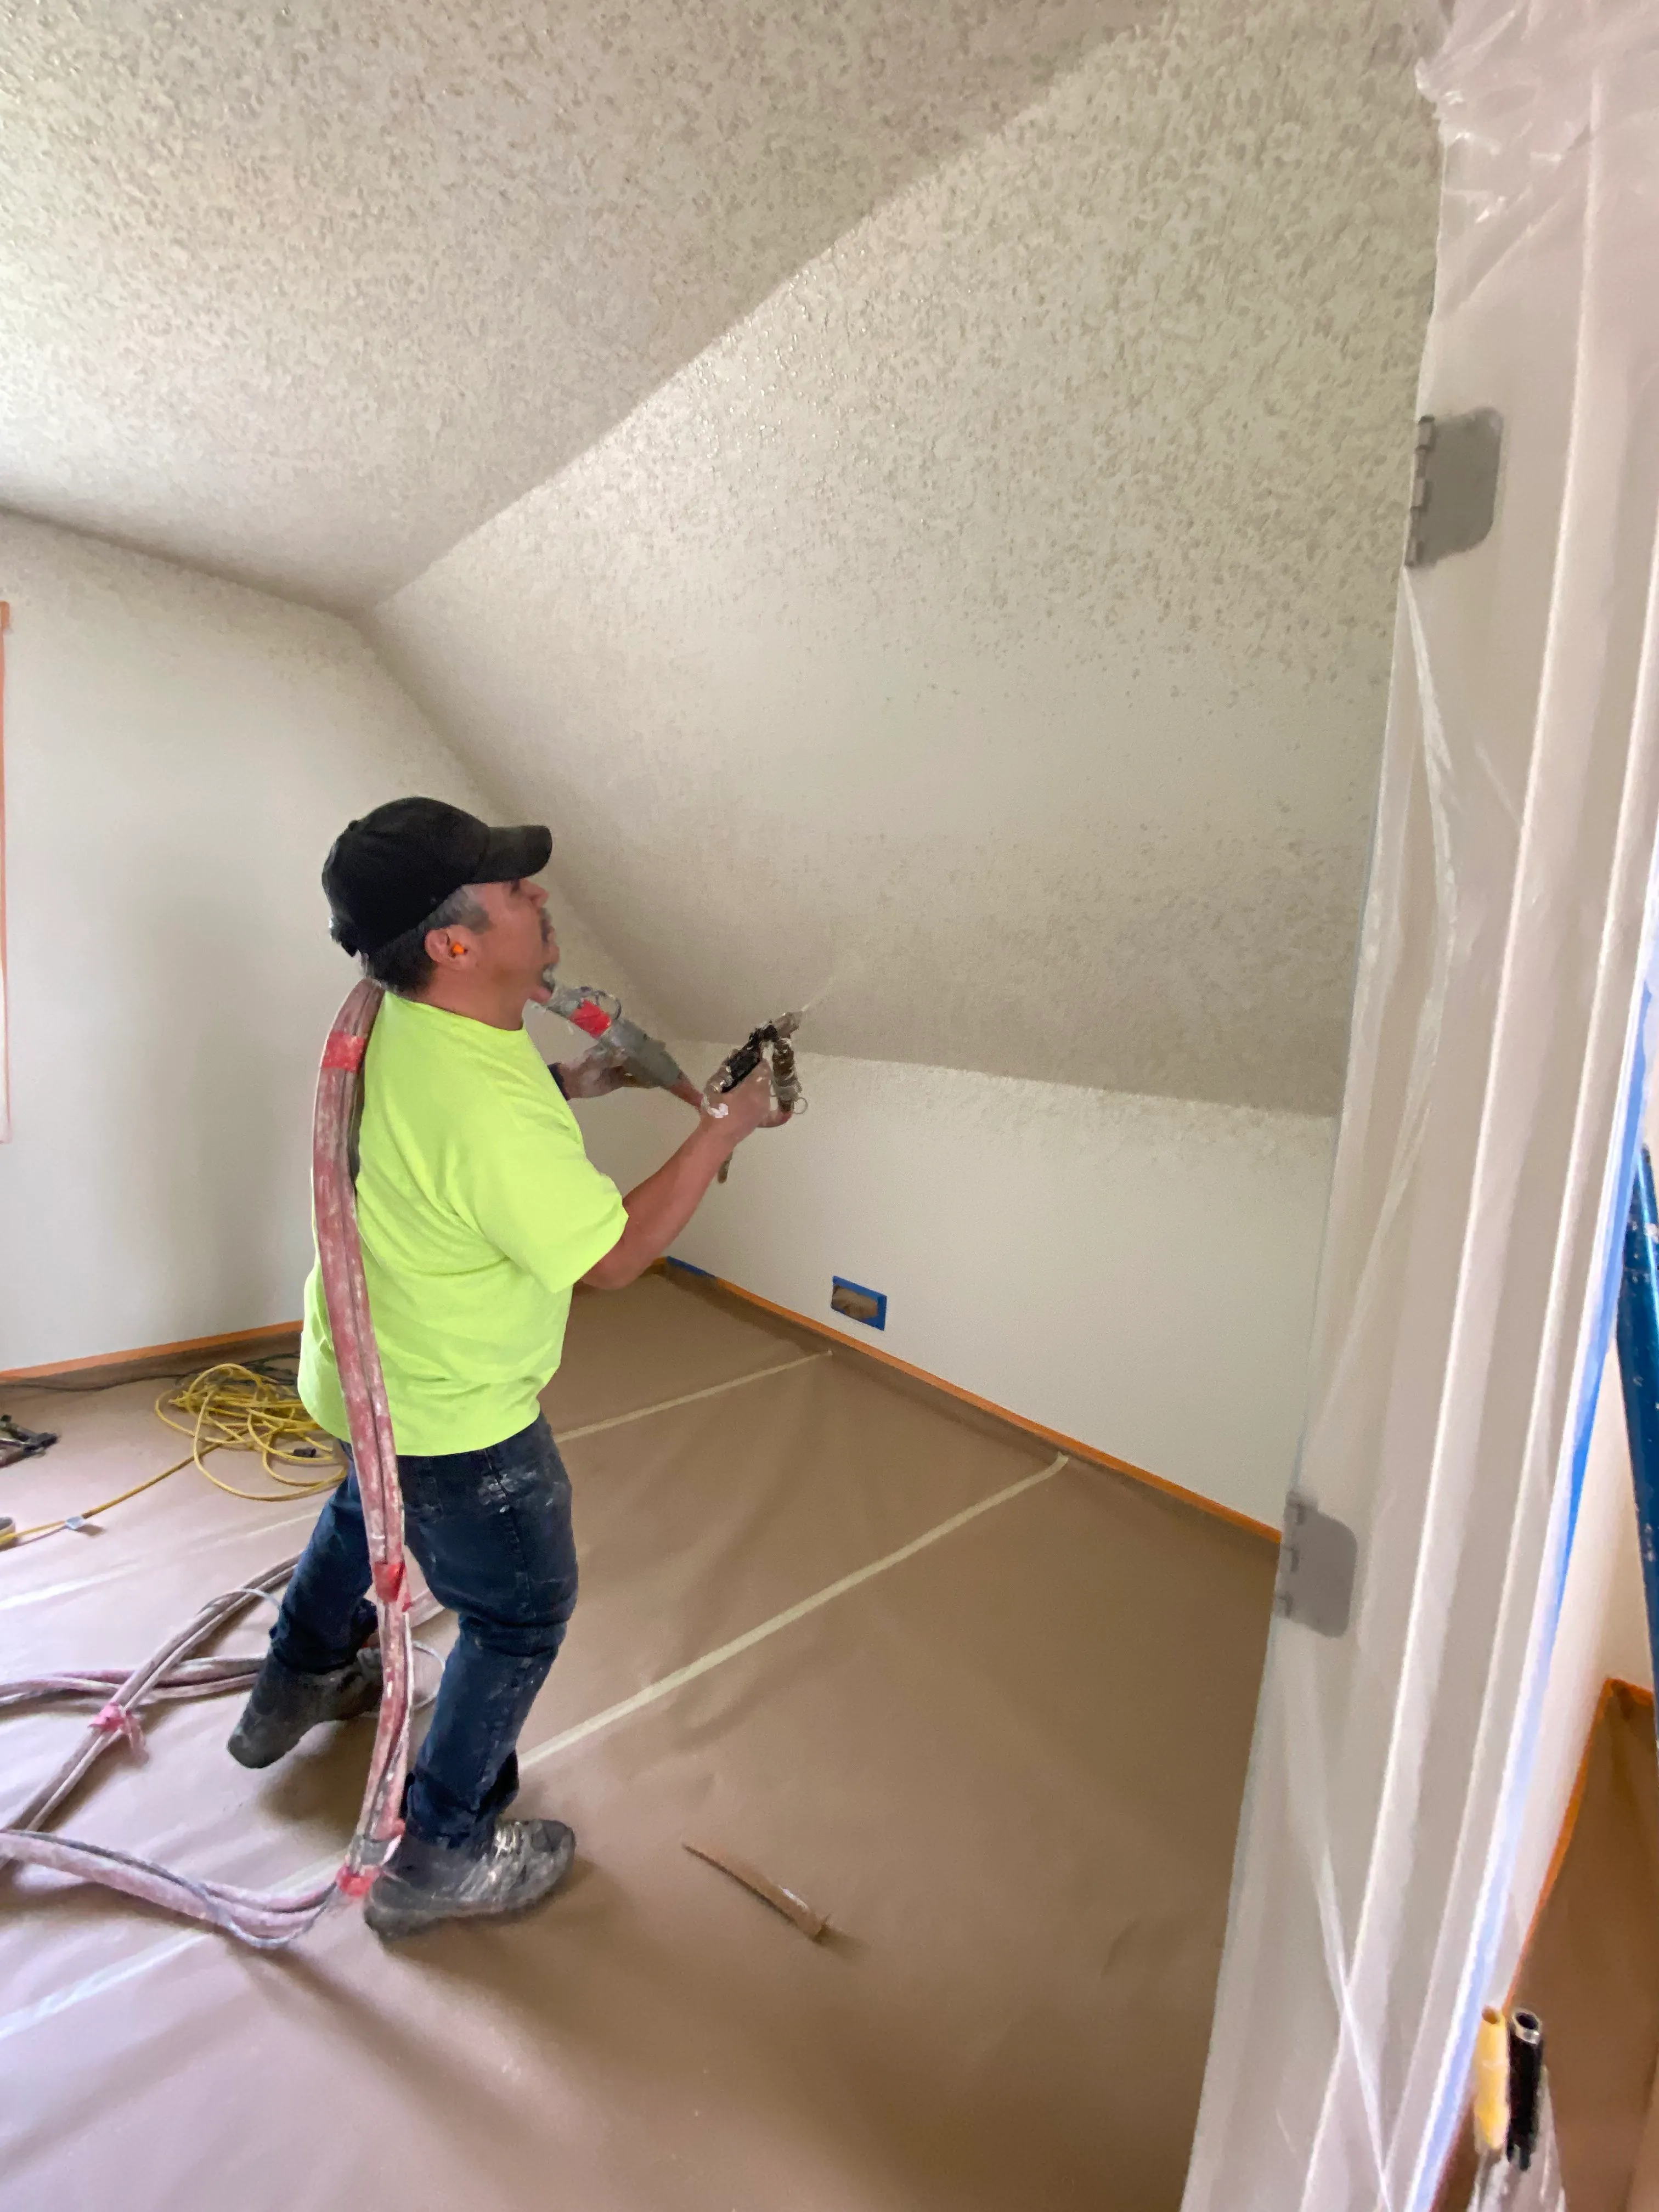
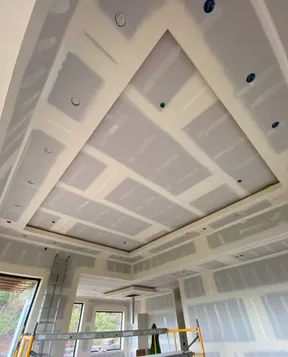
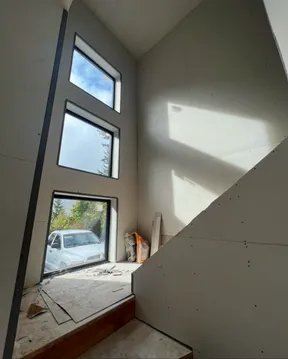
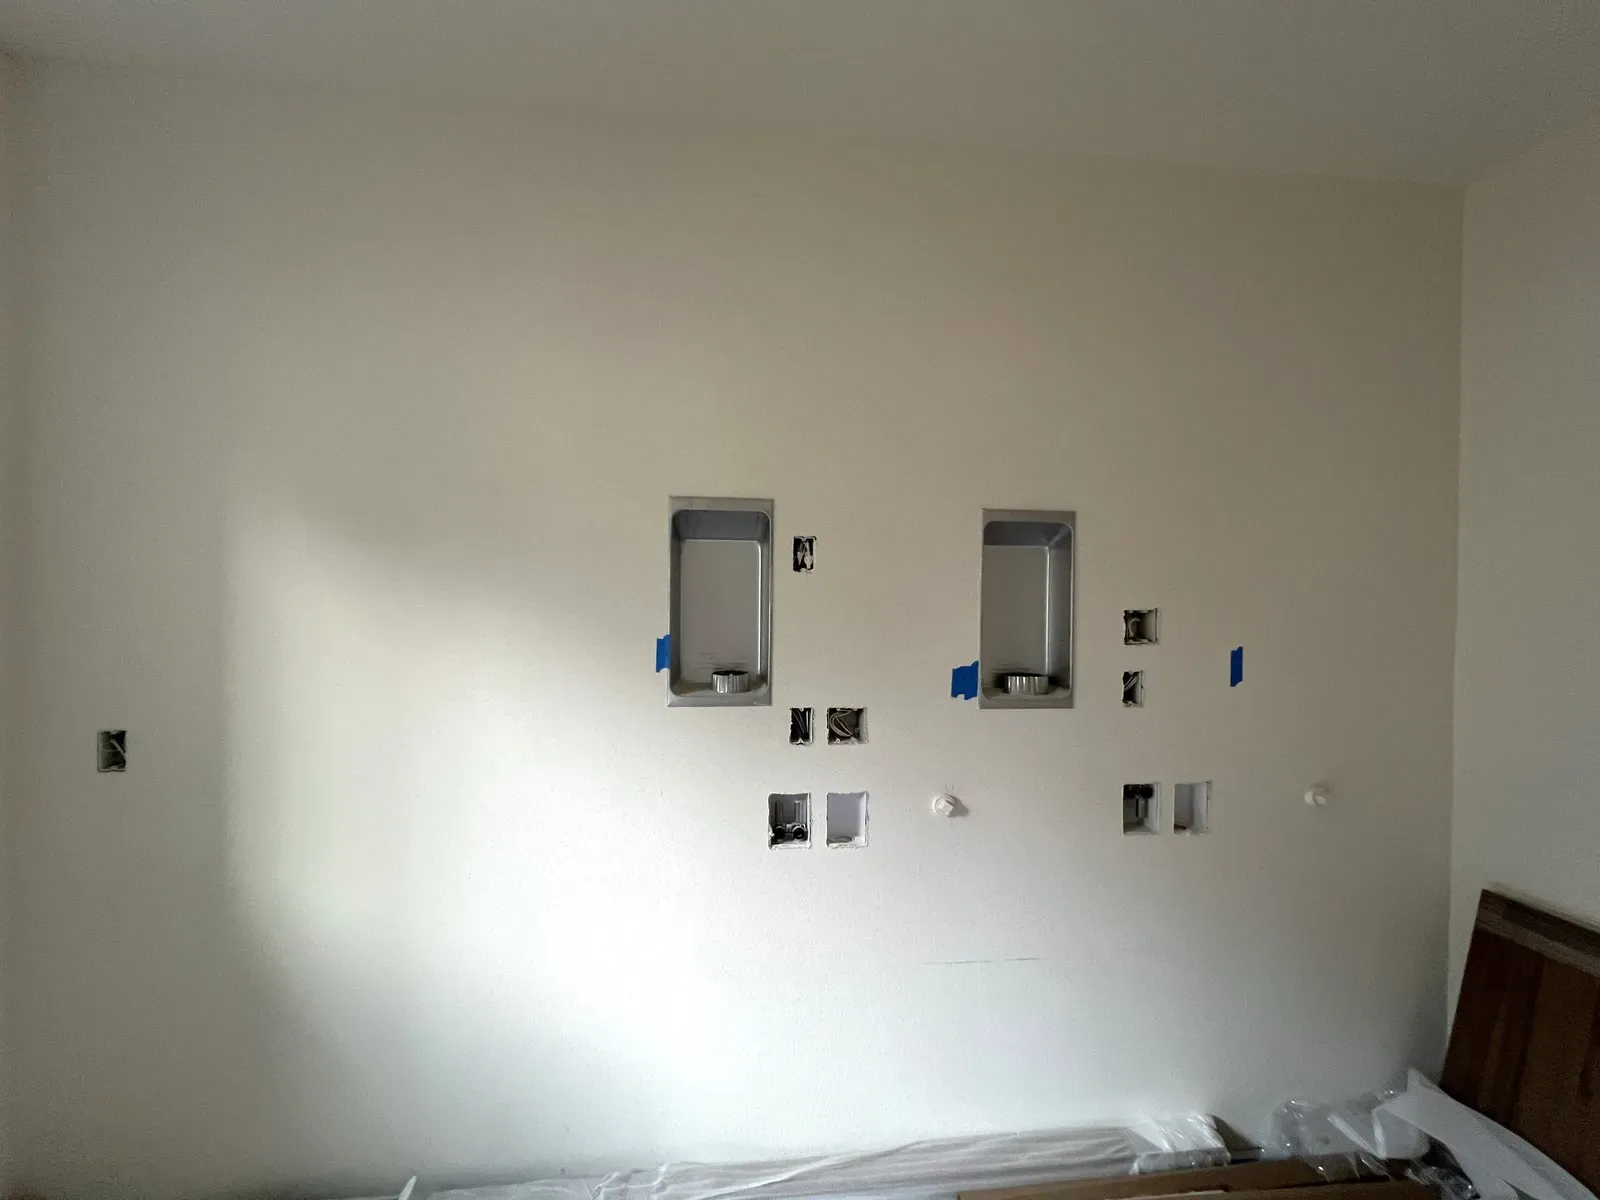
Skim coating walls is how you take a textured, patchy, or beat-up wall and make it smooth. Skim coating is the process of spreading thin coats of joint compound over an entire wall or ceiling, then sanding it flat so the surface looks like one clean sheet. It's a common remodel request in Vancouver, WA, Camas, and Battle Ground, especially from owners tired of old knockdown.
What Skim Coating Walls Means
Skim coating is a thin layer of joint compound, the same mud used to tape drywall seams, applied across the whole wall instead of just the joints. The layer is thin. Think of it as a coat of paint made of mud. Each pass fills low spots, covers texture, and evens out the surface.
People also call it skim coat drywall, skimming, or a skim float. They all mean the same job. When we skim coat walls, the goal is a flat, uniform surface from edge to edge.
That flat surface is what makes a wall look smooth in the room. Paint doesn't make a wall flat. Paint follows whatever is under it, bumps and all.
When a Home Needs Skim Coating
Not every wall needs a skim coat. A single dented corner or a nail pop is a spot repair. Skim coating makes sense when the problem covers the whole surface. These are the situations we see most around Clark County:
- You want to go from textured walls to smooth walls.
- You're removing a popcorn ceiling and want the ceiling smooth afterward.
- You pulled off wallpaper and the paper face of the drywall is torn or fuzzy.
- The walls have so many old patches that they look blotchy under paint.
- You're planning flat, low-sheen, or dark paint that shows every ridge.
- You're prepping for Fresco Harmony or plaster, which need a very smooth base.
If your wall has a few cracks or dings but is flat otherwise, skip the skim coat and let us repair them. If you see the same flaws across the whole wall, skimming is usually the better answer.
Skim Coating Textured Walls and Ceilings
Skim coating textured walls is the most common reason homeowners call us. Knockdown, orange peel, and skip trowel all have peaks and valleys. A skim coat fills the valleys and buries the peaks. Our post on smooth walls vs textured walls covers how to decide between the two looks. And our guide to wall and ceiling texture types shows what you're starting with.
Heavy texture is the tricky one. Sometimes we knock down the high spots first so the skim coat doesn't have to bury so much. Light texture can often be skimmed directly.
Ceilings follow the same steps. To skim coat a ceiling, we protect the room, then work overhead in thin passes. It's the usual finish after popcorn removal, and our post on what to expect from popcorn ceiling removal walks through that job. If your home was built before 1980, read about popcorn ceilings and asbestos first.
How Our Crew Skim Coats Drywall
Skim coating is a patient job, and the steps matter more than the speed. Here's how our crew handles a room:
- Protect the room. We cover floors, furniture, and anything that stays, and tape off trim, outlets, and windows.
- Prep the surface. We scrape loose texture or flaking paint, knock down ridges, and clean off dust so the compound bonds.
- Prime torn paper. Where wallpaper removal left the drywall paper torn, we seal it with primer first. Raw paper can bubble when wet mud hits it.
- Apply thin coats. We spread joint compound across the whole wall with wide knives, working in thin, even passes.
- Sand. Once a coat is dry, we sand it flat and feather every edge.
- Check with a work light. We hold a bright light low against the wall. Raking light shows ridges and low spots that normal room light hides.
- Prime. A coat of primer evens out the surface and shows us anything we missed before paint goes on.
If your home was built before 1978, the paint may contain lead, and sanding creates dust. The EPA's lead renovation page says a renovation in a pre-1978 home can easily create dangerous lead dust. Tell us the age of your house when you reach out.
How Many Coats and How Long Skim Coating Takes
Most walls need two coats. A wall with heavy texture, deep damage, or lots of patches may need three. We keep adding coats until the wall is flat under the work light.
Drying time is where the weather comes in. Each coat has to dry fully before we sand or add the next one. Joint compound dries by losing water, and Southwest Washington's damp fall and winter air slows that down. A coat that dries overnight in July can take longer in November, especially in a cold room or a basement.
Heat and fans help. But rushing wet compound causes cracking and uneven color, which shows up later as flashing under paint. So we let each coat dry all the way.
For a single room, plan on a few days from start to finish. A whole house takes longer. We'll give you a clear schedule before we start, so you can plan around it.
Skim Coating and a Level 5 Finish
Drywall finishes are rated from Level 0 to Level 5. Level 5 is the smoothest, and skim coating is how a wall gets there. Our guide to drywall finish levels breaks down each level. Level 4 covers the joints and fasteners. Level 5 adds a thin skim coat over the entire surface, so joints and board look the same under light.
USG describes it the same way. Its Tuff-Hide Primer-Surfacer product page says the product gives the same drywall finish as two-step skim coating and priming, and that it achieves a Level 5 finish.
Level 5 matters most in rooms with strong side light, like a long hallway or a wall beside a big window. It also matters under gloss paint or a decorative finish like Fresco Harmony or plaster. Soft, flat paint in a quiet bedroom may not need it. We'll tell you honestly which level your walls need.
Skim Coat, Replace the Drywall, or Do It Yourself?
Skim coating isn't always the answer. If the board is water-damaged, crumbling, or sagging, a skim coat won't hold. Our team looks the wall over and decides whether it's best to repair or replace. That's the honest call, and sometimes new board saves you months of patching. Our drywall repair page covers that side.
You can skim coat a small wall yourself. A full room is a different story. Joint compound stiffens as you work, and the hard part is blending. Lap marks show up where one pass overlaps the next. Thin spots dry a different shade than thick spots, and that shows through paint as flashing.
Sanding is the other problem. It's dusty, and it's easy to cut through the skim into the paper. A wall that looks fine in room light can look bad once the sun comes in sideways. Pros get past this with practice and a work light.
Skim Coating Walls in Vancouver, WA, Camas, and Battle Ground
If you're ready for smooth walls, or you're not sure whether your walls need a skim coat or just a few repairs, we're glad to take a look. We skim coat walls and ceilings across Clark County, from older homes in Vancouver, WA to newer builds in Camas and Battle Ground.
We can also follow up with interior painting once the walls are primed, so one crew carries the job from texture to finished color. If you want to add a new texture instead, see our hand texture work.
Send us a message with a few photos of your walls and a note about the look you want. We'll tell you what the job involves, whether skim coating is the right fit, and how it fits into your schedule.
Common Questions
What Is Skim Coating?
Skim coating is spreading thin coats of joint compound over an entire wall or ceiling, then sanding it smooth. It covers texture, old patches, and torn paper so the surface looks like one flat sheet.
Can You Skim Coat Over Textured Walls?
Yes. We skim coat textured walls all the time. Light texture can often be skimmed directly. Heavy texture gets knocked down first so the compound doesn't have to bury so much. Either way, the finished wall is smooth and ready for primer.
Can You Skim Coat a Ceiling?
Yes. We skim coat ceilings the same way as walls, in thin coats with sanding between them. It's the usual finish after popcorn removal and it leaves the ceiling smooth and bright.
How Long Does It Take to Skim Coat a Room?
Plan on a few days for one room. Each coat has to dry fully before we sand it or add the next, and damp fall and winter weather slows drying. We give you a schedule before we start.
Is Skim Coating the Same as a Level 5 Finish?
Skim coating is how a wall reaches Level 5. A Level 5 finish adds a thin skim coat over the entire surface, on top of the taped and sanded joints, so the board and joints look the same under light.