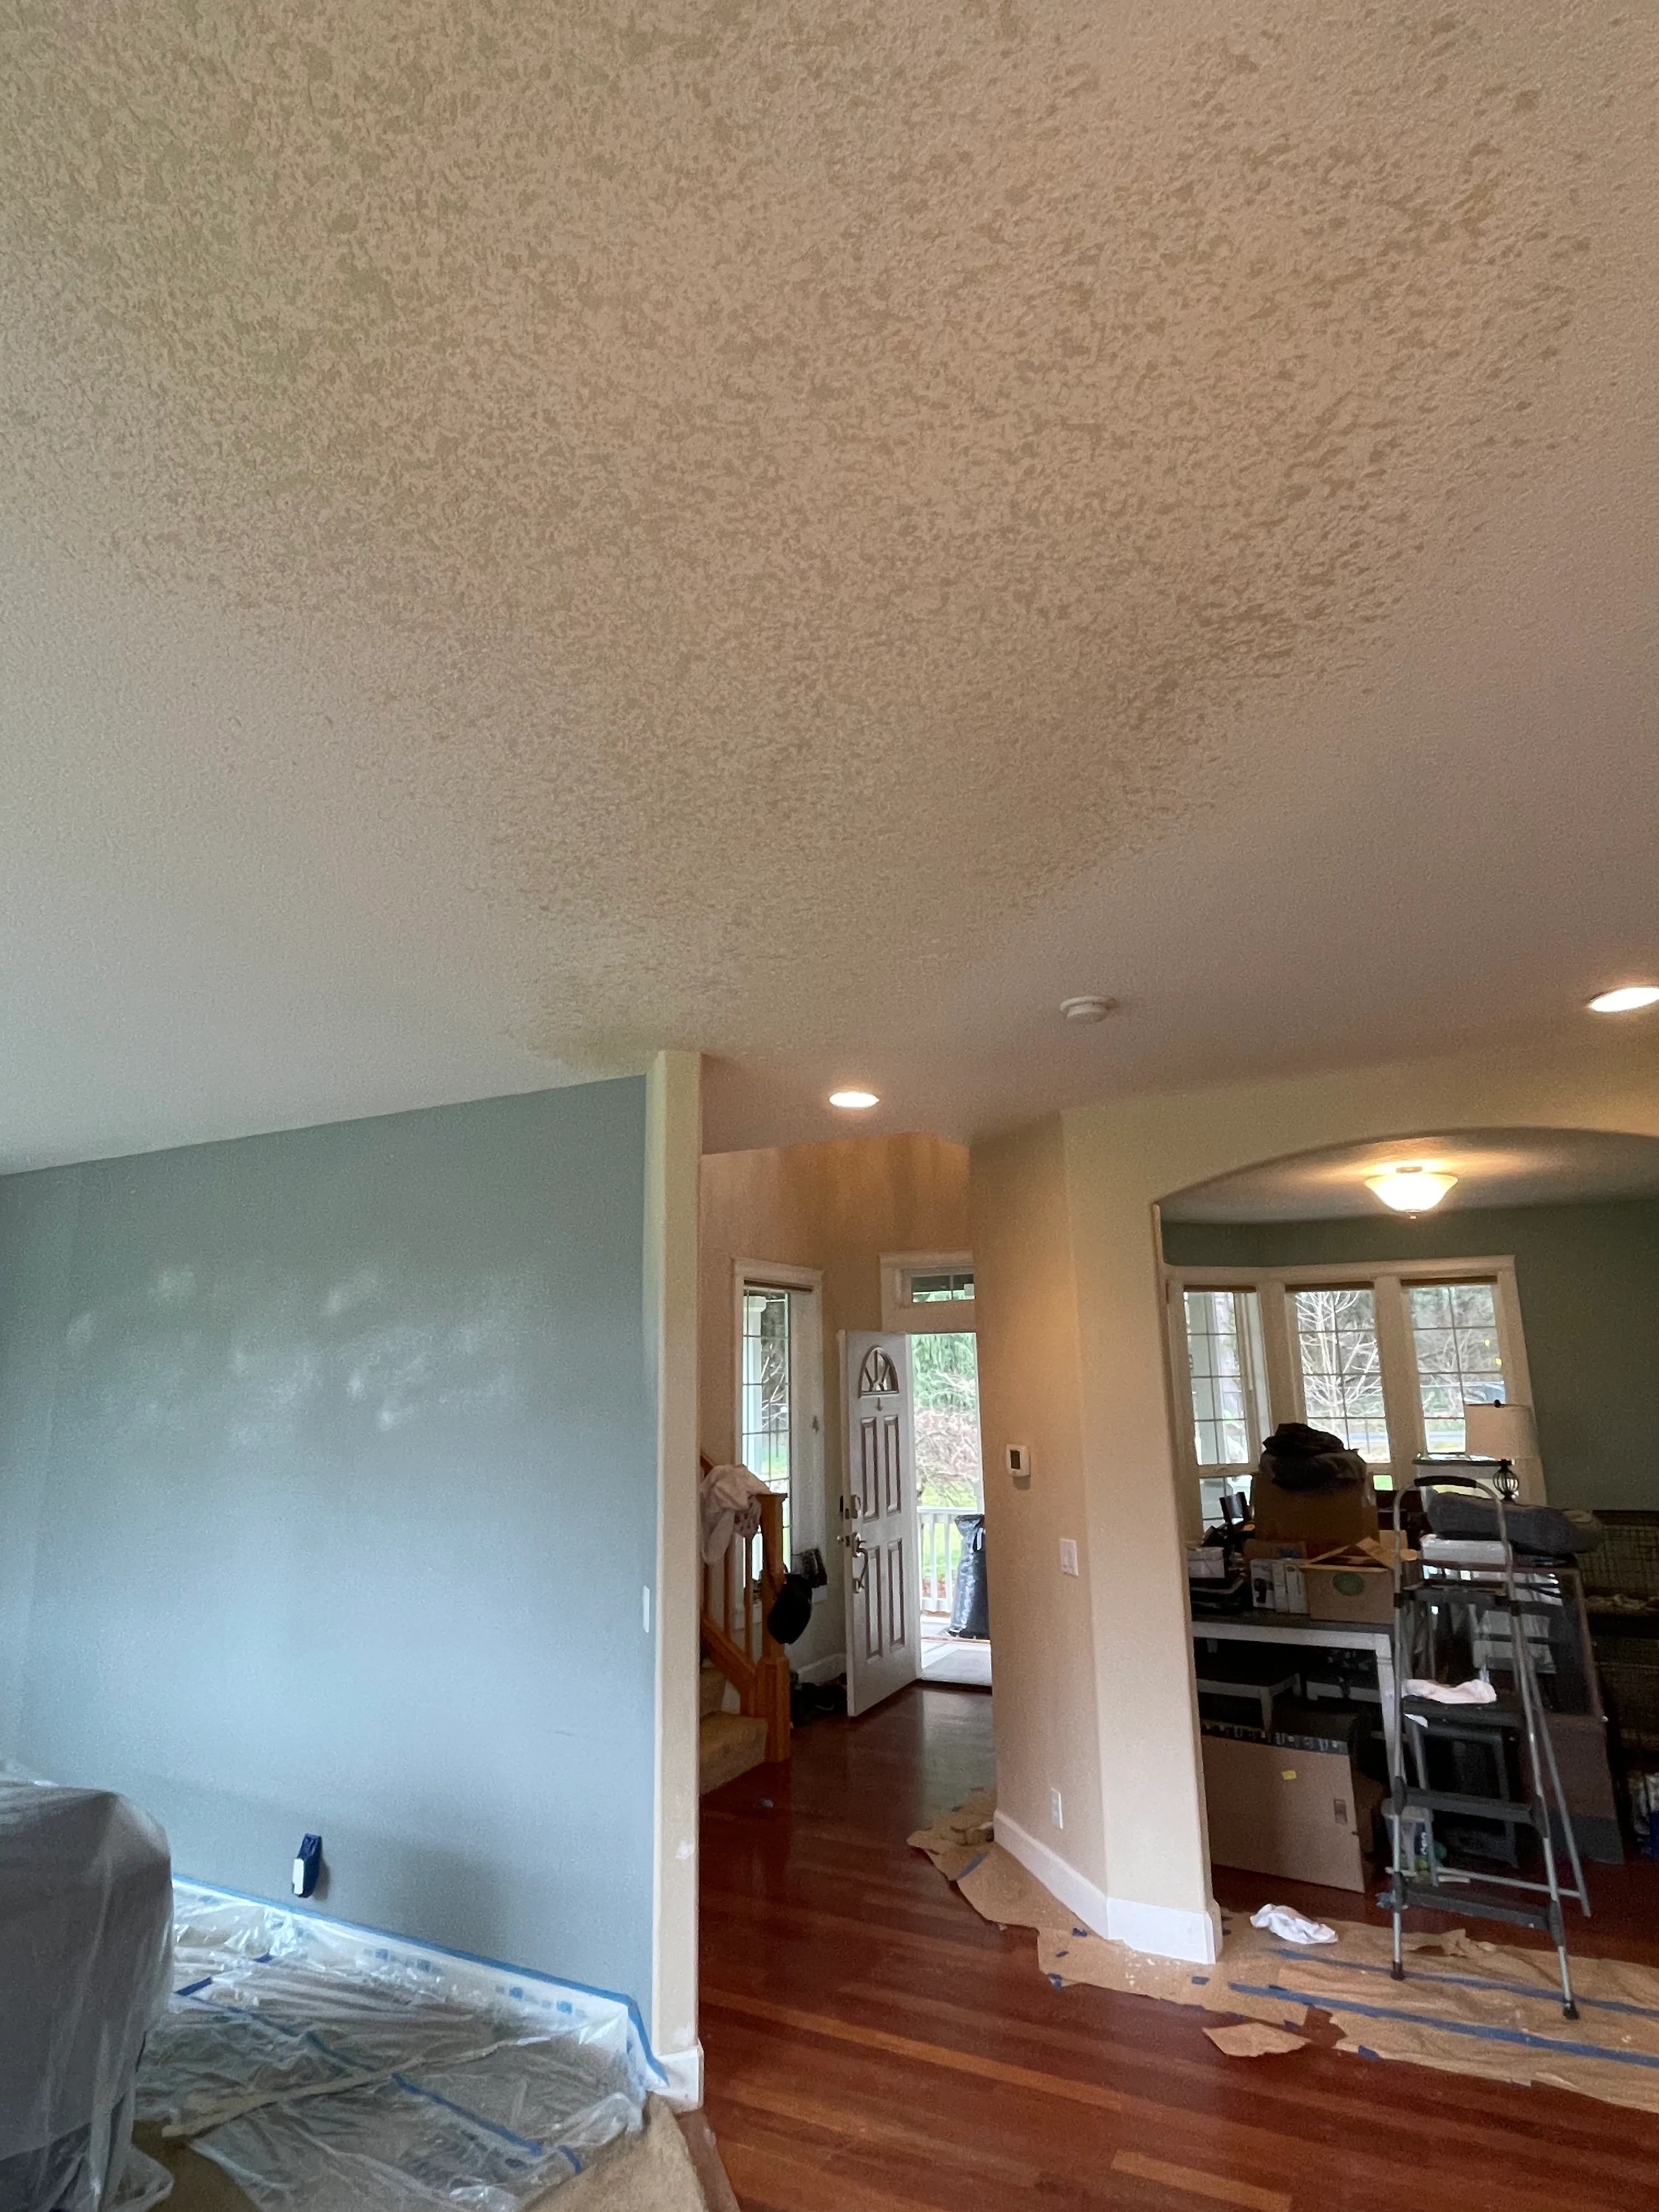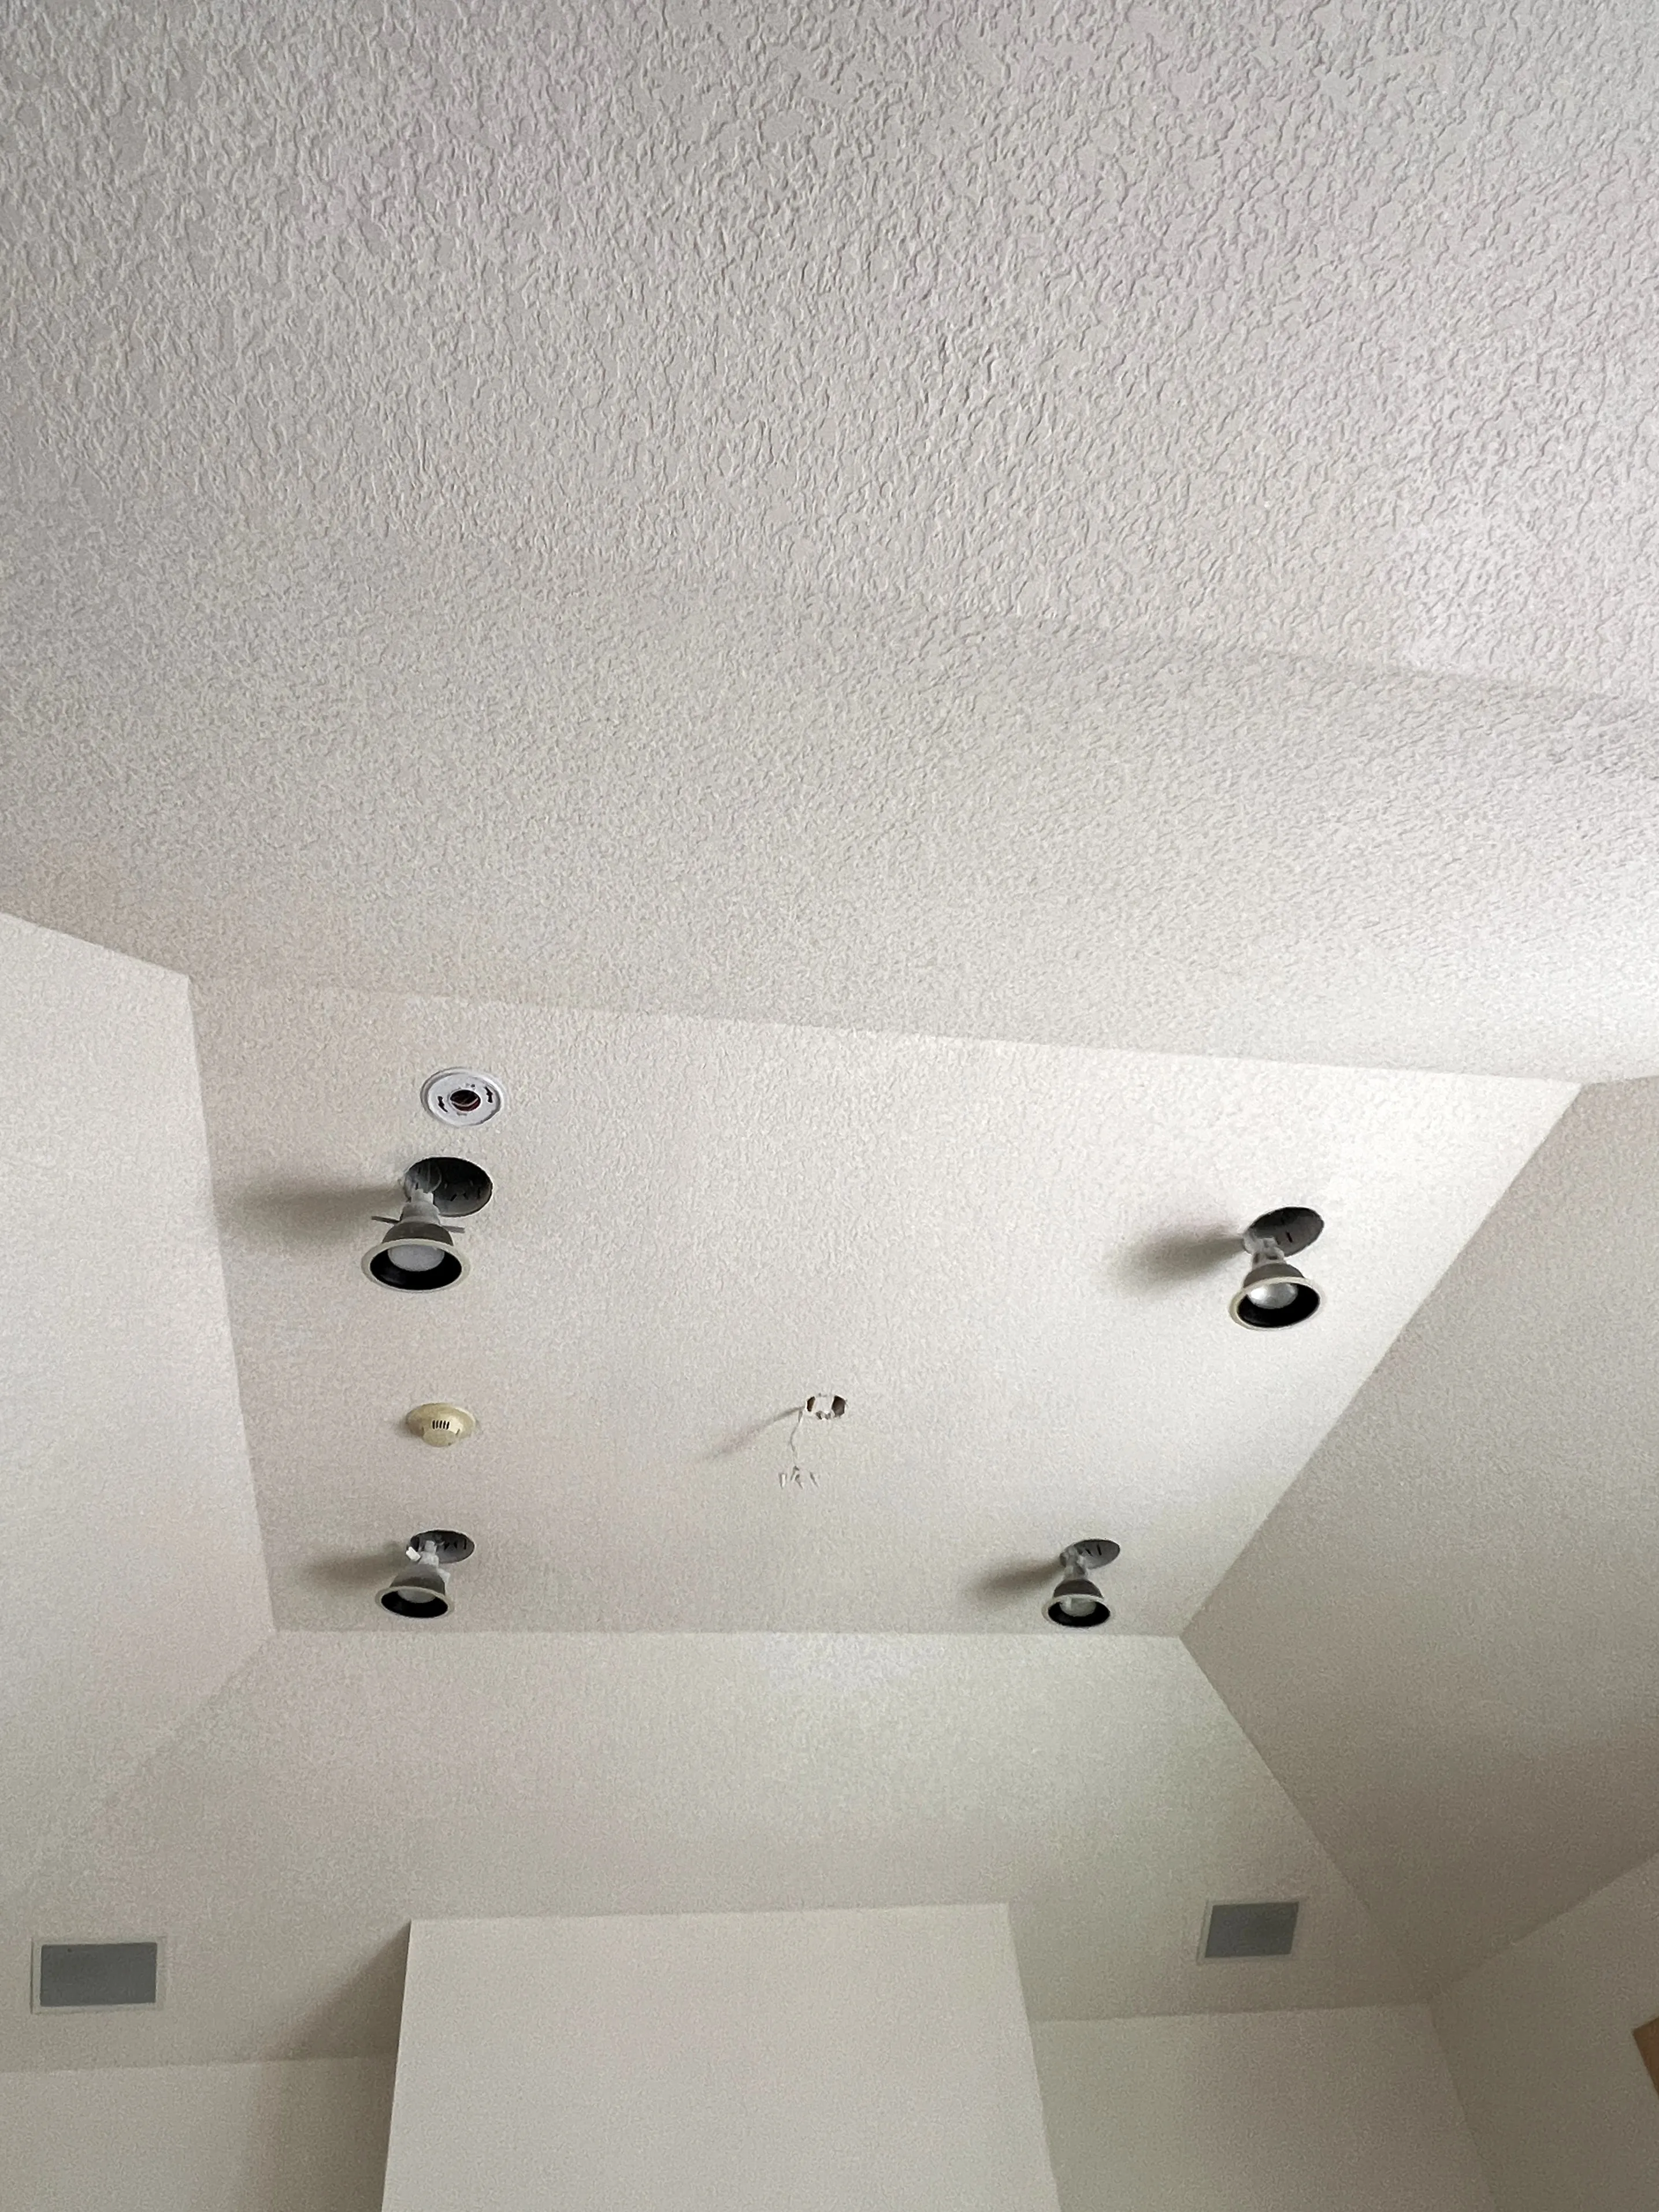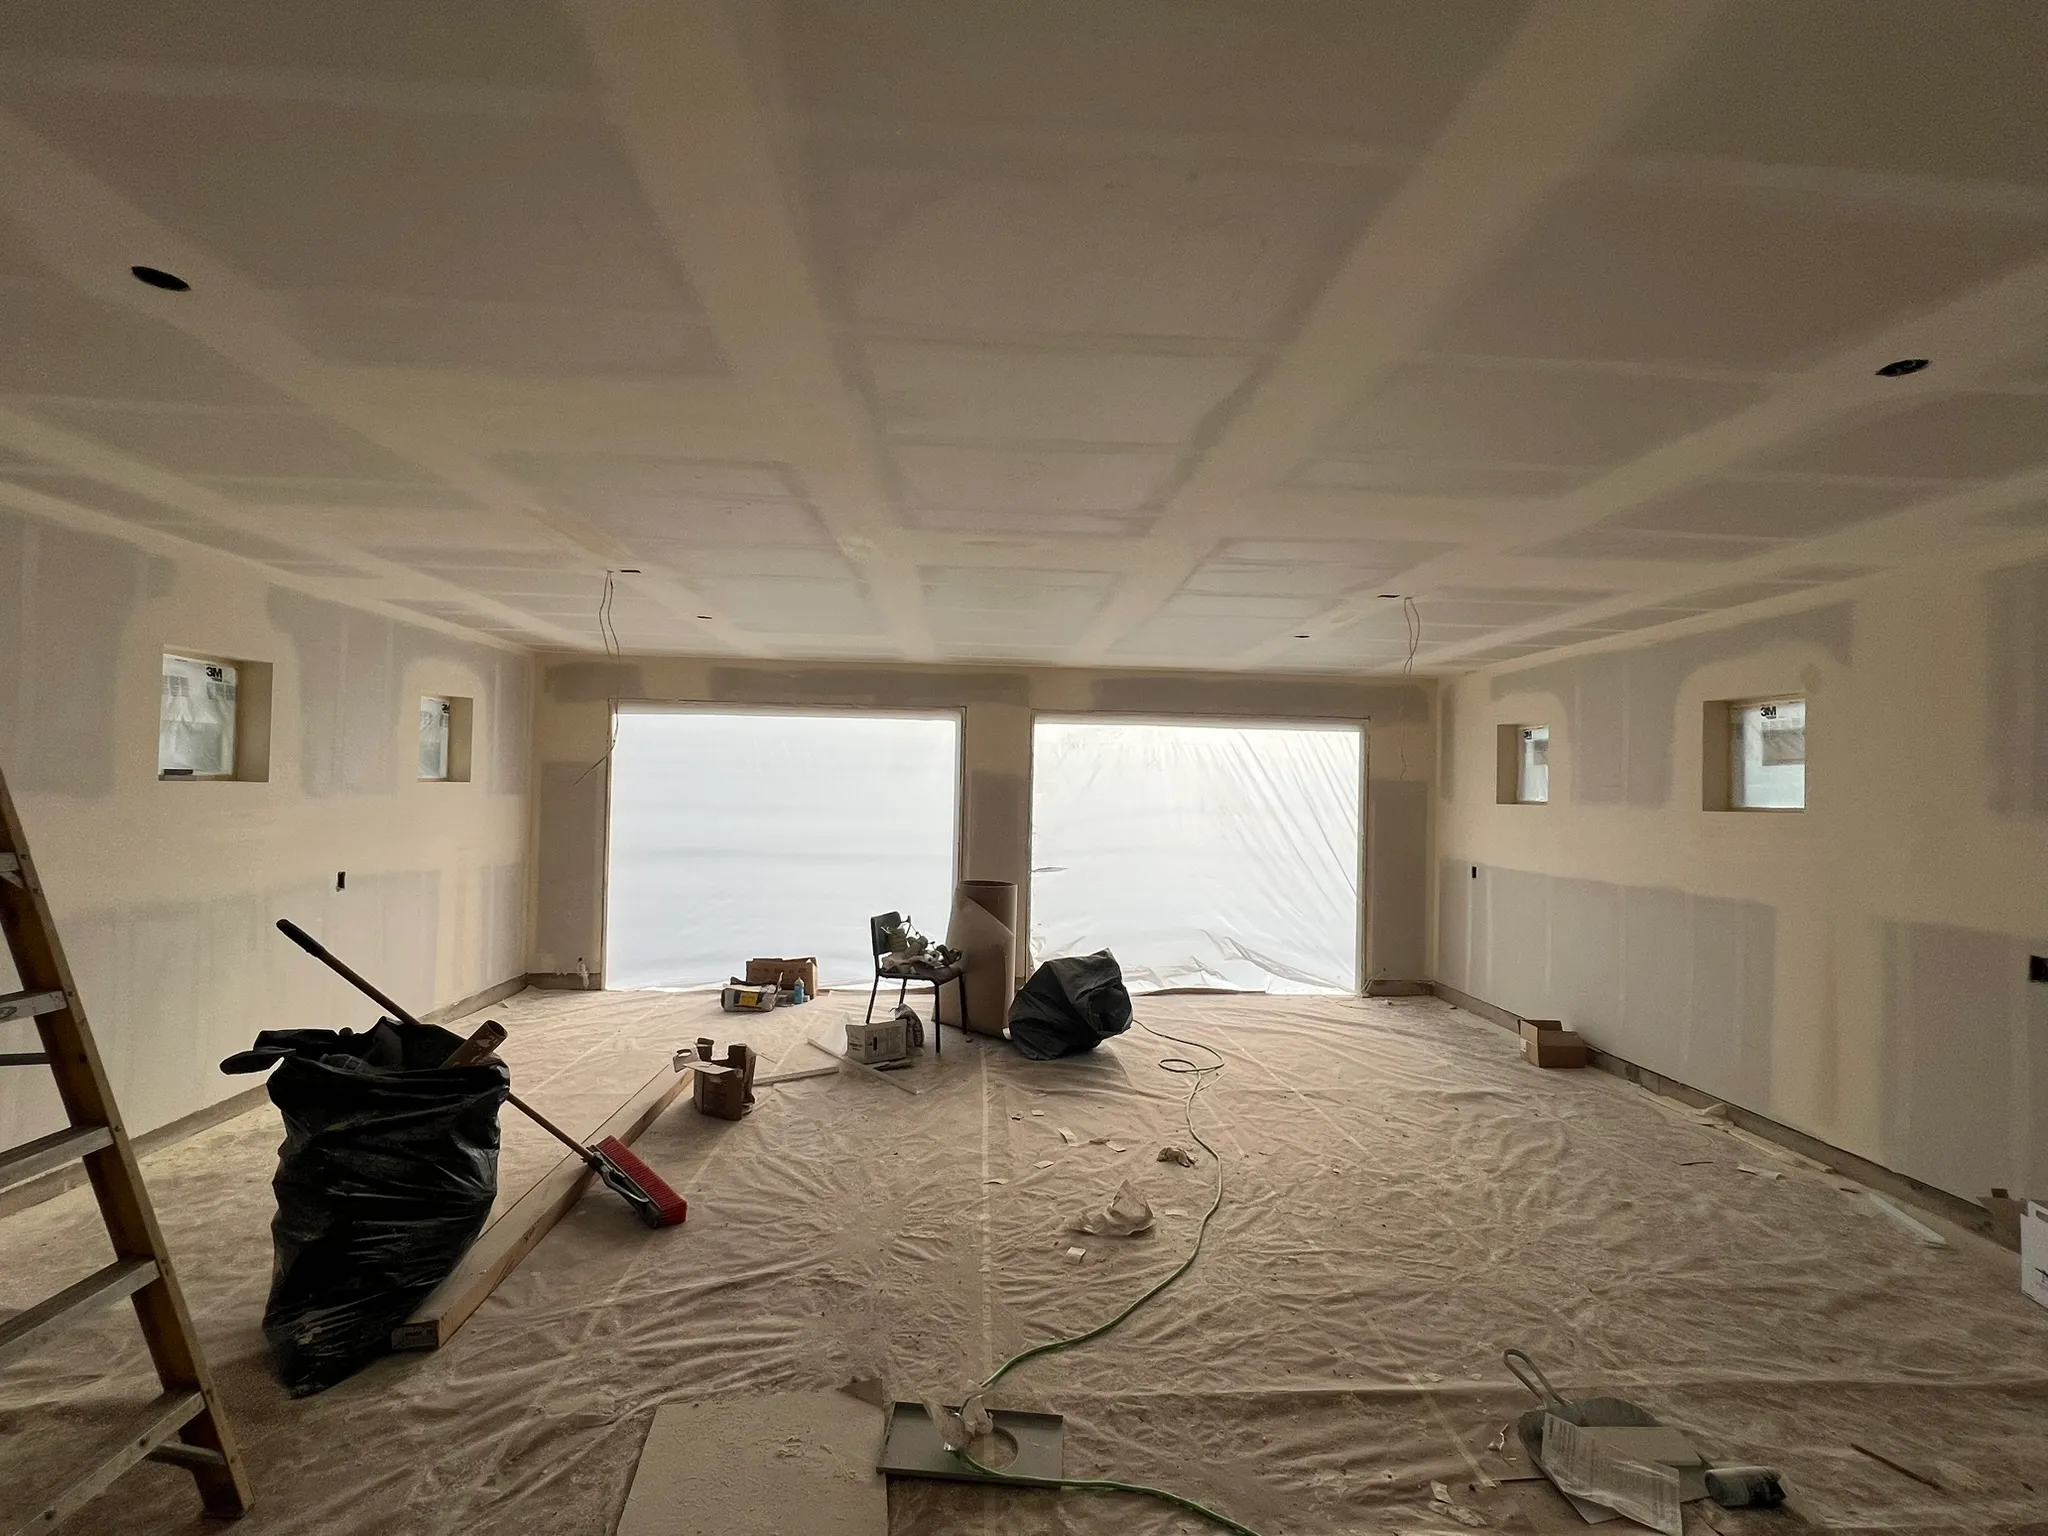
Matching drywall texture means matching the wall you actually have. Calling it orange peel or knockdown is a useful start, but those names cover a wide range of patterns. The size, spacing, height, and direction of the texture all affect how a repair looks.
Paint and lighting add another layer to the decision. A patch can match the texture reasonably well and still stand out because the sheen or surface preparation is different. Plan the patch, texture, and painting together so the finished result is clear before the work begins.
Look beyond the name of the texture
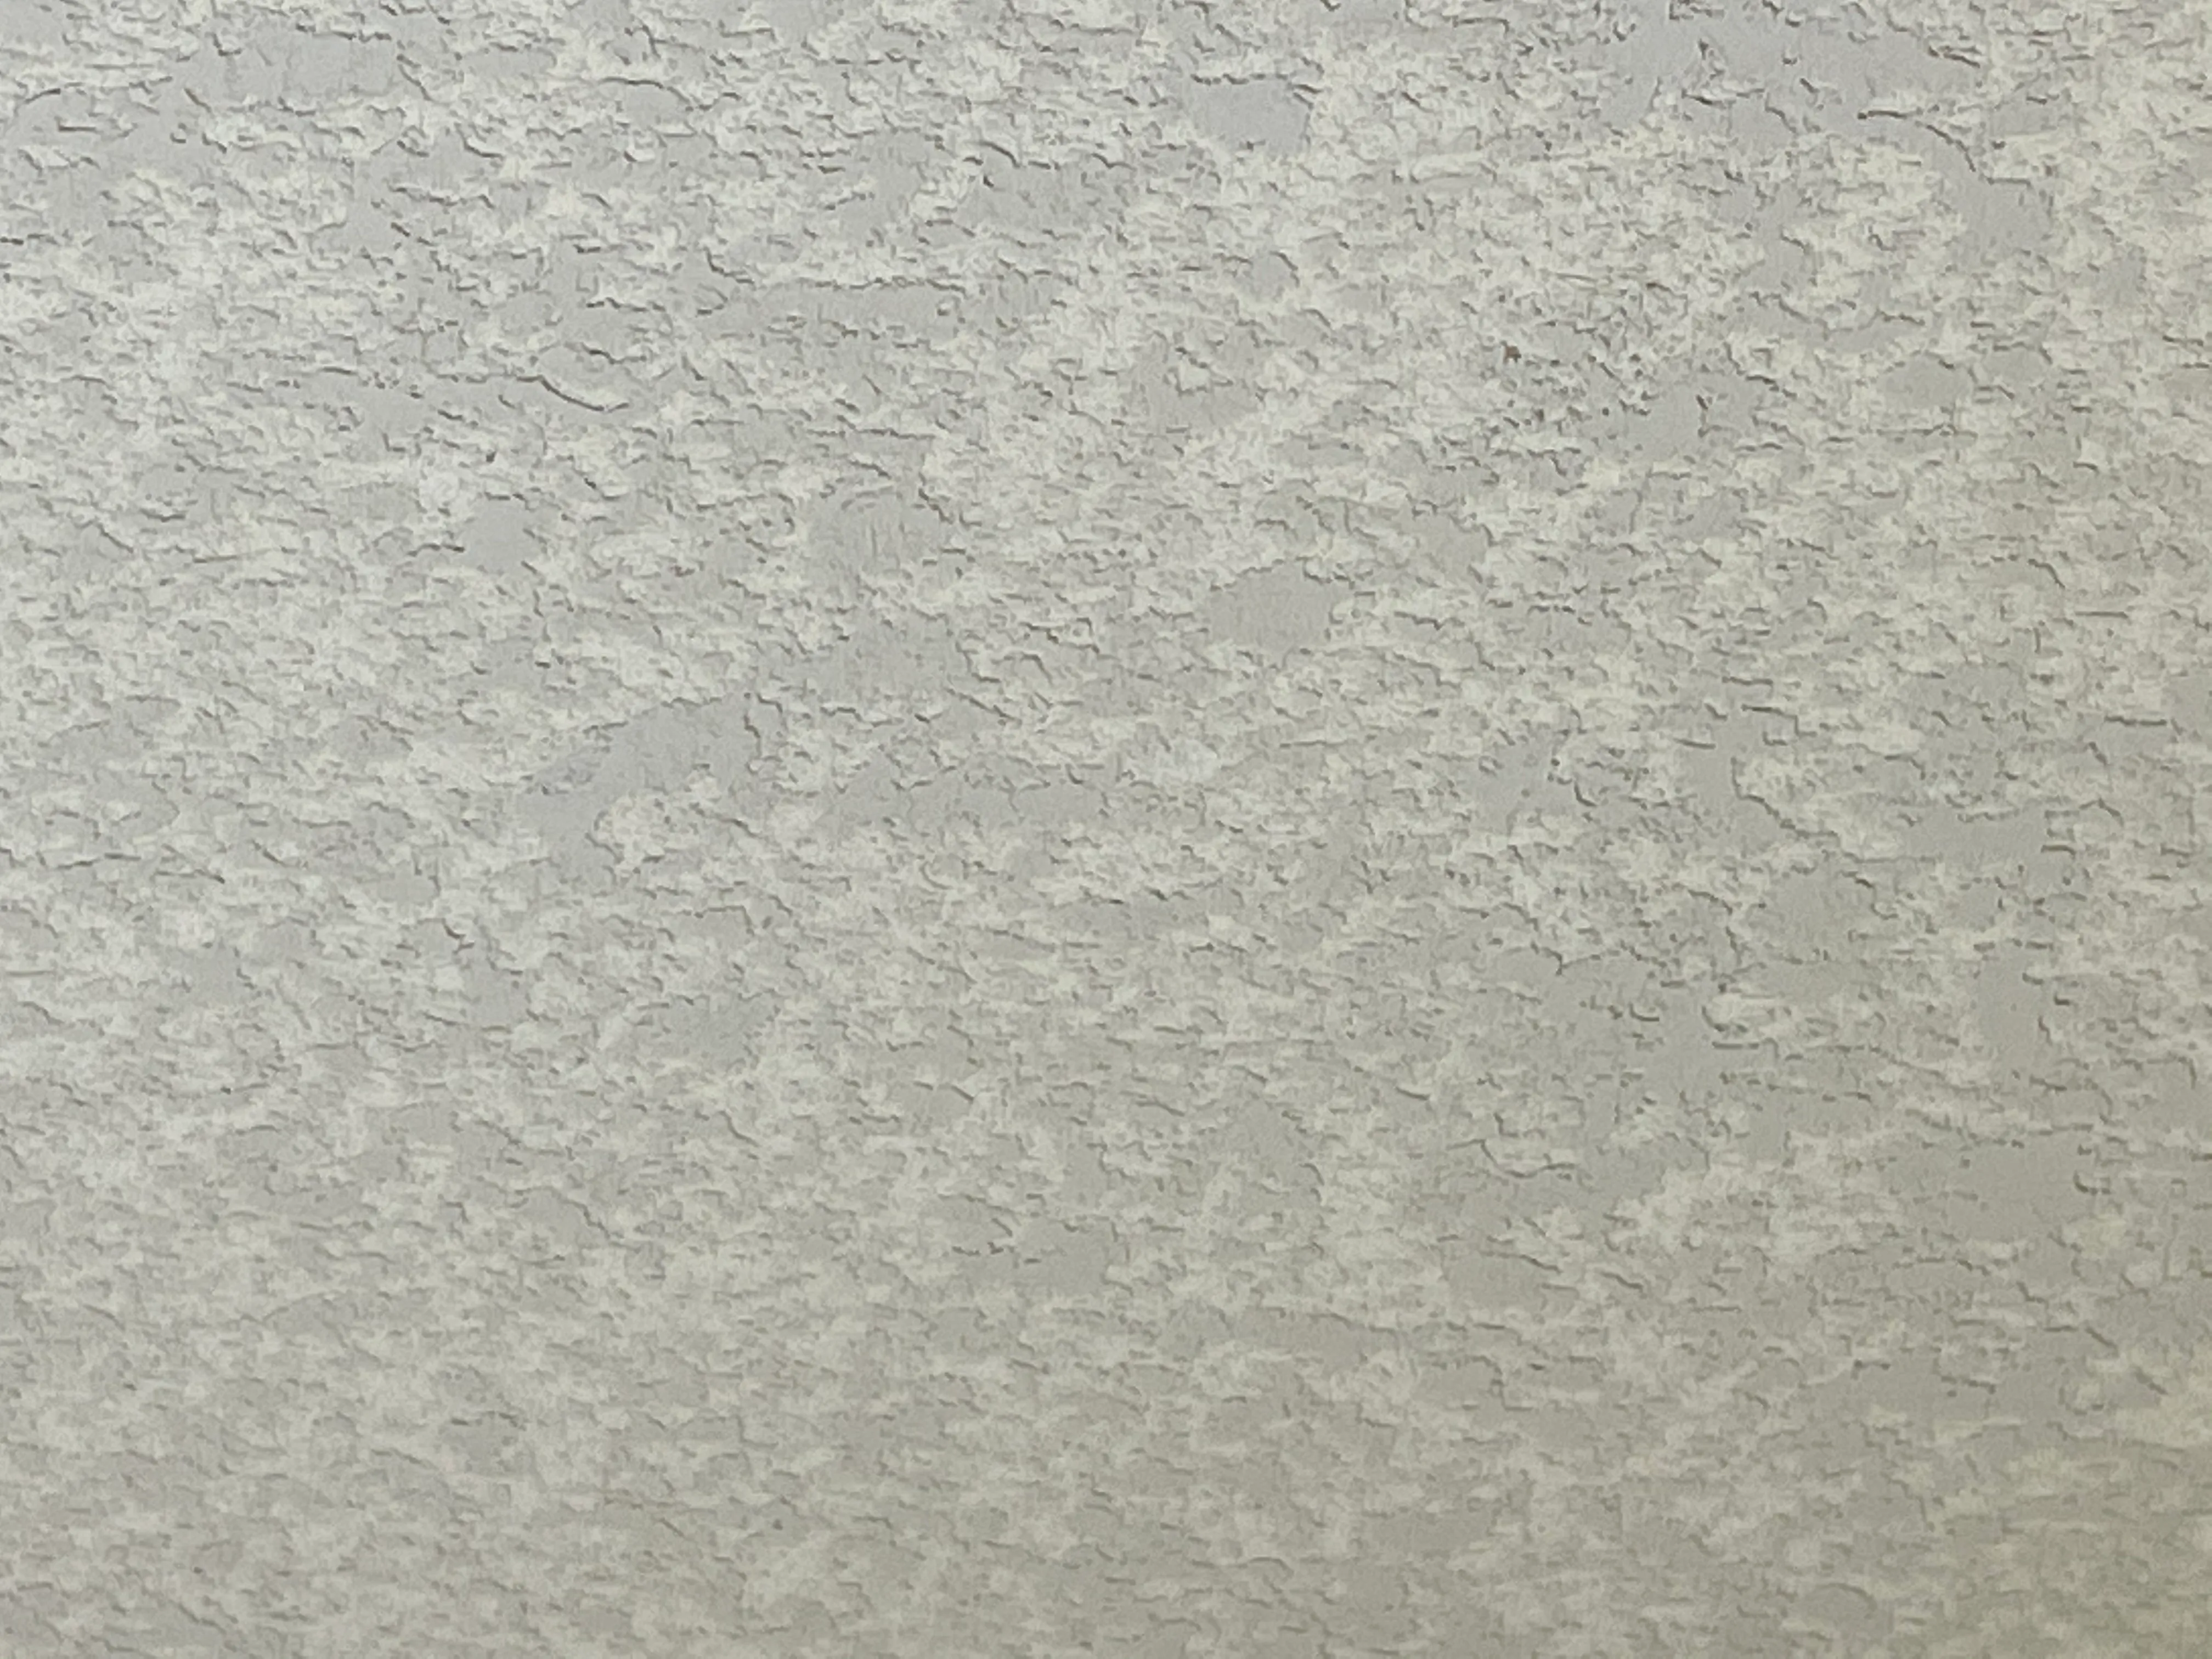
Start with a close photograph taken in ordinary room light, then a wider photograph of the entire wall. Include an unpatched area that represents the existing finish. Don't photograph only the damaged section, because that's the part the contractor is trying to blend away.
Compare the size of raised areas, the gaps between them, and how flat or rounded they look. A fine, lightly applied orange peel has a different appearance from a heavy version. Knockdown can be broad and open or much tighter. A hand-applied texture may also have a direction that becomes obvious across a large wall.
Our guide to wall and ceiling texture types helps with the names. Use it to describe the finish, then let the contractor inspect the actual surface before choosing the matching approach.
If the wall has old repairs, identify which area you want the new work to resemble. Otherwise, two people can look at the same room and choose different examples of the “existing texture.”
The surface underneath matters before texture begins
Texture isn't a substitute for a sound, properly finished patch. A raised edge, hollow area, or rough transition can remain visible after texture and paint. Ask the contractor how the repair will be supported and blended into the surrounding wall before the texture goes on.
USG's texture repair guidance starts with preparing and smoothing the repaired area. It also shows that application technique changes the pattern. The practical takeaway is that the patch preparation and texture application need to be treated as separate steps.
If you are handing the job from a plumber or electrician to a drywall crew, share photos taken before the opening was closed, if available. Confirm that the trade work is complete and that any required inspection is resolved. The drywall contractor should know what needs to remain accessible before finishing the surface.
Ask how the texture match will be evaluated
A sample can help establish direction when the existing finish is distinctive or a larger area is being repaired. Ask whether a sample board or a small agreed test area makes sense for your project, and how the result will be compared with the wall.
Use the room's normal lighting for that discussion. A texture viewed under a work light can look different after the furniture returns and daylight reaches it from the window. Show the contractor the times and angles when the mismatch bothers you most.
Agree on what is being evaluated at each stage. An unpainted texture sample won't show the final paint color or sheen. A painted sample gives more information but takes additional preparation and time. Choose the level of sampling that suits the room and the size of the repair.
Keep the decision practical. A small utility-room patch and a living-room feature wall don't need identical review processes. They do both need a shared expectation about the finish.
When a larger blend area makes sense
The damaged opening and the area that needs finishing may be different sizes. A larger blend can help create a gentler transition, but it also changes protection, material, and painting work. Ask to see the proposed finish boundary on the wall.
A corner, doorway, or ceiling edge may offer a natural stopping point. In other rooms, bringing texture across a full wall gives a more consistent result than trying to hide several earlier patches. Have the contractor explain the options instead of treating full-wall work as an automatic requirement.
Compare two clear scopes if you're unsure: a localized repair with its expected limitations, and a broader finish area. Include painting in both comparisons. Otherwise the lower drywall quote may leave a much larger paint job unaccounted for.
For a home in Camas with a long, bright living-room wall, show the whole wall in the quote photos. Its shape and light matter more than the hole's dimensions alone.
Coordinate primer, paint, and texture
Ask where the drywall contractor's work stops and the painter's begins. The phrase “ready for paint” needs a shared definition. It should be clear who handles final inspection, dust removal, primer, texture if applicable, and finish coats in the selected system.
Keep the paint product and sheen information with the job notes. A close color match doesn't settle the sheen, and a familiar brand name doesn't identify the exact finish. If you don't know what is on the wall, say so before the contractor assumes a touch-up will be possible.
Don't schedule the painter solely around the day the patch is installed. The repair and texture need to be ready for the next step under the chosen products' instructions and site conditions. Confirm that handoff with the crew.
Our hand texture service and painting service can be discussed together when you request a scope. That helps keep the finished appearance connected to the repair work.
Older texture needs the right assessment first
Tell the contractor the home's age and whether the wall or ceiling has been tested for hazardous materials. Don't scrape or sand an older finish simply to make a sample for the quote.
Popcorn ceilings deserve their own conversation. Matching an existing texture and removing it are different scopes, and testing may be needed before disturbance. Our popcorn ceiling and asbestos guide explains why an older ceiling should be assessed before work starts.
For painted surfaces in pre-1978 homes, EPA's renovation guidance recommends a properly certified lead-safe contractor for applicable work. Discuss who will assess the surface and handle any required precautions. Texture matching comes after that planning.
Share known test results and previous renovation records if you have them. Clear information helps the contractor define the work without guessing about the existing materials.
Make the quote about the finished wall
Send the close and wide photos, room dimensions, ceiling height, and any access restrictions. Mention whether the home is occupied and whether furniture can move. Protection in a furnished room is part of the work, so it belongs in the quote.
Ask the quote to identify the repair boundary, texture area, primer and paint responsibilities, drying stages, and cleanup. If appearance is the main reason you're hiring a contractor, say which view of the room matters most to you.
After the work, inspect it under the agreed conditions and record any follow-up while the details are fresh. Avoid judging wet paint or fresh texture as if it were the completed finish. Have the contractor explain when the result is ready to review.
AvilaCo handles drywall repair and texture work in Washougal, Vancouver, and nearby Southwest Washington communities. Send a photo of the whole wall alongside the damaged area, and we'll discuss a scope that accounts for both.
Common questions
Why does my drywall texture patch look different?
The texture pattern, patch transition, primer, paint sheen, or lighting may differ from the surrounding wall. Have the finished area assessed before assuming another coat of paint will solve it.
Does matching texture require finishing the whole wall?
Not always. Compare a localized blend with a larger finish area based on the existing texture, repair size, and light. Confirm the painting scope for either option.
Can you match texture from a photograph?
Photos help identify the pattern and plan an assessment. The actual wall, paint, and lighting still need to be considered before promising a particular match.
Should I scrape a piece off to show the contractor?
Send photographs first. Avoid disturbing an older finish until the contractor has considered the materials and any testing or work practices needed.