Drywall nail pops are the little round bumps or broken paint spots that appear over a fastener. You may notice one beside a doorway or a row along a ceiling. The name gets used for screw problems too, so the mark alone doesn't tell you which fastener is underneath.
A useful repair starts with checking the drywall's attachment and the surrounding wall. Covering the bump with more compound may improve the appearance for a while, but it doesn't answer why the spot appeared. Here's what to look for, what to tell your contractor, and how to plan the finishing work.
What causes drywall nail pops
Drywall is attached to framing, and the relationship between those two materials matters. Lumber shrinkage, loose attachment, and incorrectly seated fasteners can all contribute to visible fastener problems. USG's construction troubleshooting handbook describes these as separate conditions with different remedies.
That's why a photograph of a raised circle doesn't establish the cause. A contractor needs to see whether the drywall is secure, whether nearby fasteners show the same problem, and whether cracks or other changes occur in the same area.
Don't assume every new mark means a serious structural problem. And don't dismiss a changing pattern as cosmetic without having it looked at. The useful distinction is between an isolated finish defect and a wall or ceiling showing a broader change that needs evaluation.
Make a simple record before you call
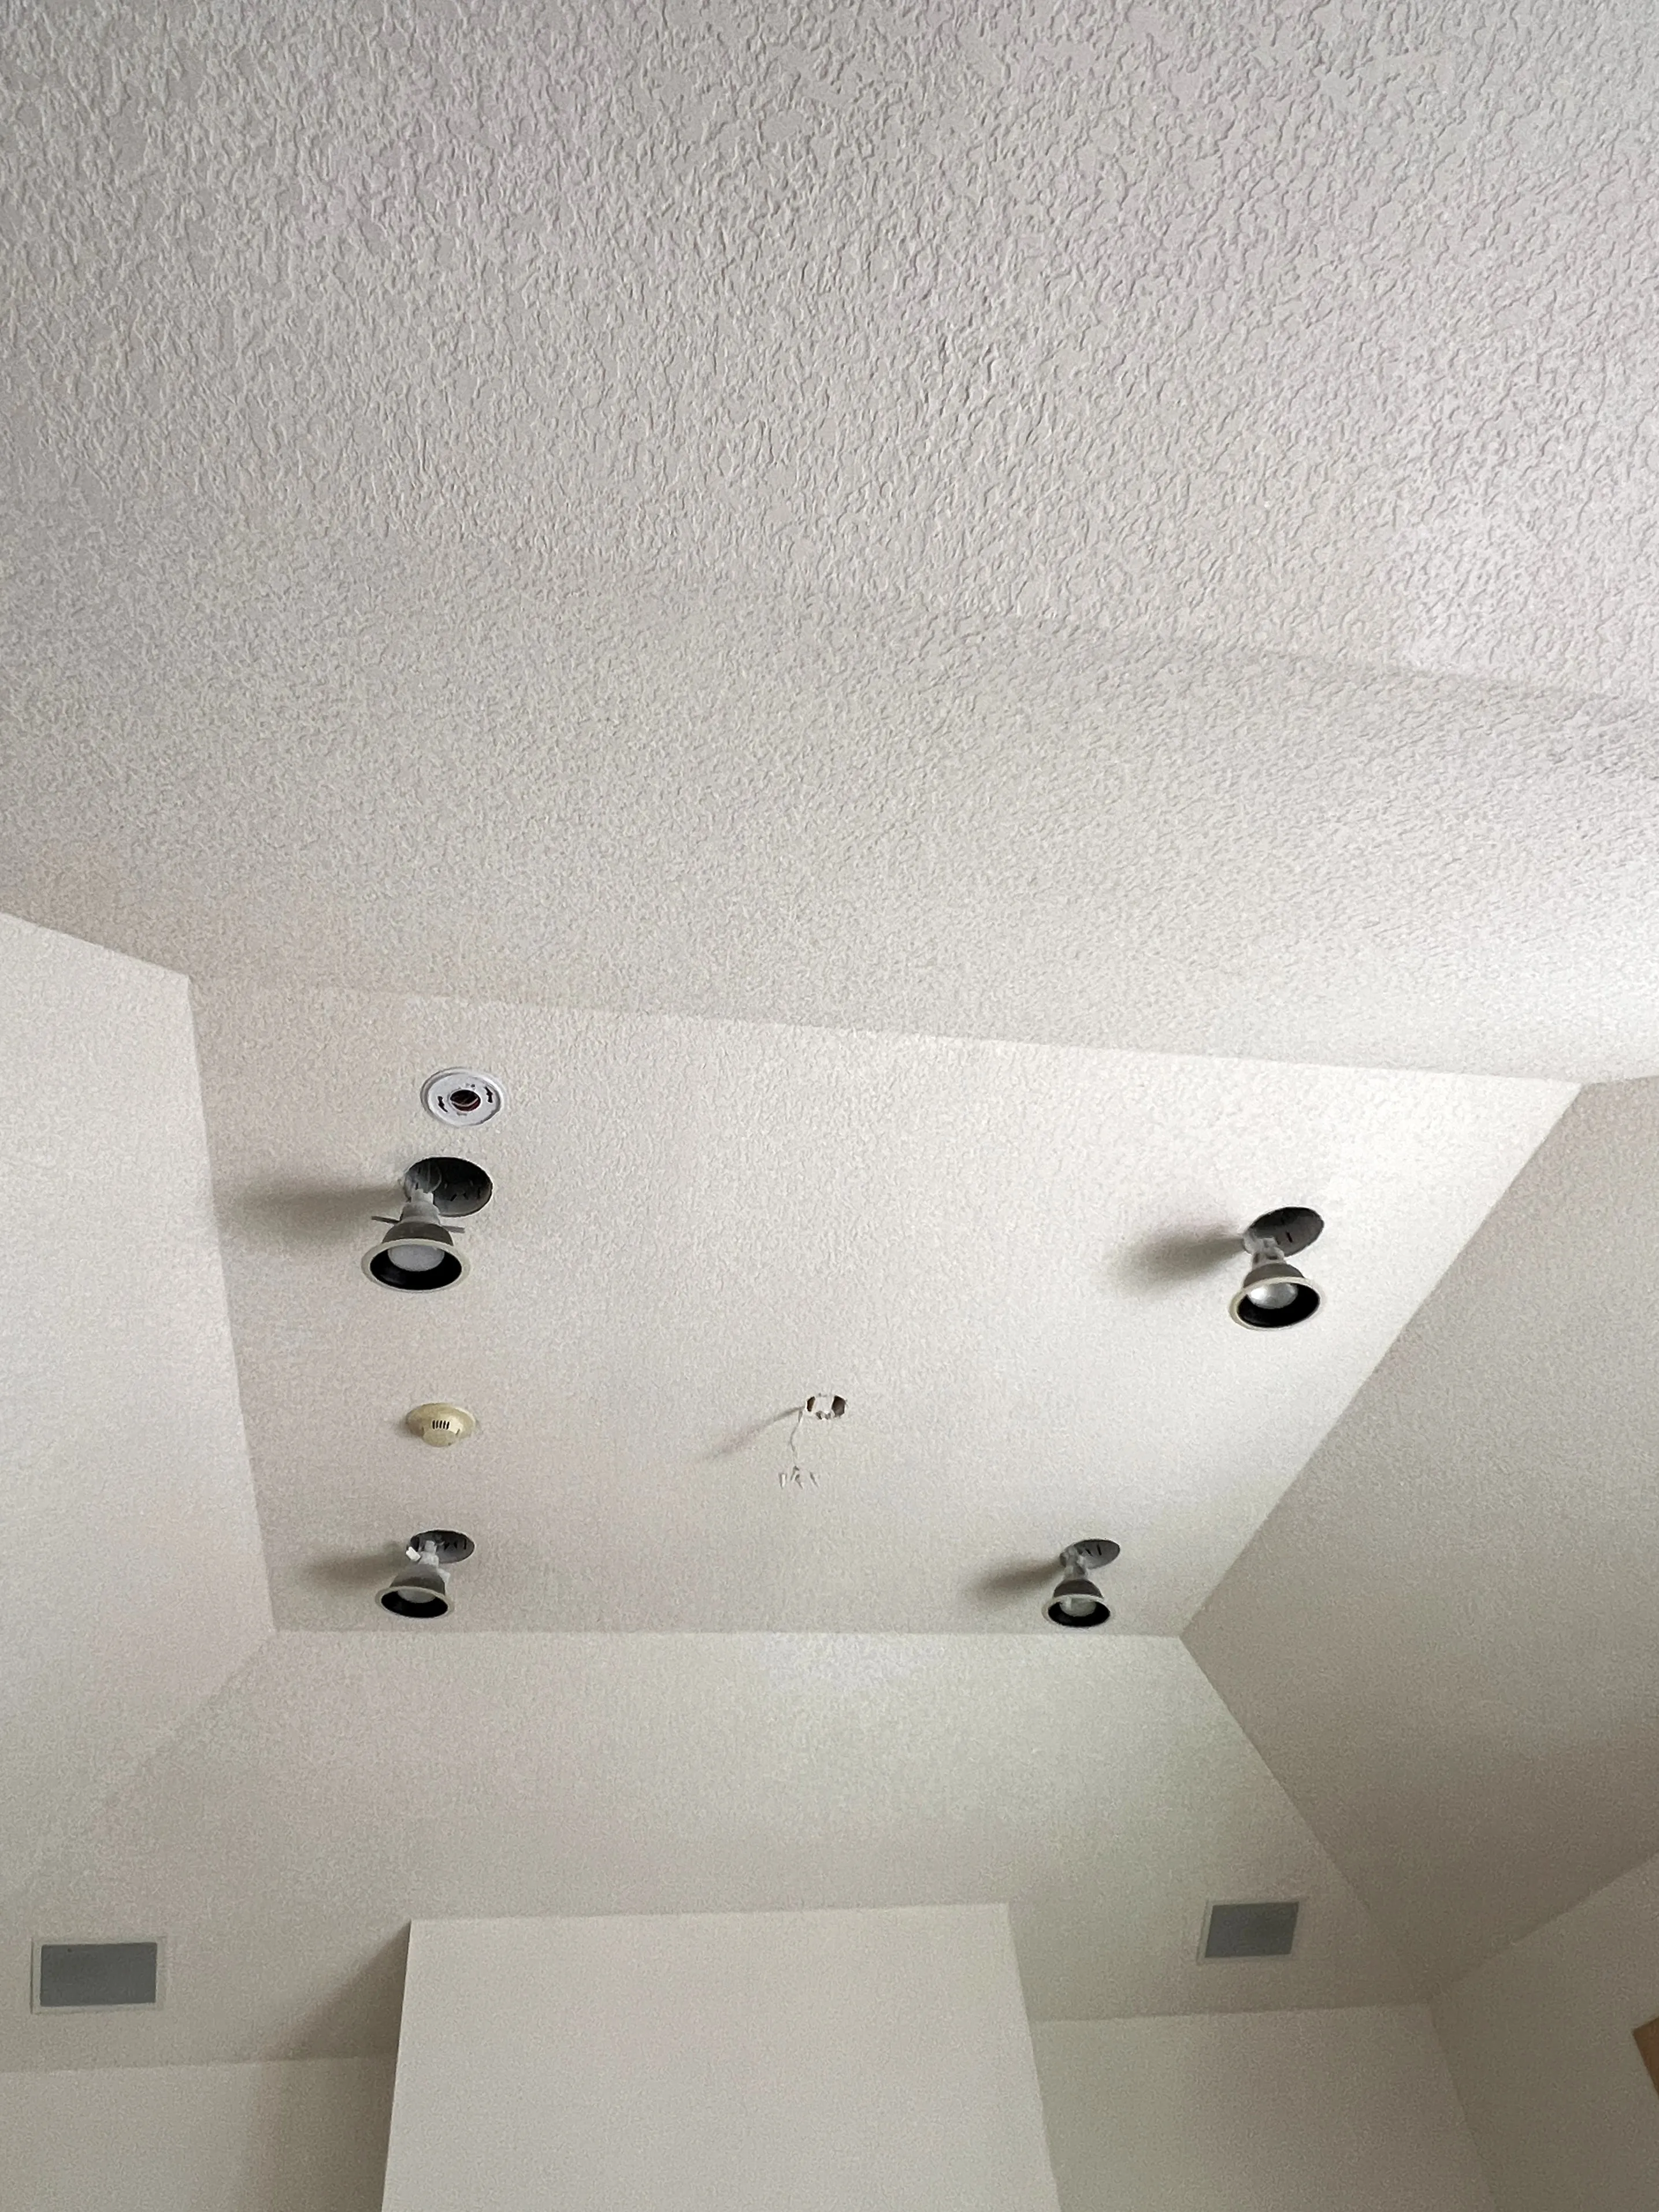
Take one close photo and one photo of the whole wall or ceiling. Include a doorway, corner, or light fixture as a reference. If there are several spots, count them and mark their locations on a room sketch.
Write down when you first noticed them and whether they have changed. Include any recent remodeling, a leak, new heating patterns, or work on the other side of the wall. These details don't prove a cause, but they give the contractor useful context.
If you repaired the same spot before, explain what was done. “Filled and painted last spring” is more helpful than “it keeps coming back.” Keep any before-and-after photos from that work. A repeat problem deserves a conversation about attachment and movement before another cosmetic repair is scheduled.
Use an existing mark as your reference rather than pressing on a damaged ceiling or removing paint to investigate. Let the contractor decide what inspection is appropriate.
When a fastener pop needs a wider assessment
Tell your contractor about new cracks, visible sagging, soft or stained drywall, or doors and windows that have begun behaving differently. Those observations may change who needs to assess the problem and what work should happen first.
A sagging or visibly unstable ceiling needs prompt professional evaluation. Keep people clear of the affected area. Don't treat it as a routine nail-pop visit or try to push it back into place yourself.
If water is involved, the source and material condition need attention before the finish is restored. Our water-damaged ceiling guide covers that repair conversation. A dry-looking surface after a leak doesn't by itself tell you that everything behind it is ready to close.
A gap where a wall meets a ceiling is another distinct issue. Our article on wall-to-ceiling gaps and truss uplift explains one possible cause. Have the actual condition checked rather than assigning that diagnosis from the shape of a crack.
What a nail-pop repair should include
Ask how the contractor will secure the affected drywall before finishing it. USG's repair guidance treats a popped fastener as an attachment repair followed by compound, drying, sanding, and priming. The exact repair still needs to suit the wall assembly and what the inspection finds.
You don't need to specify the fastener from an online shopping list. Ask the contractor to explain the method and why it fits the condition. If the repair is part of a garage separation or another special assembly, bring that up so the assembly is considered.
Clarify the boundary of the work. Will the crew repair only the spots you've identified, inspect the whole affected wall, or address additional visible defects under a separate allowance? Agree on that before the crew starts so both sides know what the finished scope includes.
Plan texture and paint as part of the result
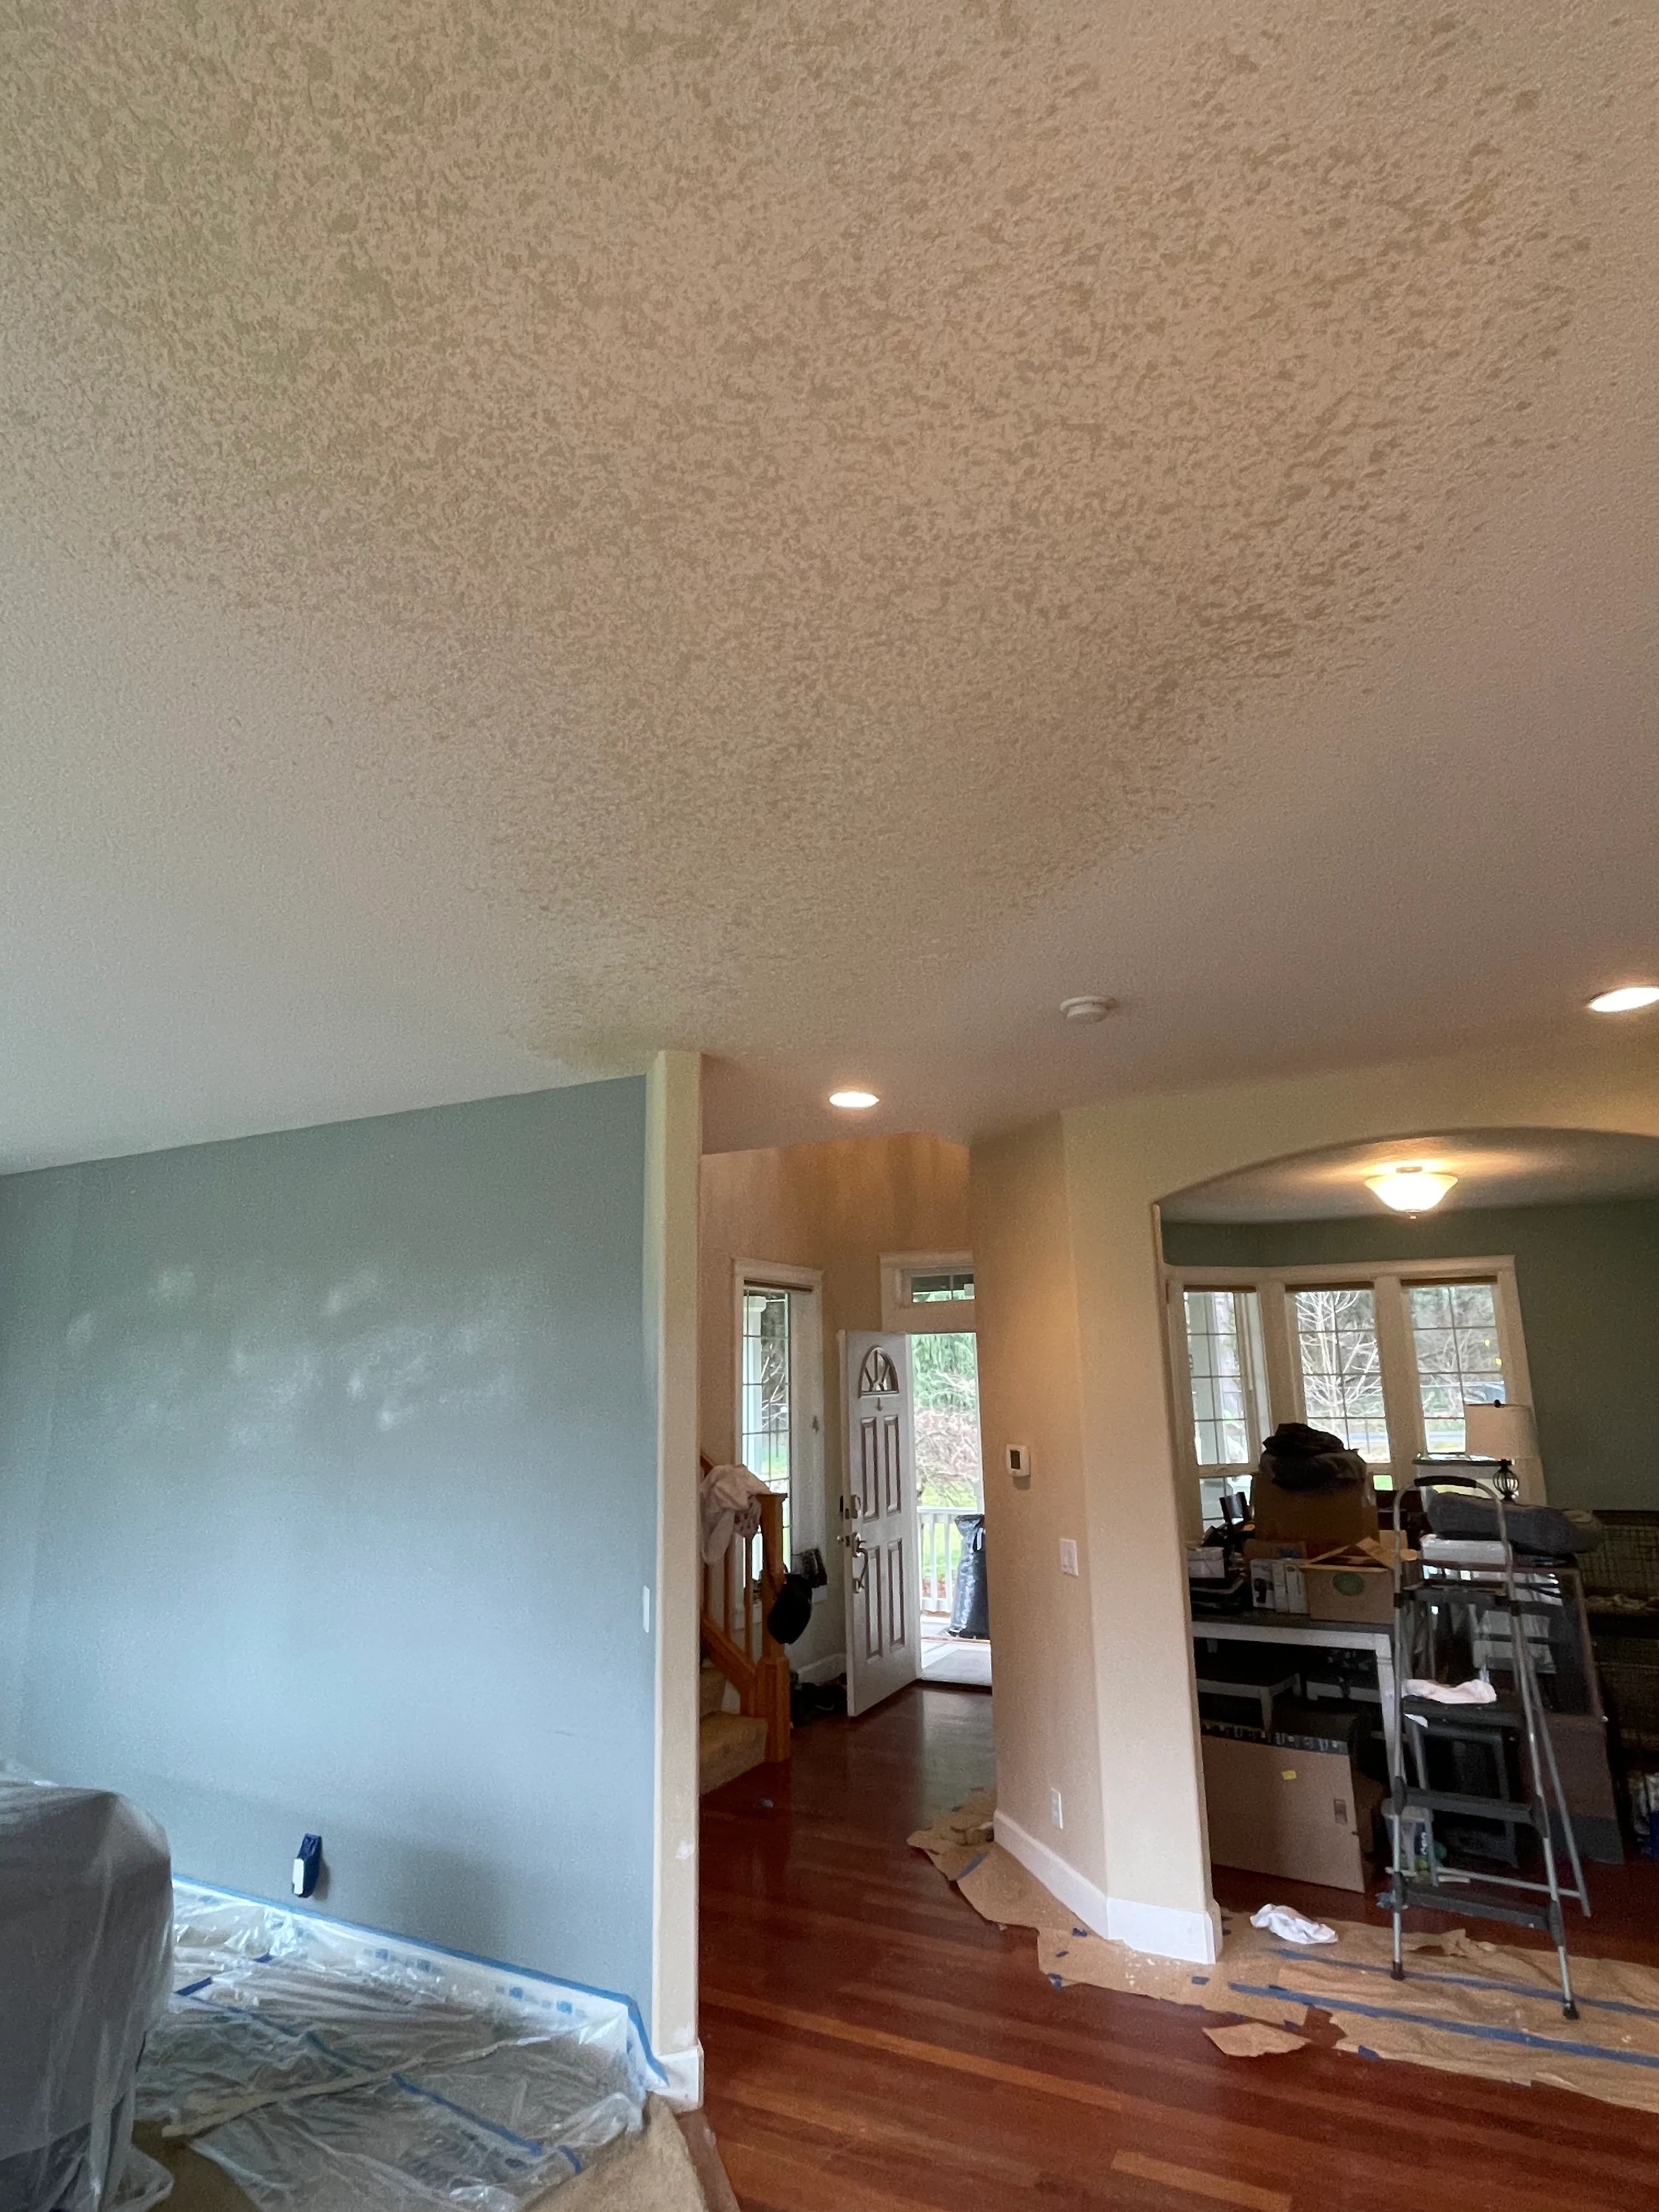
The filled fastener spot is only part of what you'll see afterward. A smooth patch in a textured wall can stand out even when it's flat. A touched-up area can also look different if the paint's color or sheen doesn't match the surrounding finish.
Show the contractor the wall under the lighting you normally use. A ceiling near a large window deserves particular attention because the light travels across the surface. Ask whether a small texture blend is reasonable and how much painting is included.
If you have leftover paint, photograph the label and tell the crew how long it has been stored. The can may help identify the product and sheen, but it doesn't guarantee an invisible touch-up on an aged wall.
AvilaCo offers texture finishing and painting. Discuss those steps with the drywall repair so you're comparing complete scopes, including the visible finish you expect.
Group repairs without losing track of priorities
If you have several small drywall nail pops around the house, make one room-by-room list. Include the ceiling height and anything that limits access, such as a stairwell or built-in shelving. Several small repairs may share setup work, but a tall ceiling can require a different approach from a bedroom wall.
Keep active concerns separate from cosmetic items. A damp area shouldn't wait simply because you plan to repaint the rest of the house later. Conversely, an isolated stable finish defect may fit neatly into a planned painting project after assessment.
Ask about the number of visits and the point when the room can be used normally. Drying and finish stages affect the calendar even when each visit is short. Our drywall repair timeline guide explains the stages to discuss rather than treating a small spot as an automatic one-visit job.
Prepare the room and keep a follow-up record
Clear the work area according to the crew's instructions and move fragile belongings before arrival. Ask who protects furniture and flooring and what cleanup is included. Keep children and pets away from the work zone until the crew says it can be used again.
For an older home, tell the contractor the building's age before any sanding or disturbance begins. EPA recommends using a properly certified lead-safe contractor for applicable work in pre-1978 homes. Its consumer renovation guidance explains the concern. Discuss the required assessment and work practices before agreeing to the repair.
Afterward, photograph the finished area and save the work description. If a mark returns, send that record back to the contractor. It gives you a useful starting point for follow-up.
AvilaCo provides drywall repair in Battle Ground, Ridgefield, and surrounding Southwest Washington communities. Send the room photos, repair history, and any related changes when you request a quote.
Common questions
Are drywall nail pops always a structural problem?
No. They can be isolated attachment or finish defects. New sagging, spreading cracks, water damage, or other changes call for a wider assessment before patching.
Why does a nail pop return after I fill it?
The original repair may not have addressed attachment or movement. Have the affected drywall and surrounding area checked before adding another cosmetic patch.
Can nail pops be repaired before repainting?
Yes. Coordinate the attachment repair, compound, texture, primer, and paint as one sequence. Confirm the drying stages and paint scope with the contractor.
Will the repair be invisible?
The result depends on the existing texture, light, paint, and condition. Ask what blending is realistic and whether the wall or ceiling needs a broader finish area.