Knowing how to patch a hole in drywall saves you a call for the small stuff and helps you spot the jobs that need a pro. A nail hole takes a few minutes. A doorknob hole takes an afternoon, with drying time between coats. A big cutout in a ceiling is another story.
This guide goes by size, so you can find your hole and see what the repair involves. We also point out where the repair is easy and where the finish, texture, and paint make it hard. If you'd rather hand it off, our crew handles drywall patching across Clark County.
Check What's Behind the Wall First
Before you cut anything, look at where the hole is. Walls and ceilings hide wiring, plumbing, and ducts. If you need to cut a hole bigger than the damage, find a safe spot by turning off power to the area and checking for pipes. A stud finder with a wire detector helps. When in doubt, stop and call a pro.
Age matters too. Texture on older ceilings and walls sometimes contains asbestos, and sanding or cutting it can release fibers. If your home was built before the 1980s, read our post on whether popcorn ceilings have asbestos. The EPA's asbestos page explains the basics, and the Southwest Clean Air Agency covers local rules at swcleanair.gov.
If the hole came from water, a pipe, or an electrical box, fix the cause first. We cover that in drywall repair after plumbing and electrical work.
Patching Nail Holes and Screw Holes
This is the easiest repair there is. Pull the nail or anchor, scrape off any loose paper, and press a small amount of lightweight spackle in with a putty knife. Let it dry, sand it flat with fine sandpaper, wipe off the dust, and touch up the paint.
If the spackle shrinks as it dries, add a second thin coat. Don't try to fill it all in one thick pass.
One note. If a hole shows up where there was no nail, or a small bump keeps coming back in the same line, that's a different problem. Our post on drywall nail pops explains what to look for.
How to Patch a Small Drywall Hole
A small drywall hole, like the one a doorknob makes, usually runs up to about 3 or 4 inches across. A self-adhesive mesh patch is the easiest way to fix it. Here's how:
- Cut away loose paper and crumbling edges with a utility knife.
- Wipe the wall clean of dust so the patch sticks.
- Press the mesh patch over the hole so it overlaps the edges on all sides.
- Spread joint compound over the patch with a taping knife, pressing it into the mesh and feathering the edges outward.
- Let it dry fully, then add a second coat that's a little wider than the first.
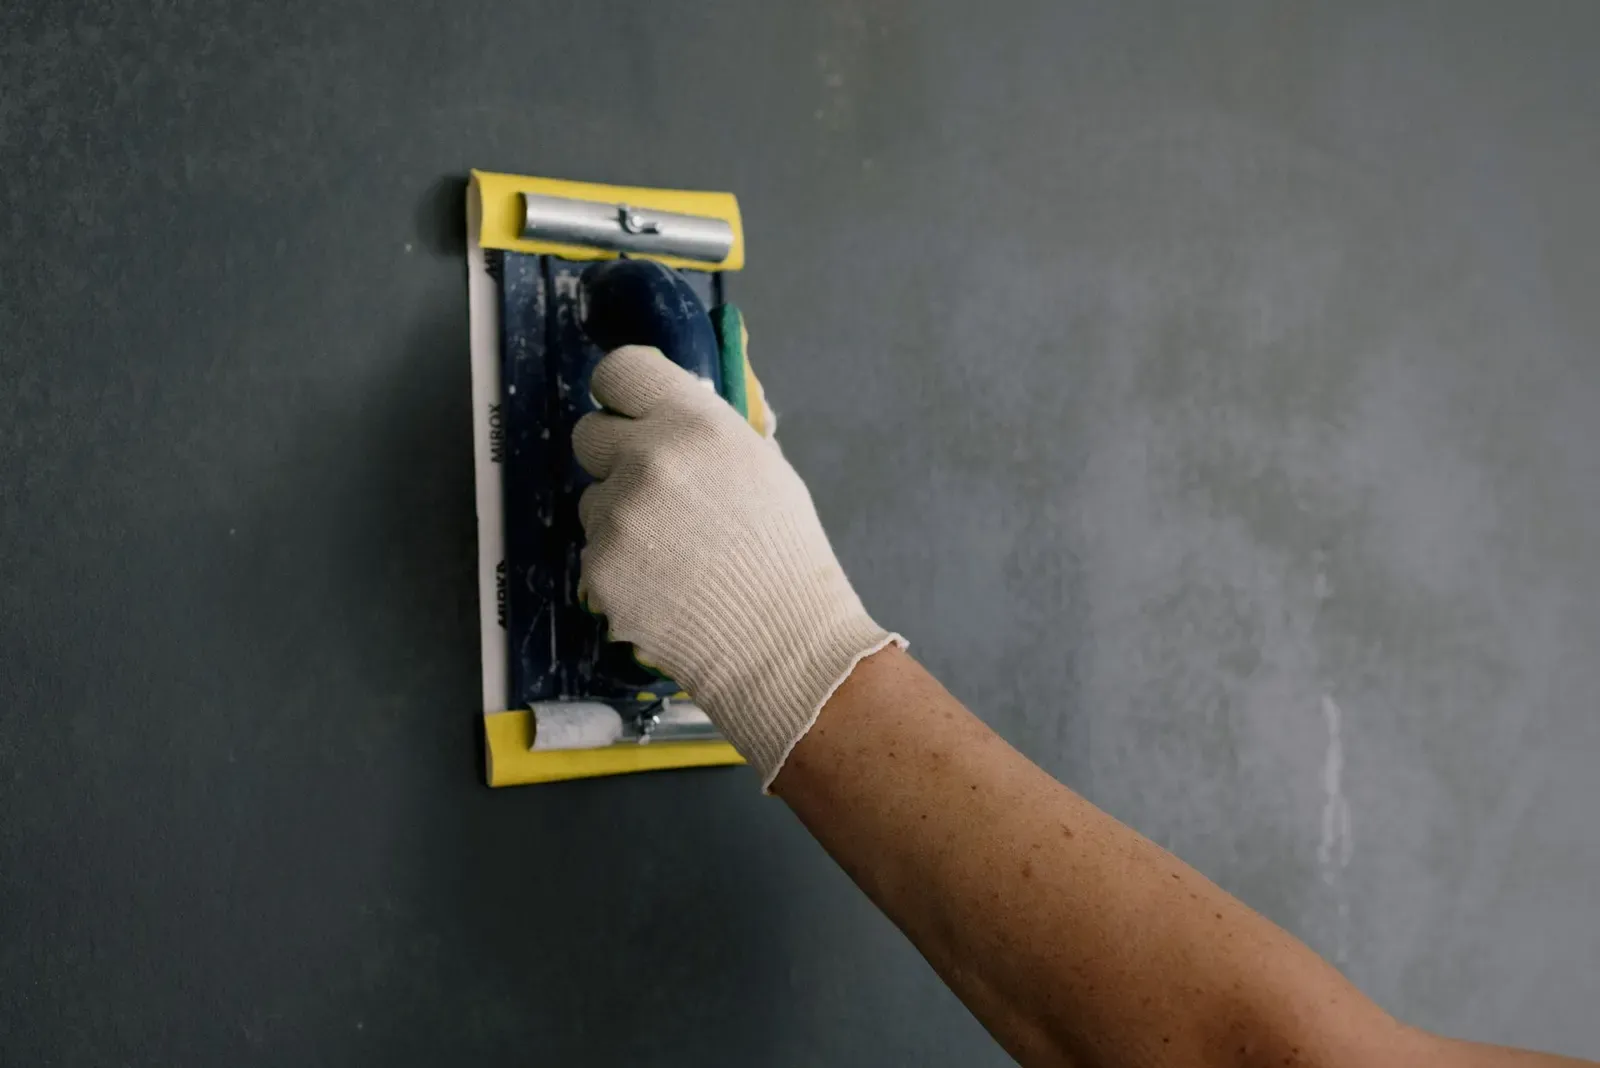
- Sand smooth, prime, and paint.
Setting-type compound, the kind you mix from powder, dries harder and shrinks less than premixed. It's a good choice for the first coat over mesh. Premixed all-purpose compound works for the finishing coats and sands easier.
Repairing a Medium Hole in Drywall
Once a hole gets past about 4 inches, mesh alone doesn't have enough to grab. You need something solid behind it. There are two common ways to do this.
The first is a metal-backed or rigid patch kit, sold at any hardware store. It's quick, and it works for holes up to about 6 inches.
The second is a drywall patch cut from a scrap.
Cut a square around the hole, trace the same size from a new piece of drywall, and fit it in. Screw a couple of backer strips or a piece of scrap behind the hole so the new piece has something to sit on. Then tape the seams with mesh tape, apply compound, let it dry, and apply two more coats, each wider than the last.
A scrap patch takes more steps, but it makes a flat, strong repair when you take your time. The final sanding is the part that shows. Rushing it leaves ridges that come through the paint, which we explain in our post on a drywall patch showing through paint.
How to Repair a Large Hole in Drywall
A large hole means anything past about 6 inches, a cut-out for a removed fixture, or a section that's been damaged by water. The job is the same as the scrap patch, only bigger.
You cut the damaged area back to a square or rectangle that lands on studs or joists, or you add backing so the new board has something to fasten to. Then you hang a new piece, tape the seams, and finish with three coats of compound.
This is where it starts to make sense to hire out. A big patch needs a square cut, solid backing, flat taping, and a finish that matches what's around it. A mistake in any of those shows once the paint goes on. Our electrical box repair project and kitchen ceiling patch project show what that work looks like start to finish.
If the patch is on a ceiling, give yourself a helper. Holding the board and screwing it up overhead is hard to do alone.
Patching a Hole in a Drywall Ceiling
A ceiling hole repair follows the same steps as a wall, with a few extra hurdles. Gravity works against wet compound, so thin coats beat thick ones. Dust falls straight into your eyes, so wear safety glasses and a mask. And a textured ceiling is harder to match than a flat wall.
Look above the hole before you start. A ceiling hole under a bathroom, a kitchen, or a roofline often comes from a leak. Fix the leak first. Our post on water-damaged ceilings explains what to look for.
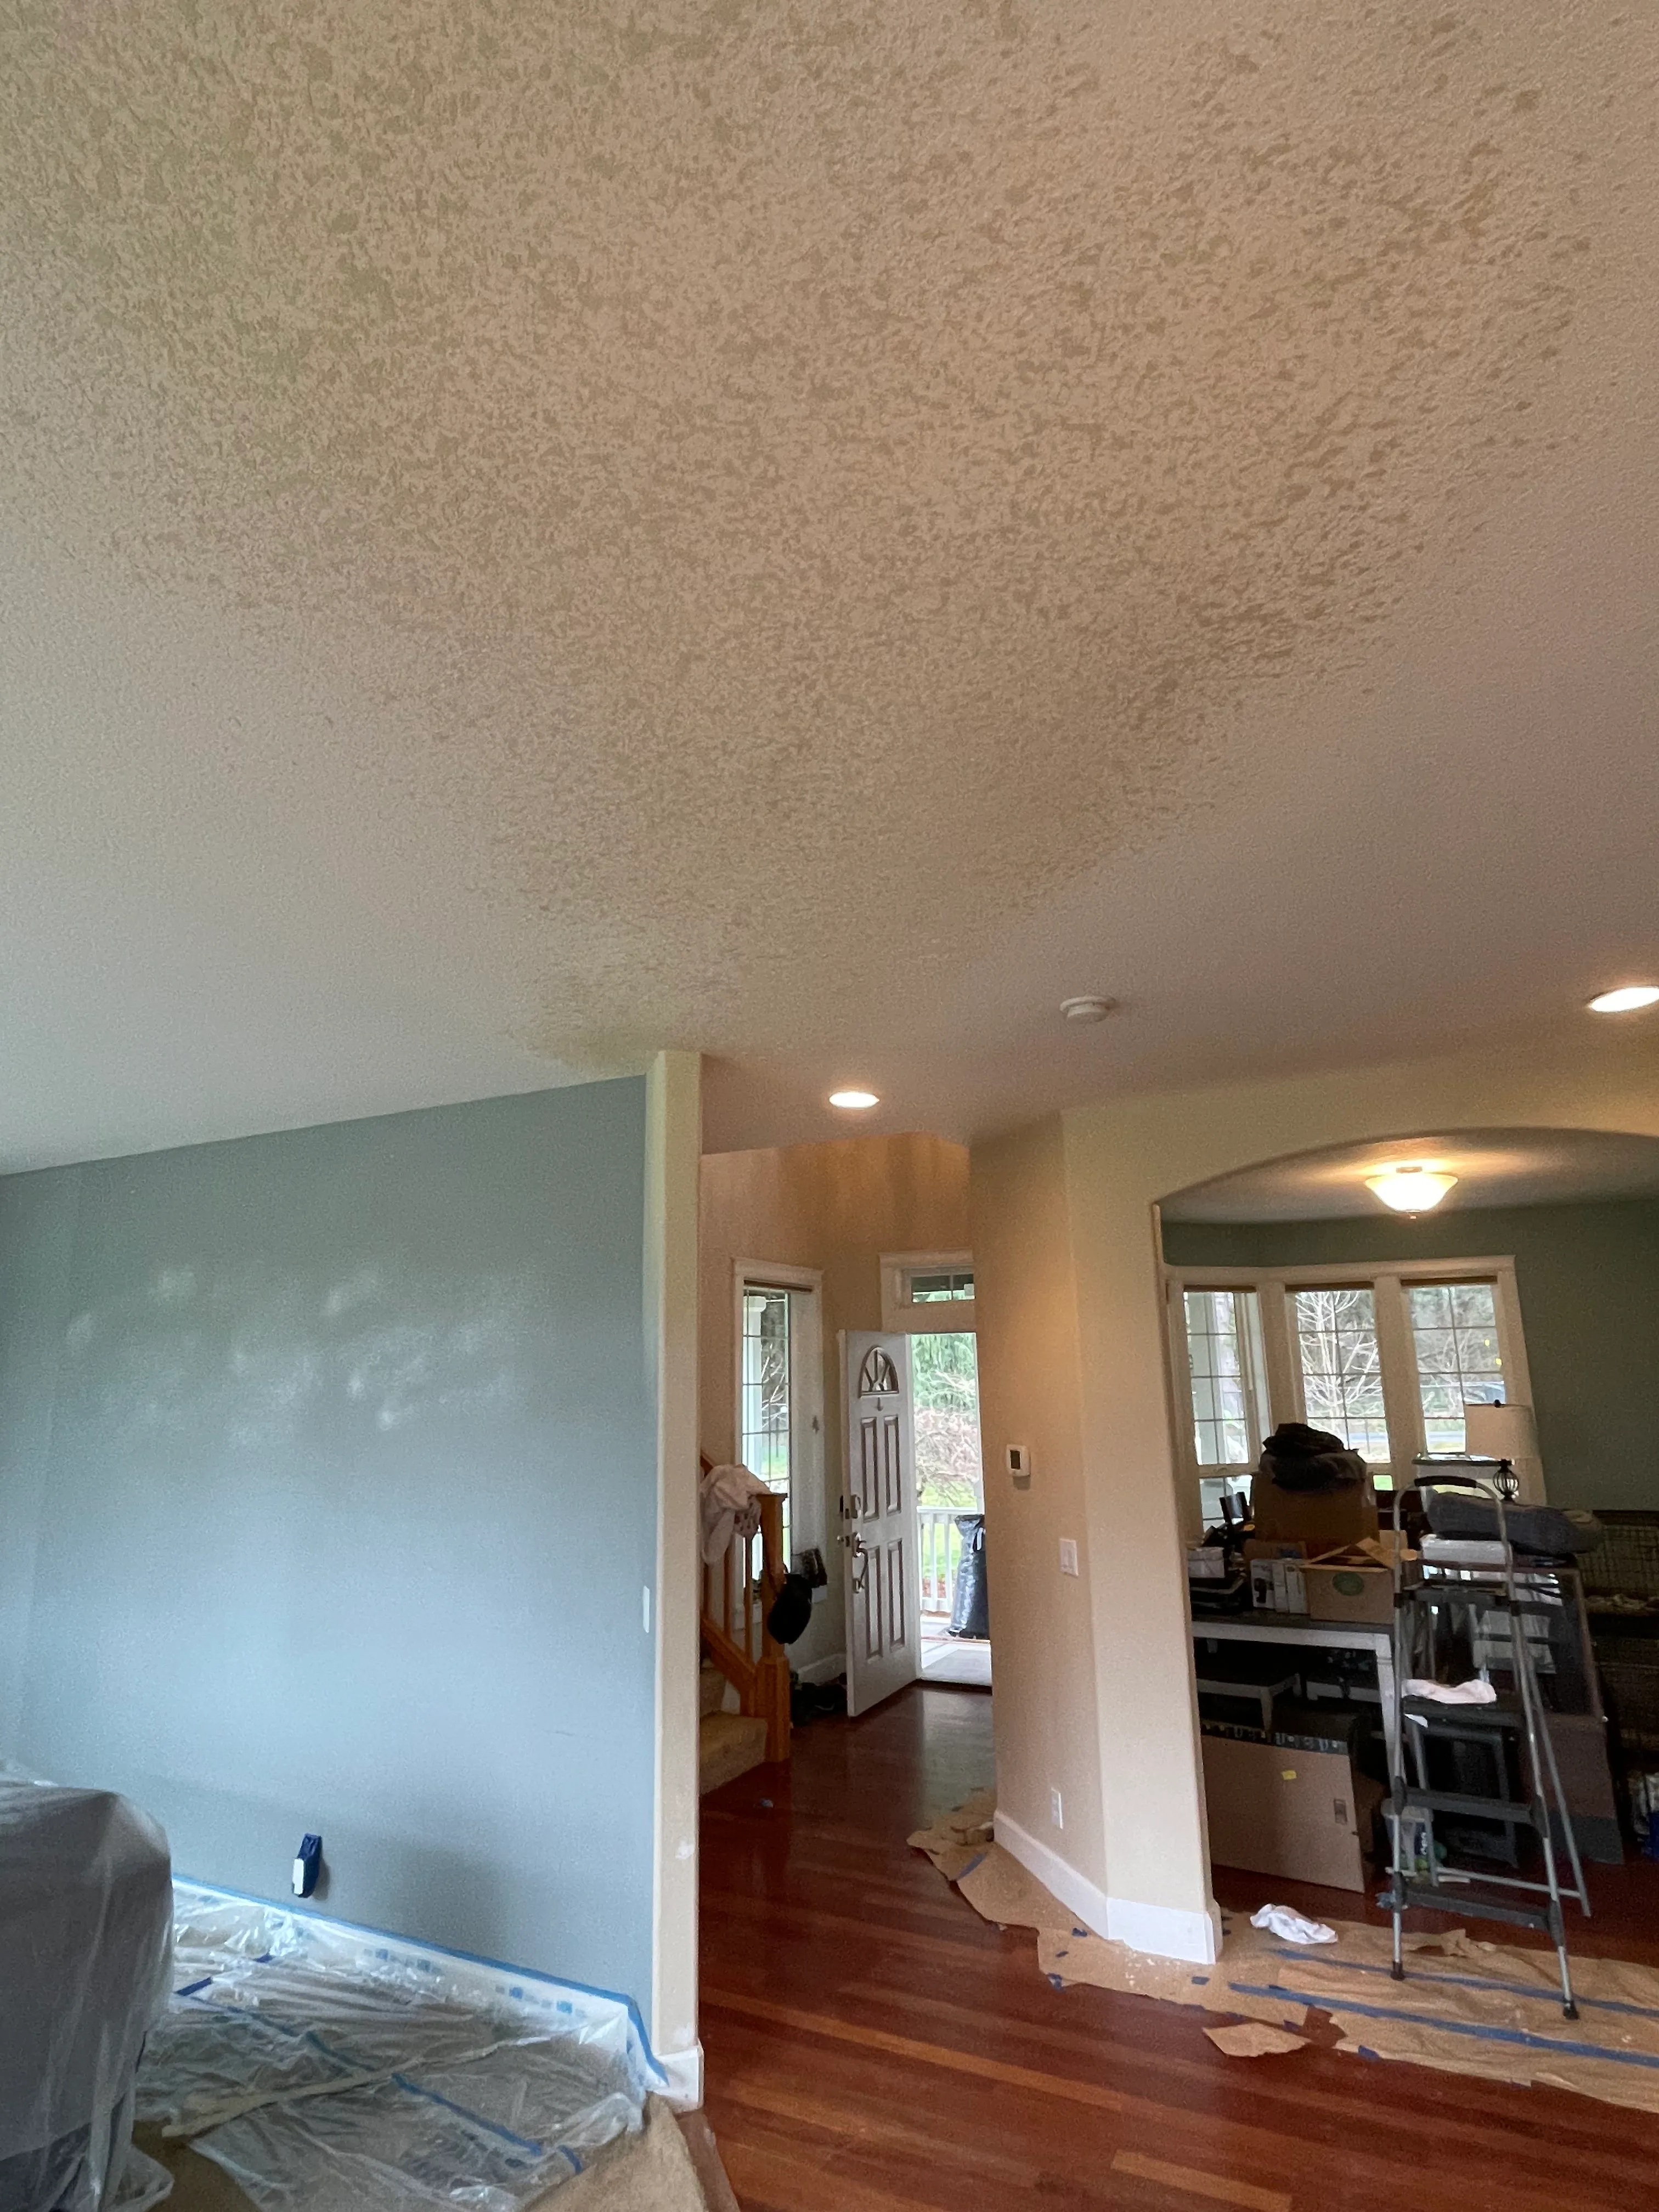
If your ceiling has popcorn texture, don't scrape or sand it until you know what's in it.
Matching Texture and Paint
Filling the hole is half the repair. The other half is making it disappear, and that's where most DIY patches fall short. A smooth patch on a knockdown wall stands out, and a coat of new paint over old paint can leave a flat spot that catches the light.
You can get close with a spray can or a sponge, depending on the texture. Our guide to matching drywall texture after a repair covers the options. Prime the patch before you paint, and if you can, repaint the whole wall from corner to corner so the sheen matches.
If you want the repair to vanish, our hand texture service blends knockdown, orange peel, and skip trowel into the wall around it.
When to Hire a Pro to Patch the Hole
A handy homeowner can fix a nail hole or a doorknob hole in an afternoon. Hire a pro when the hole is large, when it's on a ceiling, when the wall has texture you can't match, or when there's water, wiring, or an old texture in the picture. You can also call us if you've patched a spot before and it keeps showing.
Our five signs your drywall needs repair post will help you decide whether a spot is a cosmetic fix or something bigger. If cost is on your mind, what changes a drywall repair quote breaks it down.
When you're ready, our drywall repair service covers holes of every size in Vancouver, WA, Battle Ground, Camas, and nearby towns. Send us a photo and we'll tell you what the repair needs.
Common Questions
What's the easiest way to patch a hole in drywall?
For small holes, use a self-adhesive mesh patch. Press it over the hole, spread joint compound across it, let it dry, add a second wider coat, then sand and paint. Nail holes only need spackle.
How do you patch a large hole in drywall?
Cut the damaged area back to a clean square, add backing so a new piece has something to fasten to, and screw in the patch. Tape the seams, then finish with three thin coats of compound, sanding between coats. Large patches are where many people choose to hire a pro.
How do you do a ceiling hole repair?
It's the same method as a wall, only harder. Use thin coats of compound, wear eye protection, and have a helper hold the patch. Check for a leak above the hole first, and don't sand an older textured ceiling until you know what's in it.
What should I check before cutting into drywall?
Check for wires, pipes, and ducts behind the wall, and turn off power to the area if you're near an outlet or switch. If the home was built before the 1980s, find out whether the texture could contain asbestos before cutting or sanding.
Why does my drywall patch still show after painting?
The most common causes are a patch that wasn't sanded flat, a missing coat of primer, or a texture that doesn't match. Our post on drywall patches showing through paint walks through each cause.