Microcement Shower Walls & Surfaces in Vancouver, WA
AvilaCo Drywall builds microcement shower walls, tub surrounds, bathroom floors, and countertops across Vancouver, Washington and Clark County. Microcement is a thin, seamless coating that goes over tile, cement board, and drywall without demolition, so there's no grout to scrub and no dumpster in the driveway. In a wet area the finish is only half the job. The waterproofing behind it is the other half, and we build both.
Free Microcement Quote
No strings. We respond within 24 hours.
Free Microcement Quote
No strings. We respond within 24 hours.
I have used AvilaCo for all of my Drywall for several years now. He has done everything from patches to multi million dollar homes for me as well as repairs and patching in my own home. I highly recommend them for any work you need.
Is microcement waterproof? The honest answer
Microcement is not the waterproofing. The membrane behind it is. That's the part the kit sellers leave out, and it's the reason some microcement showers fail in Clark County while others are still tight a decade in.
A finished, sealed microcement shower wall sheds water all day long. There are no grout joints to soak up soap and hold mold, nothing to re-caulk every couple of years, and it wipes down with a cloth. But microcement is a cement-based coating a few millimeters thick, and cement breathes. Give it a few thousand hot showers and moisture works its way through. If the only thing between the water and your framing is the microcement, you have a leak on the way.
So we build a microcement shower the same way a good tile setter builds one. Bonded liquid membrane over a sound substrate, fabric banding in every corner and around every penetration, then microcement on top as the finish. Water that gets past the surface hits the membrane and drains at the pan, exactly like it would behind tile. The difference is what you look at and what you have to clean.
What that means for your quote: we won't price a microcement shower off a photo. We need to see the substrate, tap the tile, and look at the pan first. Every bathroom is quoted after we see what's actually behind the wall. Set up a free estimate and we'll come look at it.
The microcement shower assembly, layer by layer
Microcement shower walls are six layers deep, and five of those layers are invisible when we're done. Here's the whole stack, from the board out.
The substrate
Inside the splash zone we want cement board or sound, tight tile. Outside it, standard or moisture-resistant drywall is fine. If the board behind the shower is soft, swollen, or crumbling at the fastener heads, it comes out before anything else happens. Our guide to bathroom drywall and moisture covers which board belongs where.
Prep and keying
Glazed tile is slick by design, so we abrade the face, fill the grout joints flush, and roll on a grit-loaded bonding primer that gives the next layer something to bite. Any hollow tile gets pulled and patched first. Skipping this step is how microcement ends up sheeting off a wall two years later.
Liquid membrane and seam banding
This is the waterproofing. Two rolled coats of liquid membrane across the whole wet zone, with fabric banding worked into every inside corner, every change of plane, the niche, and around the valve and shower arm. Water that gets past the finish stops here and drains at the pan.
Base coats and mesh
Fiberglass mesh gets embedded in the first base coat wall to wall, not just over the joints. A second base coat buries the mesh and gets sanded flat. The mesh is what keeps a hairline movement crack in the substrate from telegraphing straight through your finish.
Finish coats
Two thin trowel coats of microcement, hand worked. This is the layer you actually see, and it's where the color, the movement, and the depth come from. On shower walls we keep the trowel pattern tighter than we would on a bedroom accent wall so water sheets off instead of sitting in the texture.
Sealer and cure
Two to three coats of a polyurethane or epoxy topcoat rated for continuous water exposure, rolled and back-brushed into the corners. Then the shower sits. Plan on a few days between our last coat and your first shower, and we'll give you the date at handoff.
A seamless finish over surfaces you already have
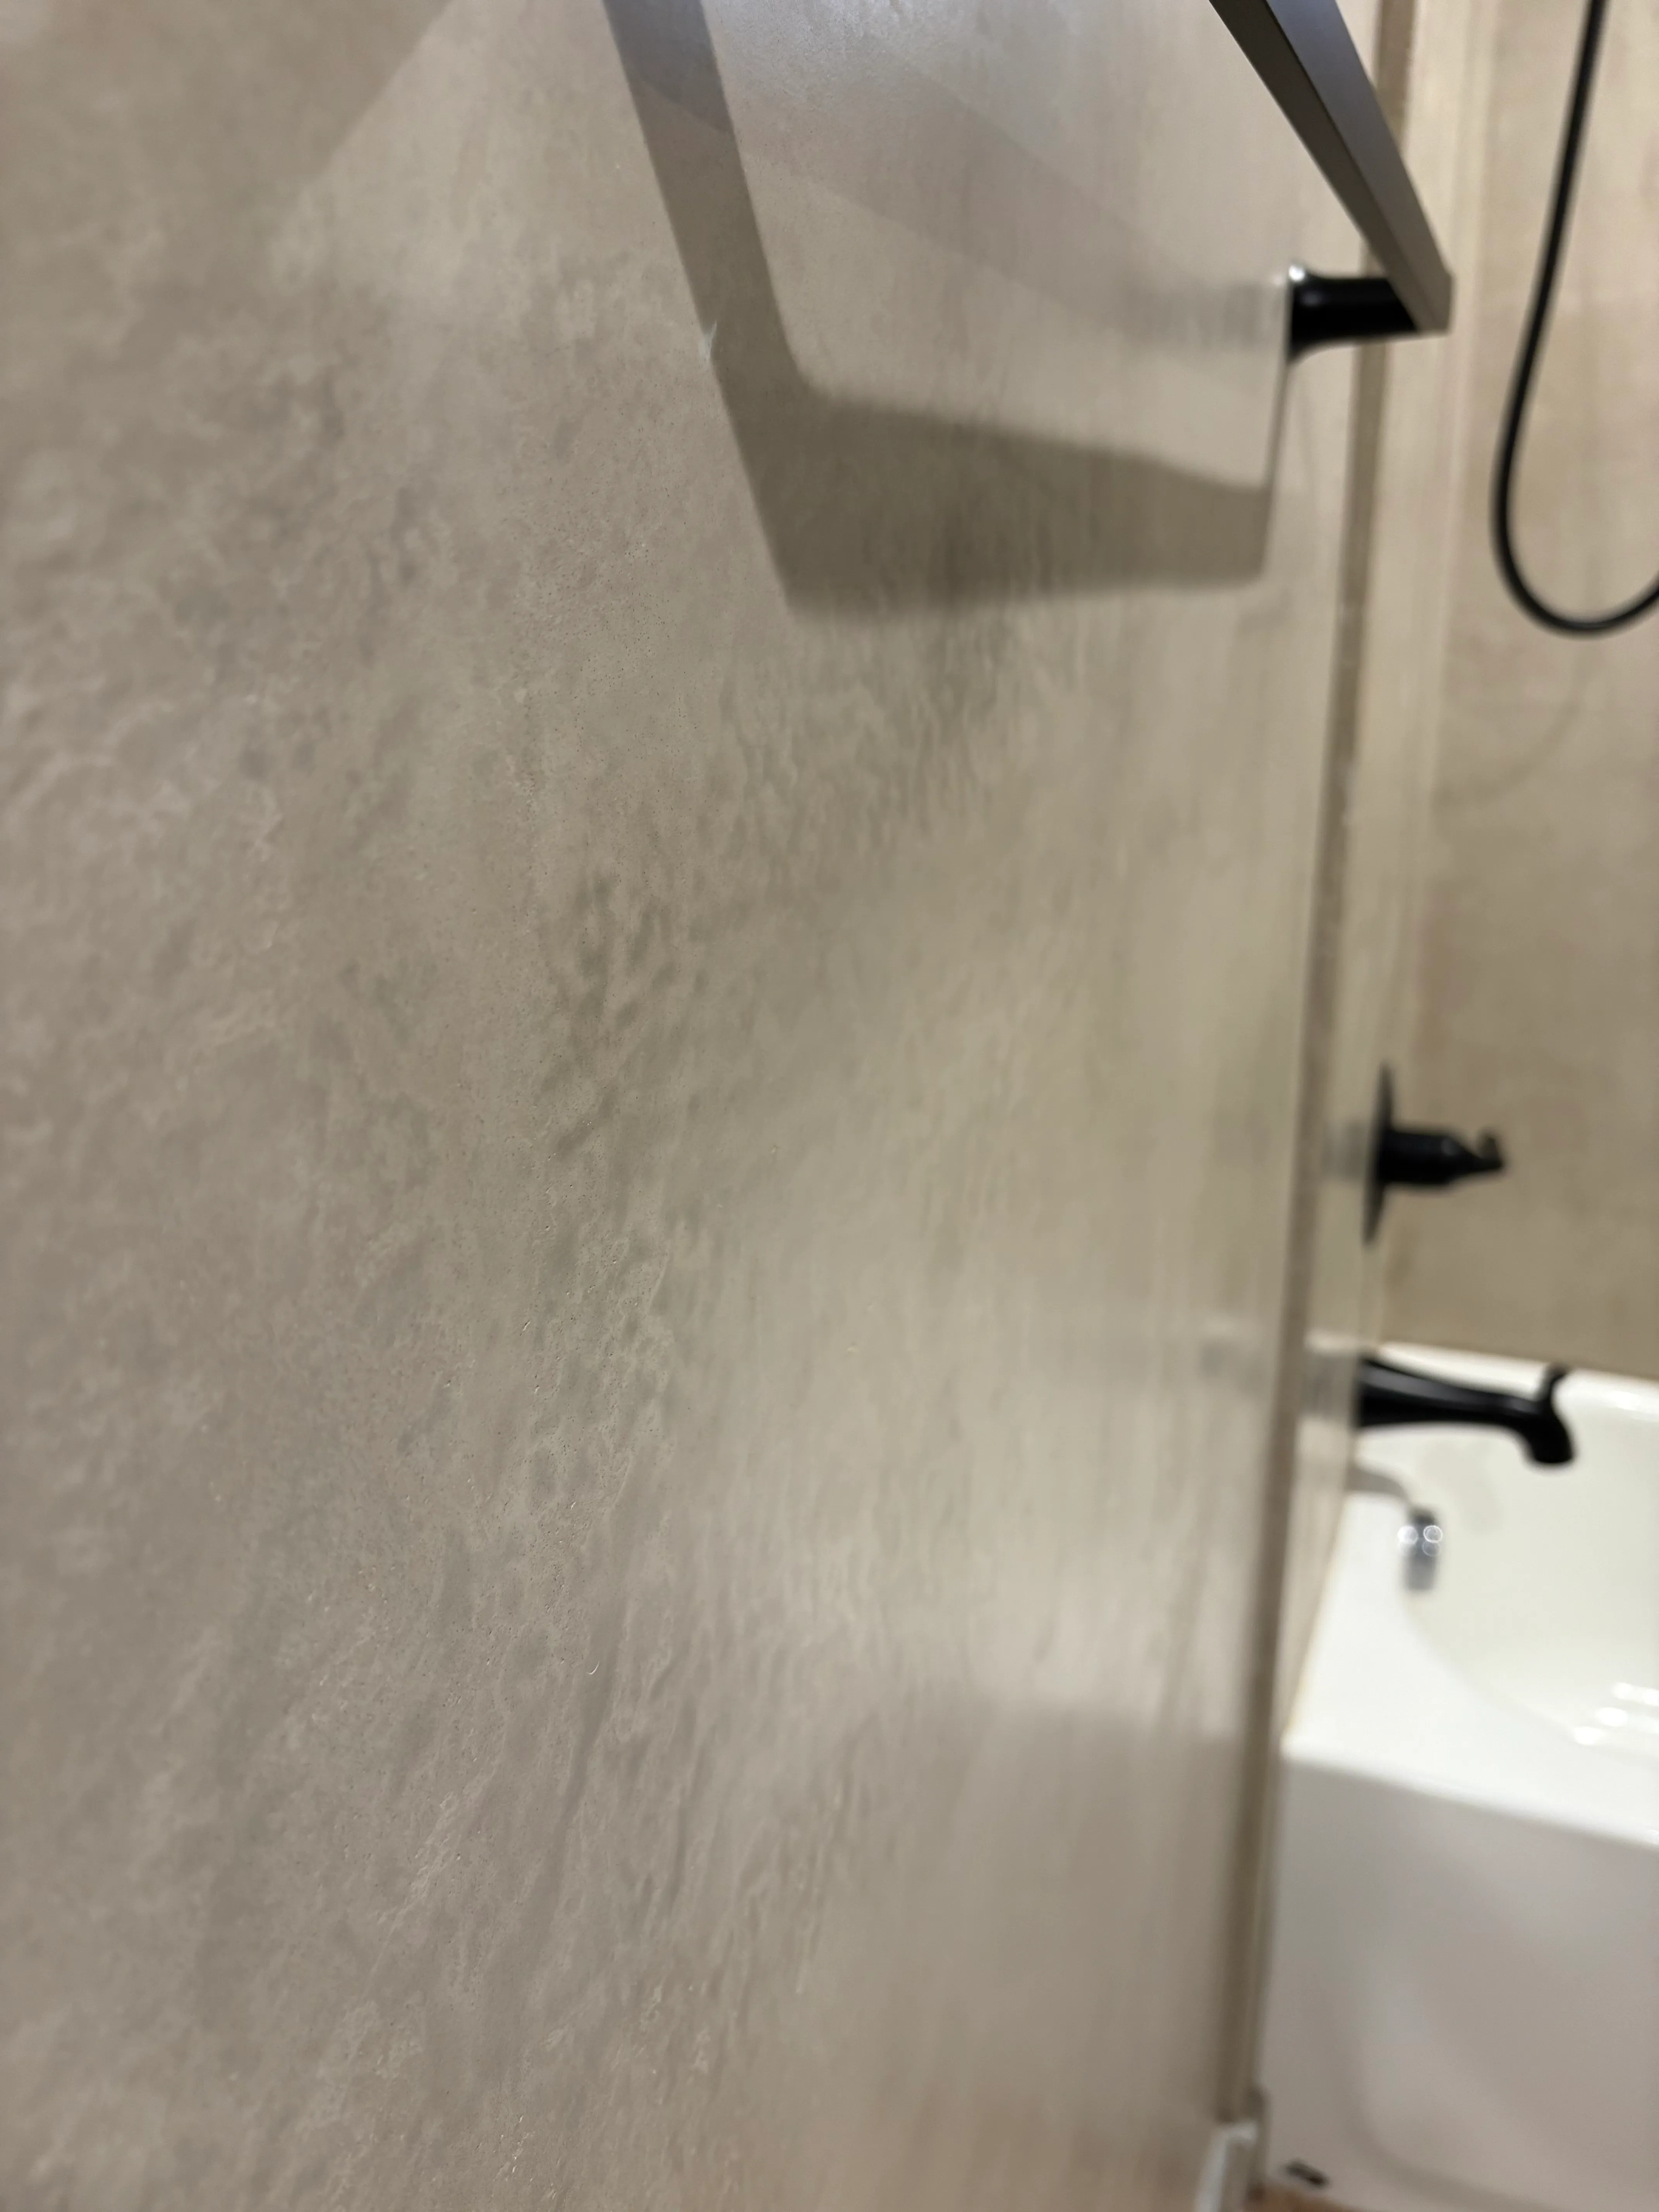
Most surface upgrades mean tearing everything out. Microcement doesn't. AvilaCo Drywall applies this ultra-thin coating directly over tile, concrete, drywall, and even wood for homeowners and builders across Vancouver, WA, so you get a completely fresh look without the mess or the dumpster. And if you're curious how it compares to traditional texture work, our decorative plaster service is worth a look too.
- Walls, floors, showers, countertops, and backsplashes
- Exterior surfaces and furniture
- Applied over existing tile, wood, and plasterboard
- Bonded waterproof membrane behind every wet-area install
- High durability, resistant to wear and impact
- Low maintenance, seamless, and easy to clean
Built for homeowners and builders alike
For Homeowners
Want a modern, seamless look throughout your home? AvilaCo Drywall applies microcement over existing surfaces in Vancouver WA, Washougal, and Ridgefield: walls, floors, countertops, even showers. It's the industrial-chic aesthetic you see in design magazines, made accessible for your home without a full renovation. No grout lines, no demolition, no upheaval. Just a clean, contemporary finish that holds up as well as it looks.
For Builders & Contractors
Microcement is trending in high-end residential and commercial design throughout Clark County. AvilaCo Drywall offers this as a premium finish option for your builds, perfect for bathroom features, accent walls, and commercial spaces. It's a unique offering that sets your projects apart and gives your clients something they won't find with standard finishes. Pair it with our drywall installation for a complete package.
Where microcement makes the biggest impact
Microcement isn't a one-room solution. The same material that turns a shower into a spa feature works just as well on a bedroom accent wall or a kitchen countertop. Here's how AvilaCo Drywall approaches the two most popular applications.
Bathroom & Wet Areas
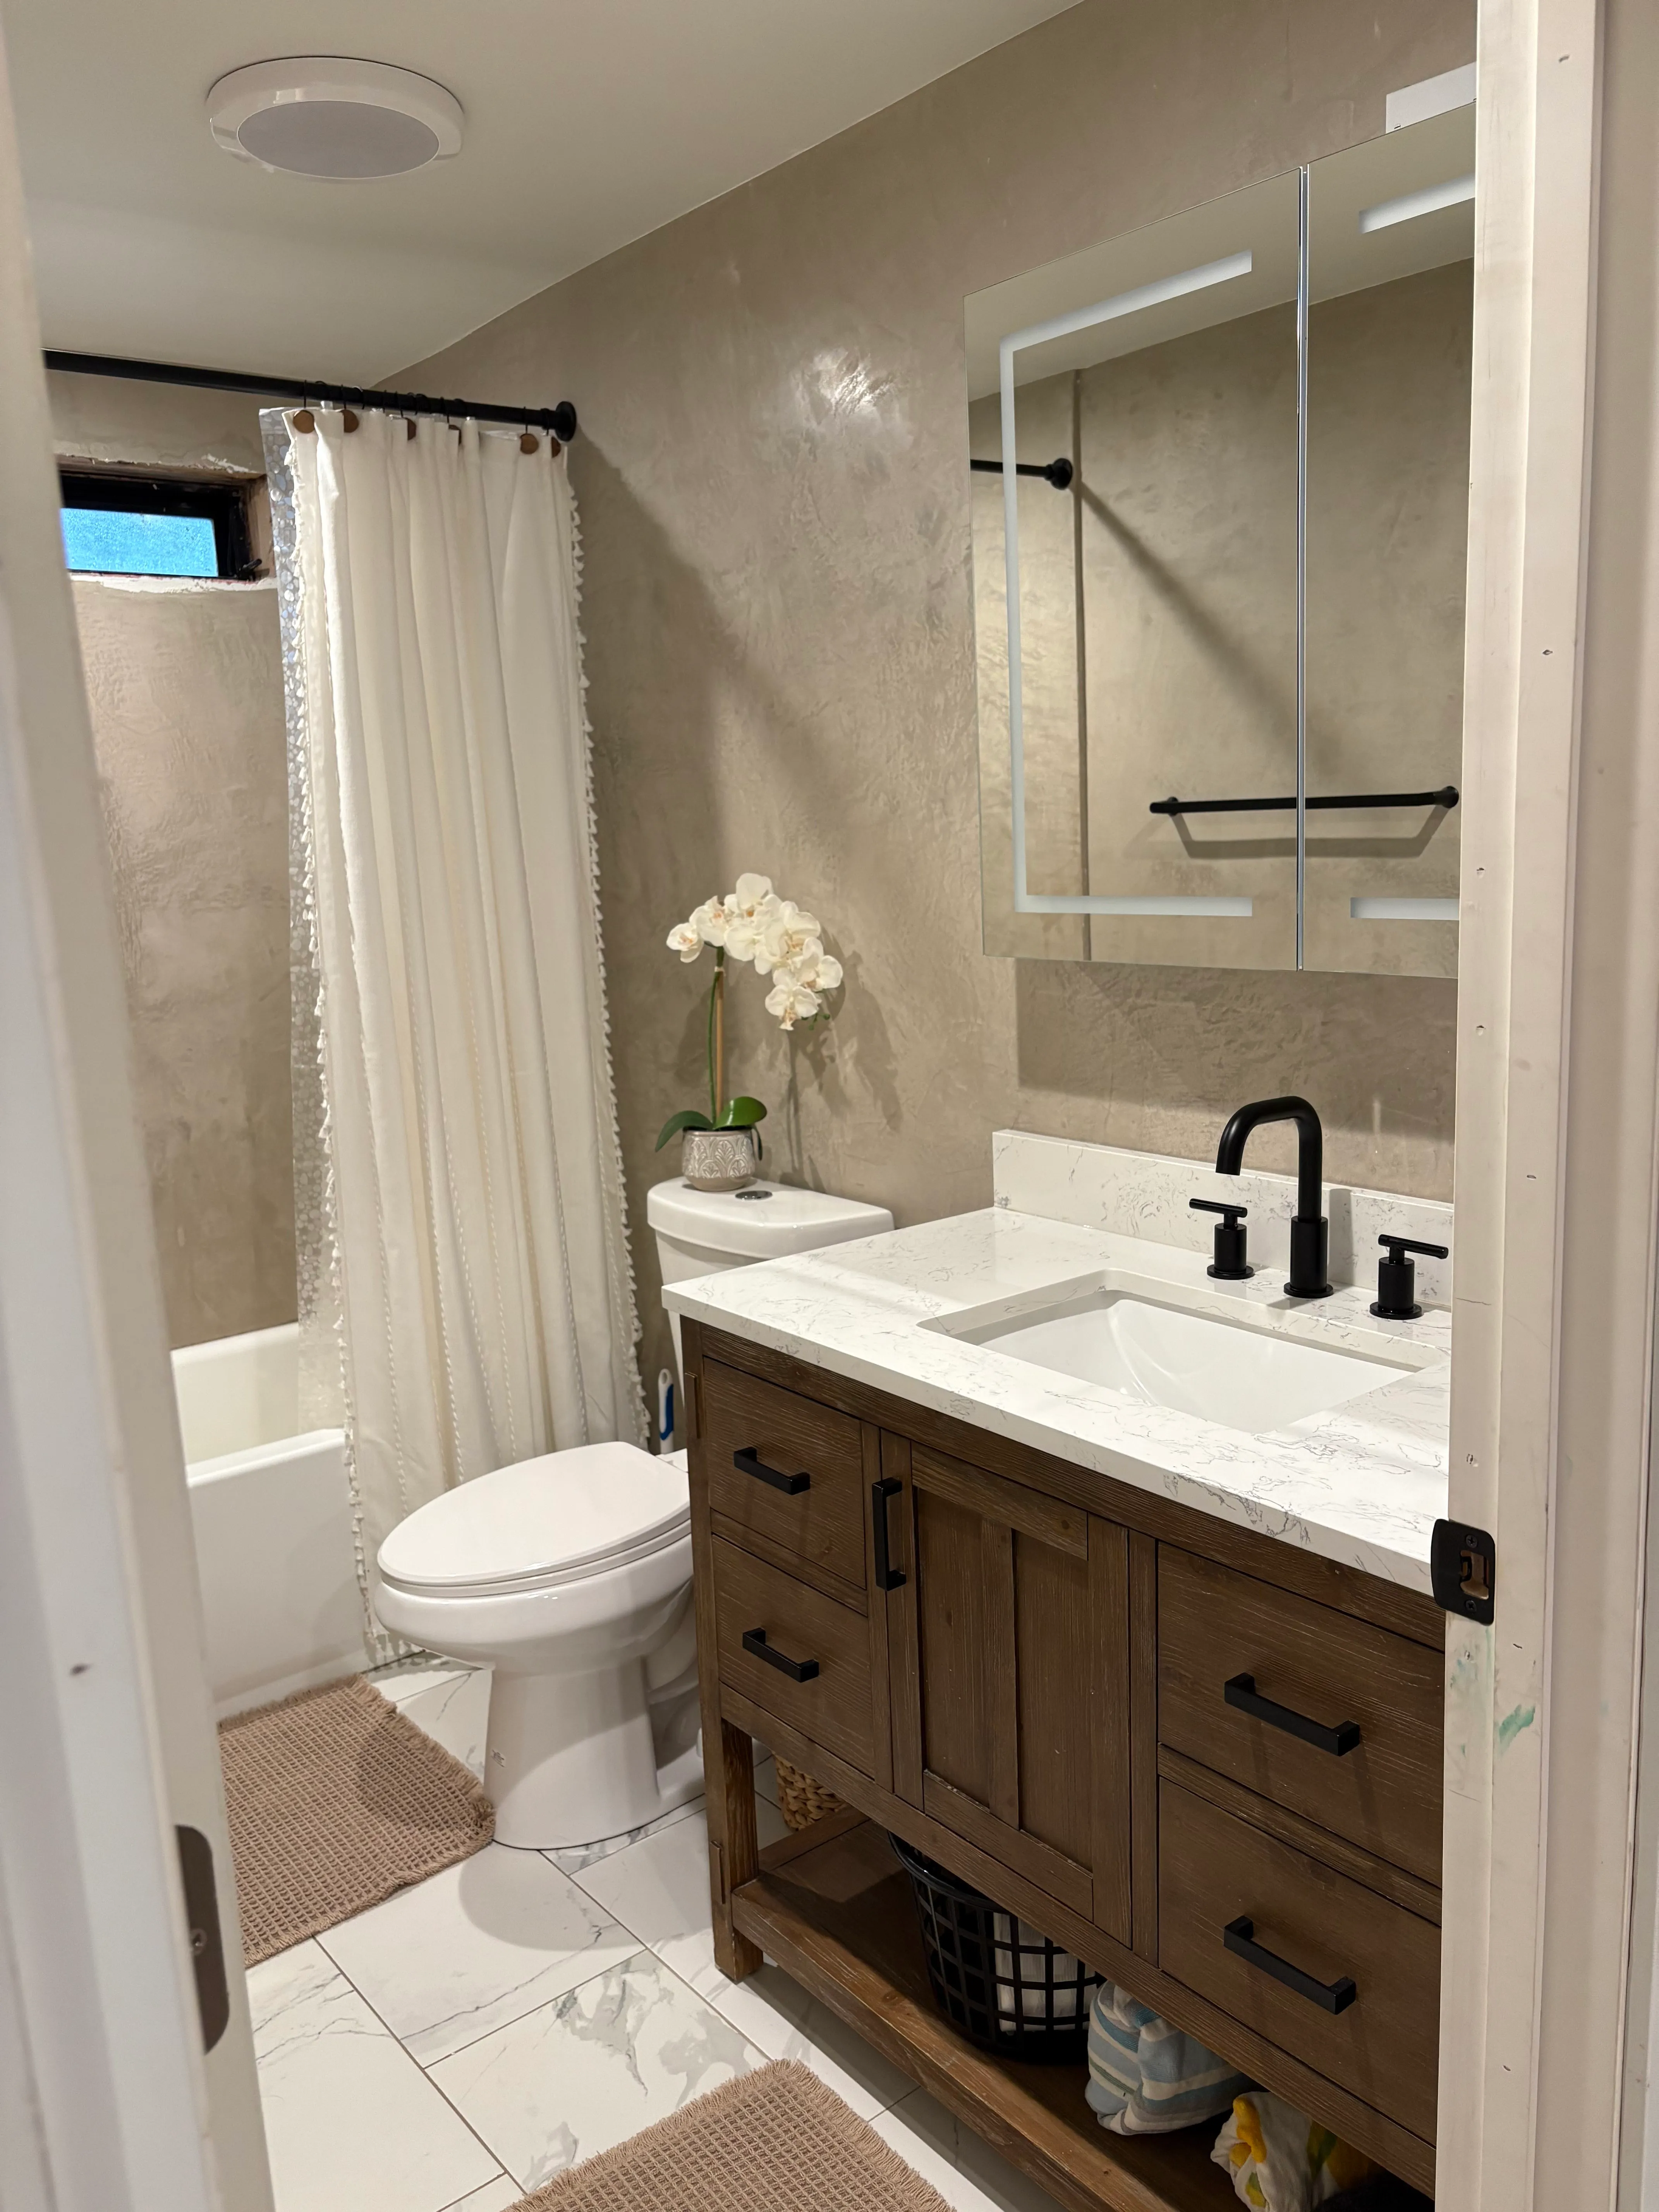
Microcement earns its keep in bathrooms. AvilaCo Drywall applies it to shower walls, tub surrounds, niches, vanity walls, and floors throughout Vancouver, WA to give you a seamless, grout-free surface with nothing for mold to sit in. Under that finish sits a bonded waterproof membrane, which is the layer doing the real work. The full microcement shower assembly walks through all six layers.
It's also one of the few finishes that redoes a bathroom without pulling out a single tile. If your tile is sound but dated, microcement goes right over it. The coating is only a few millimeters thick, so it doesn't raise floor heights or bury the flanges on your fixtures the way a full retile does.
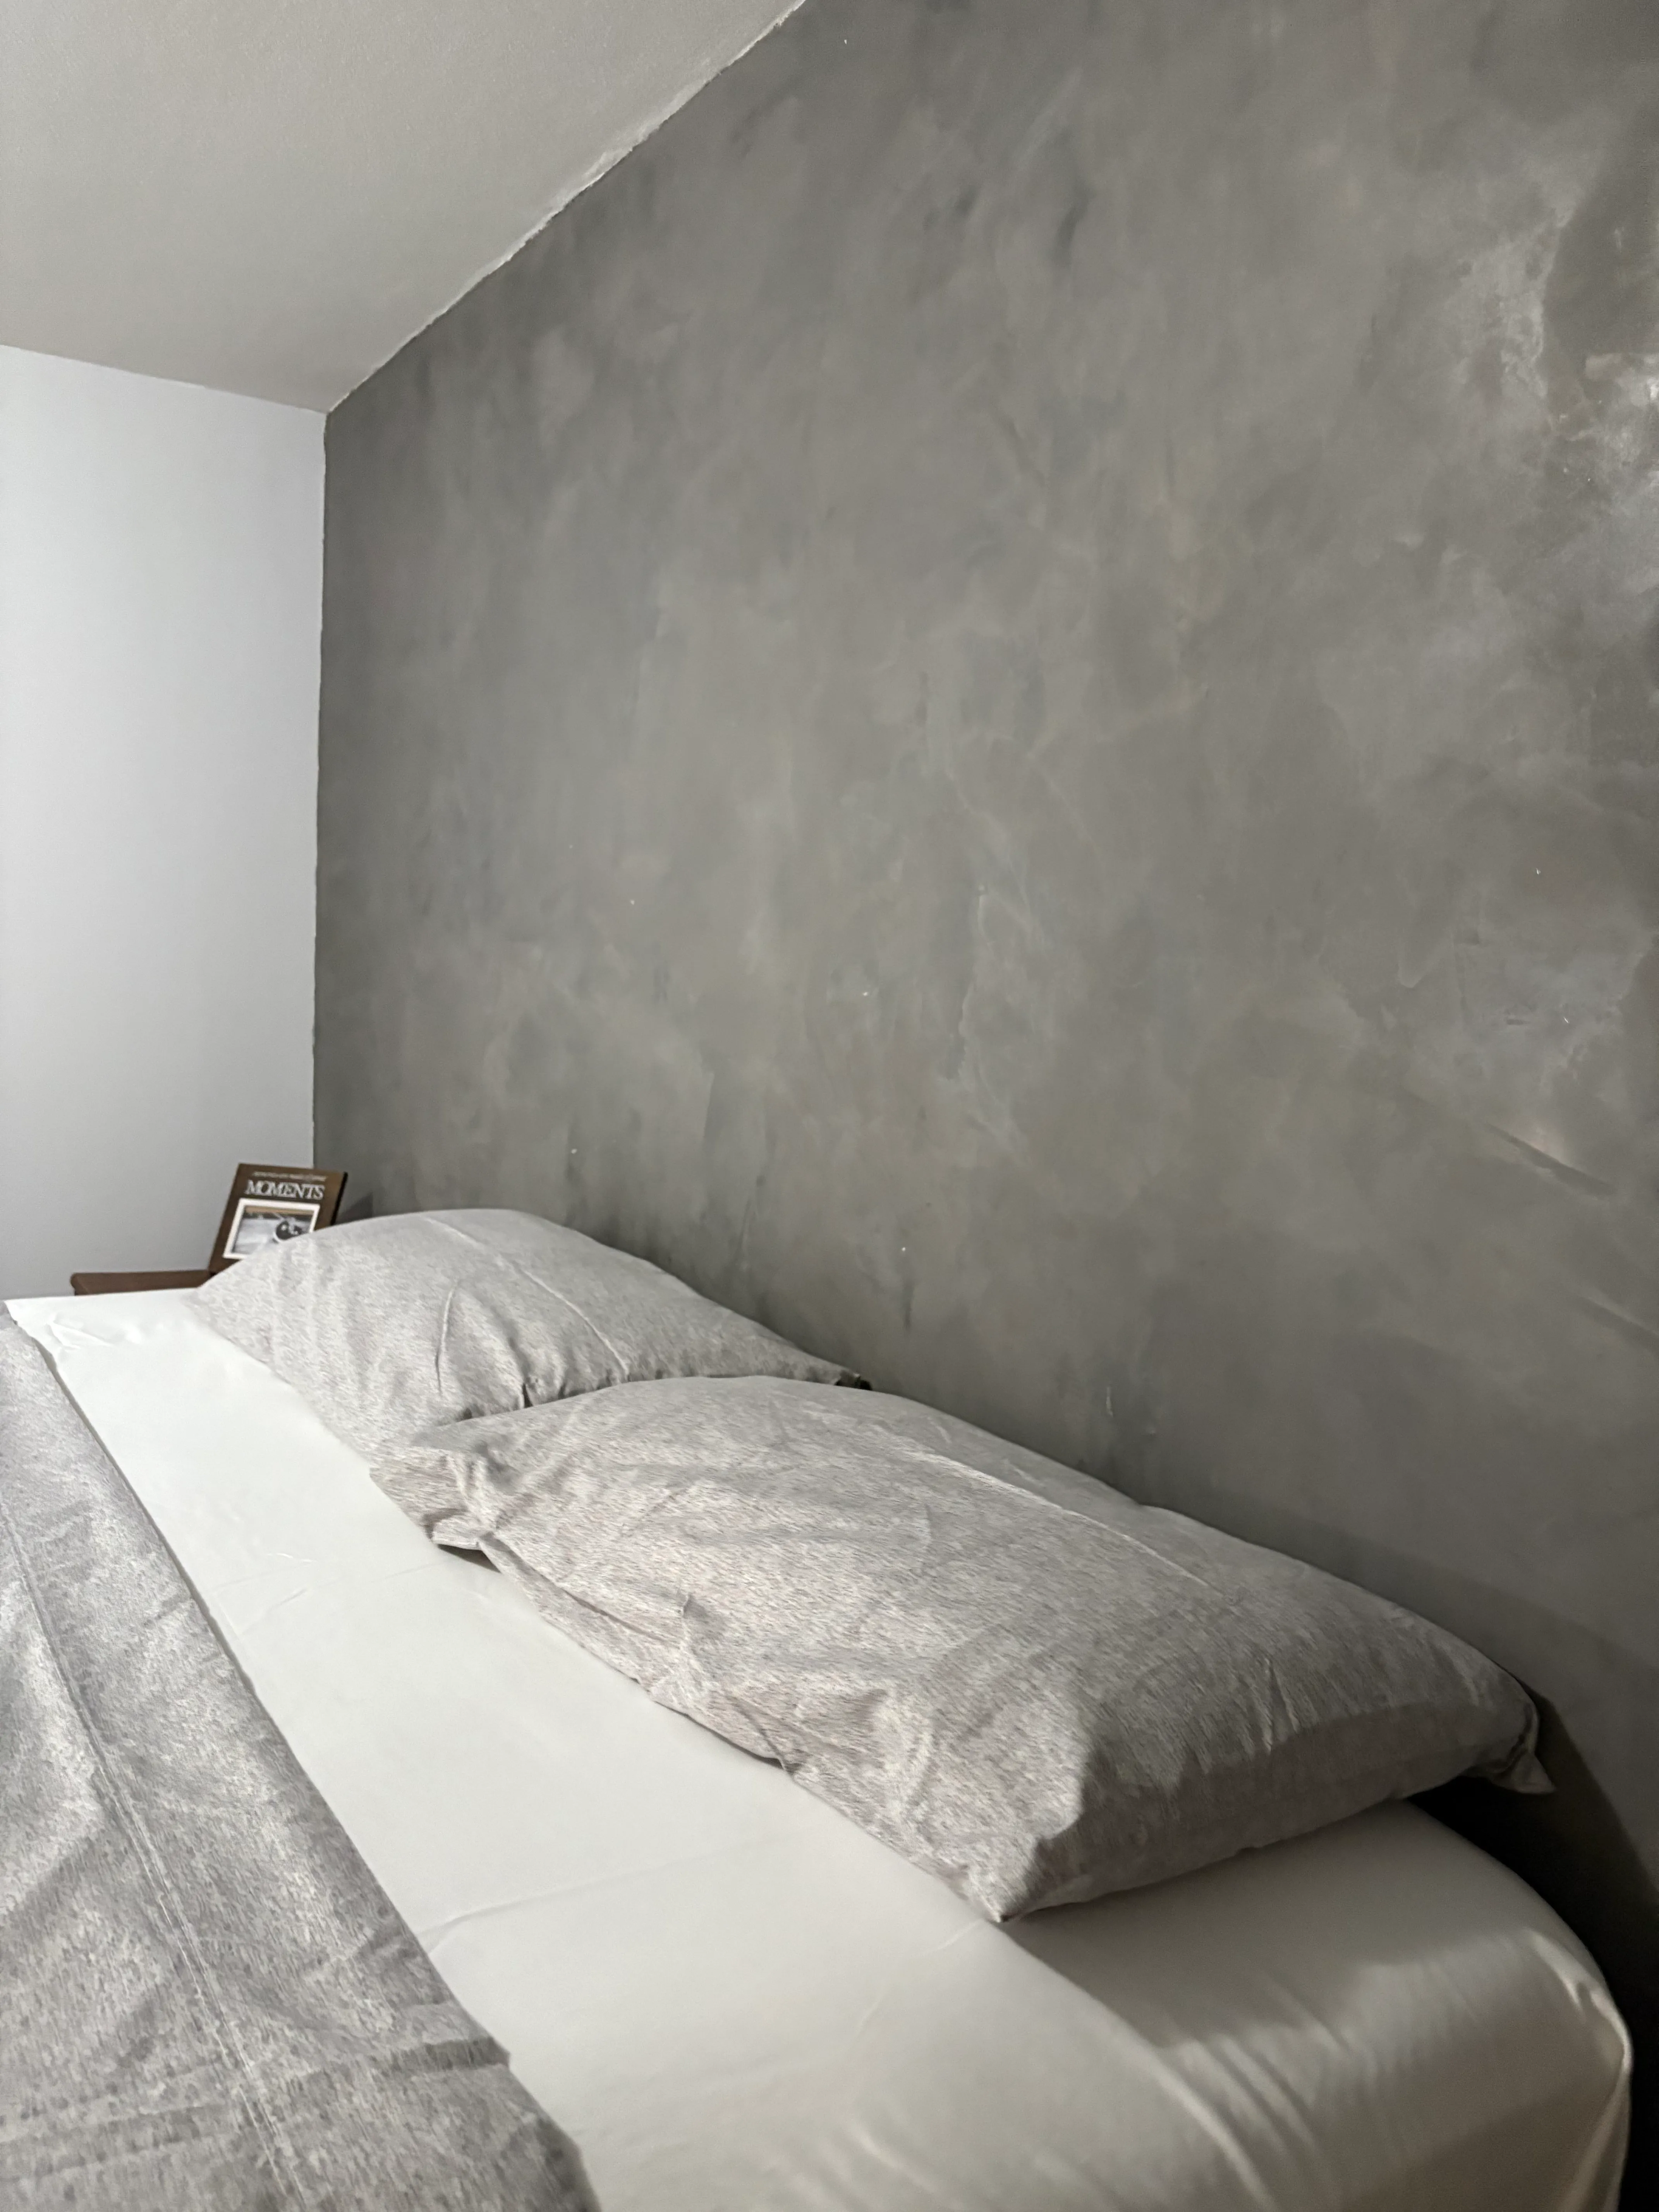
Walls & Living Spaces
Beyond bathrooms, microcement makes a stunning statement on accent walls, feature surfaces, and entire rooms. AvilaCo Drywall applies microcement in a variety of colors for homes in Vancouver, WA and Ridgefield, from warm grays and creams to bold charcoals and earth tones. The subtle texture and matte finish create depth and sophistication that flat paint simply can't match.
And it's not just for modern interiors. The right color palette works just as well in a rustic farmhouse setting as it does in a minimalist loft. If you're unsure which direction to go, we'll walk you through color samples and help you land on something that fits your space. For more decorative texture options, take a look at our Fresco Harmony finish, a great complement or alternative depending on the look you're after.
Going over existing tile without demolition
Microcement over tile is the reason most people call us. It skips the tear-out, the dumpster, and the week of a bathroom being unusable. It works more often than it doesn't, and the call comes down to what the tile is doing right now.
When microcement over tile works
- The tile is bonded tight, with no hollow or drummy spots when we tap it
- The board behind it is dry and solid, with no soft edges at the pan
- Grout joints are shallow enough to fill flush before the base coats
- The pan drains clean and holds water where it should
- Nothing in the wall has been leaking, and the framing is dry
When the tile has to come out
- Whole fields of tile sound hollow, which means the bond is already failing
- Tile is cracked in a line, which usually means the substrate is moving
- Anything behind the tile is soft, black, or smells like it has been wet
- The pan is cracked, or the slope to the drain ponds water
- A large-format tile with a deep lippage pattern that would read through the finish
We tap out the whole enclosure with a handle before we commit to going over anything. If we find soft board or a bad pan, we say so and rebuild that section first, because microcement follows whatever is underneath it. If you're still weighing the two finishes against each other, our microcement vs tile comparison lays out durability, upkeep, and installation side by side.
Where microcement belongs, and where we say no
Shower walls, niches, and tub surrounds
Microcement shower walls are the best use of the material there is. A niche built in tile needs cut pieces and a grout joint in every corner, and those corners are the first thing to go black. In microcement the niche is one continuous surface with a radiused inside corner. Same for the shelf, the curb, and the bench.
Shower floors and slope to drain
Yes, once the pan is right. Microcement copies the slope it's given, so a floor that ponds water now will still pond after we finish it. If the fall to the drain is off, we correct the pan first. We also load a fine grit into the topcoat on shower floors so the surface has traction wet.
Vanity walls, ceilings, and countertops
Easy wins. These surfaces see splash and humidity instead of direct spray, so the prep is lighter and the finish runs wall to ceiling with no trim break. Countertops and integrated sink surrounds are the same story. A bathroom ceiling in microcement also kills the seam where texture usually meets the wall line.
Steam showers, and why we decline them
We turn these down. A steam shower pushes hot vapor into the wall assembly continuously, which is a different load than splash and spray, and it needs a full vapor barrier system and a ceiling sloped to shed condensate. We'd rather tell you no than hand you a warranty we don't believe in.
Living with a microcement bathroom
Resealing is the whole maintenance schedule
The microcement doesn't wear out. The topcoat does. Shower floors take the most abuse and come up for a refresh first, walls last longer, and a vanity wall goes years without anyone touching it. We hand you the product we used and the interval for that specific system when we finish, so you're not guessing. Refreshing a topcoat is a clean-and-recoat job, not a redo.
The cleaners that destroy a sealer
Bleach, vinegar, citrus cleaners, tub-and-tile acids, and abrasive pads all eat the topcoat. So do the melamine sponges people reach for on soap scum. Use a pH-neutral cleaner and a soft cloth, and squeegee the walls when you're done showering. Almost every tired-looking microcement shower we get called out to has a worn sealer and perfectly good microcement underneath.
Chips and hairline cracks get fixed in place
Drop a shampoo bottle hard enough and you'll chip the corner of a curb. That gets filled, feathered back into the finish coat, and resealed across the panel, and the repair disappears because there's no grout line or tile edge to line up with. Hairline cracks work the same way. They come from the substrate moving, which is why we bed mesh across the entire base coat instead of just over the joints.
A Vancouver, WA bathroom, start to finish
This one is worth walking through because it shows the part of a bathroom nobody photographs. Before any finish goes on a wall, the wall has to be worth finishing.
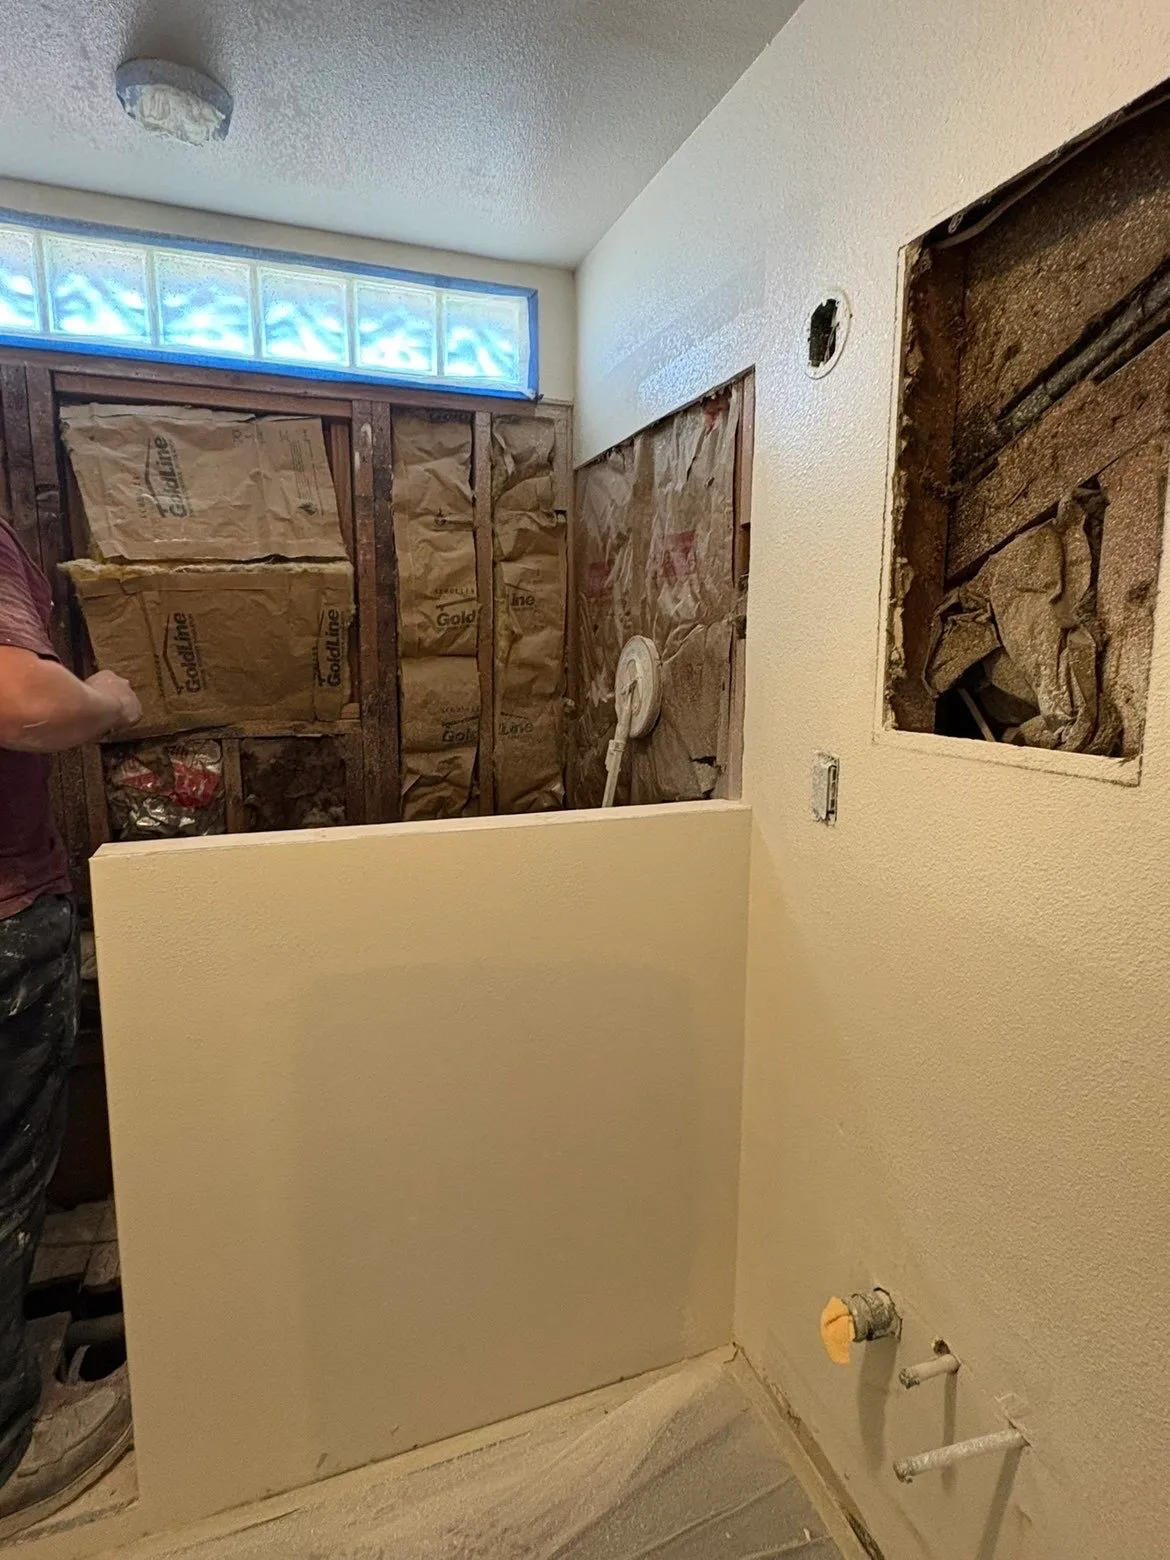
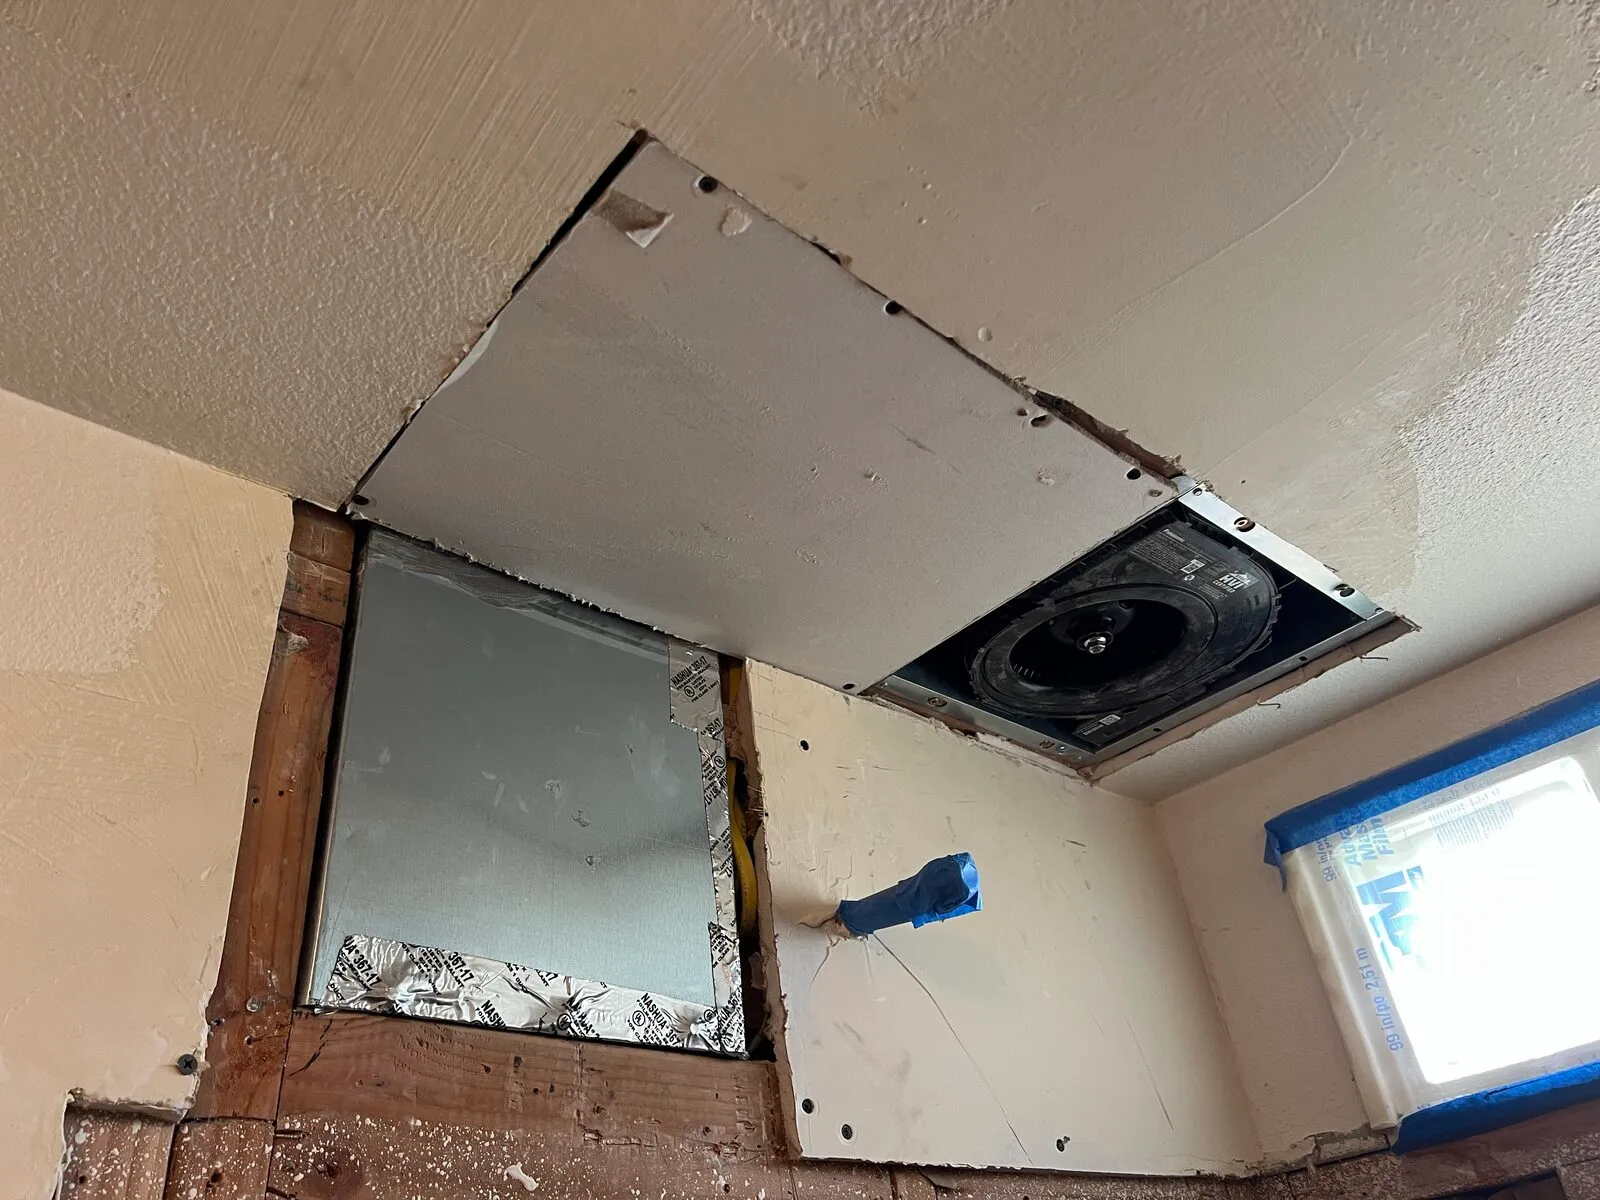
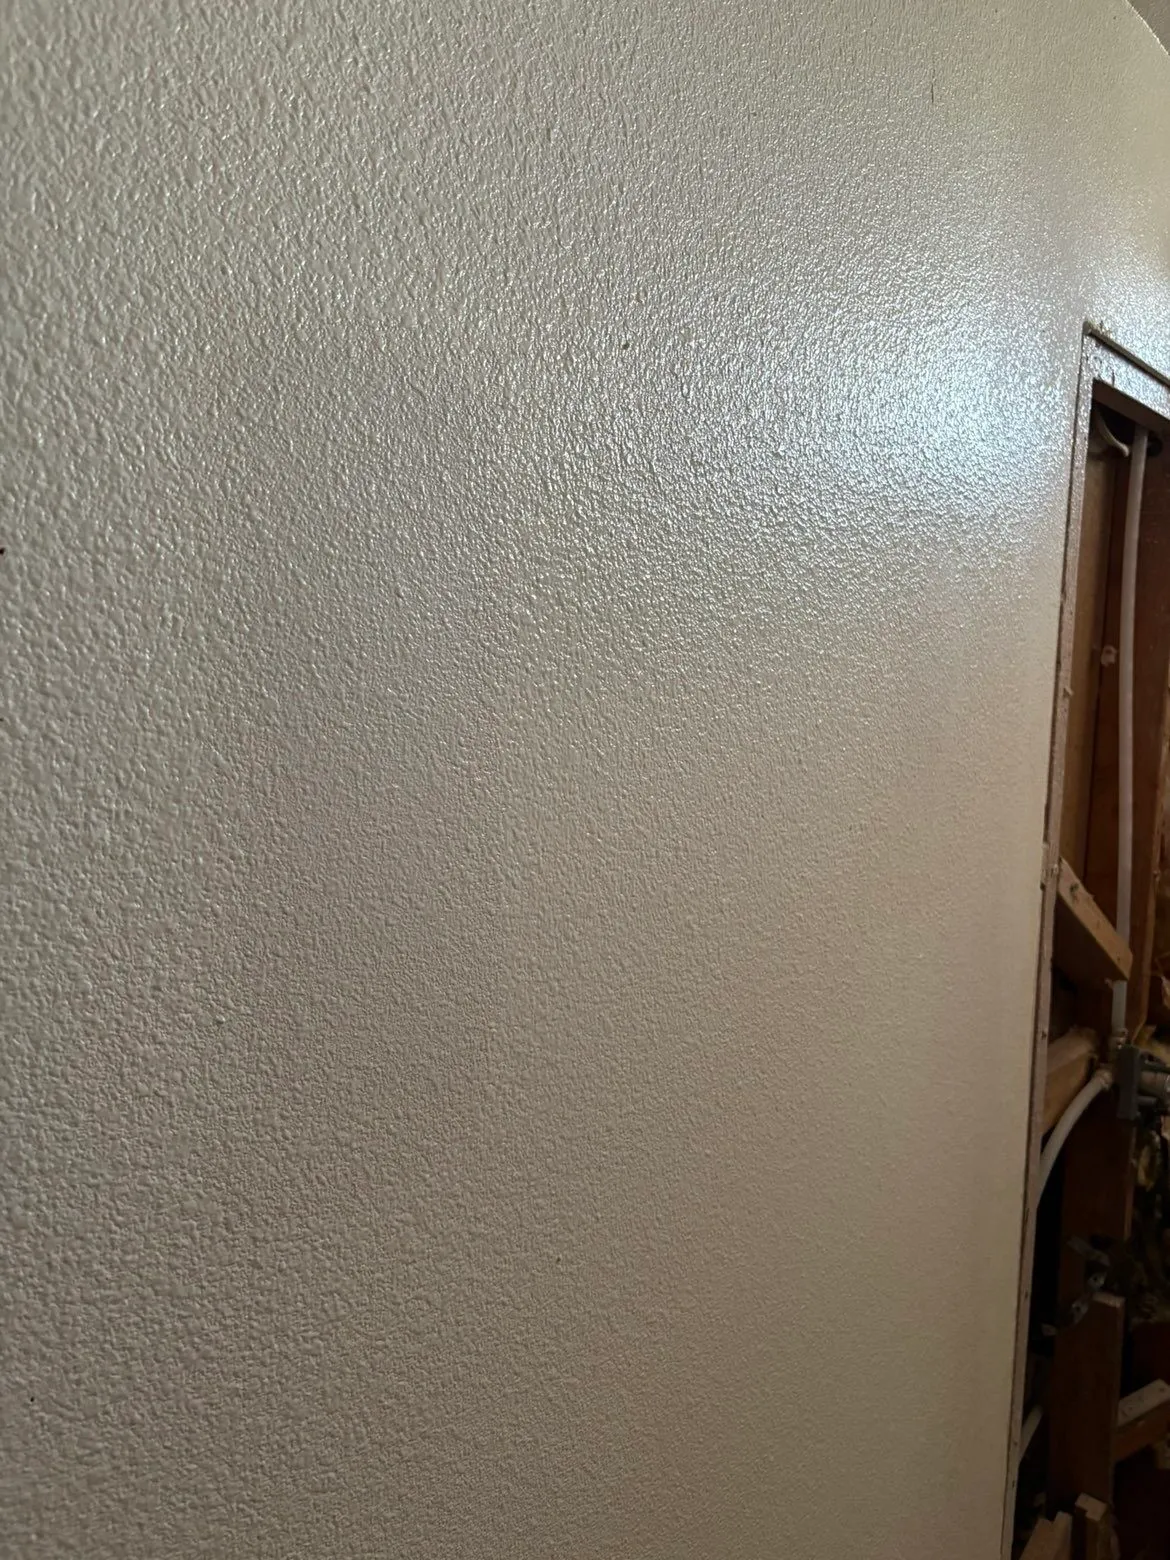
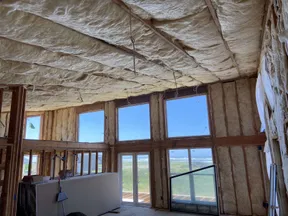
The homeowner wanted the wet wall opened up and a partial wall built to separate the shower from the vanity. Once the tile came off, the stud bays behind it told the story: old kraft-faced insulation, a wall that had been patched more than once, and a shower area that had never had a proper barrier behind it. We opened the ceiling for a new exhaust fan and duct at the same time, because a bathroom that can't move air is a bathroom that will fail whatever finish you put in it.
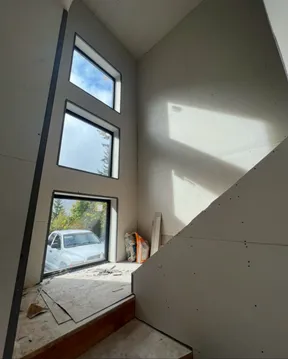
From there it was framing the half wall, hanging board, taping and mudding, and blending the patch texture into the existing walls so the seams disappear. That last photo is the point. Whether the room ends in microcement, tile, or paint, the substrate work is the same, and a wet-area finish is only as good as what's under it. See the full sequence in our Vancouver, WA bathroom remodel drywall project.
What makes this finish worth it
No Demolition Required
Microcement is applied over existing surfaces: tile, concrete, drywall, even wood. Whether you're in Washougal or Vancouver WA, skip the messy tearout and the dumpster fees. Your existing surface becomes the substrate for something completely new.
Waterproofed the Right Way
In showers and wet areas we put a bonded liquid membrane behind the microcement and a topcoat rated for continuous water exposure over it. The membrane does the waterproofing, the sealed microcement takes the daily spray, and the wall stays tight.
Low Maintenance
No grout to scrub, no tiles to replace, no caulk to re-do every few years. Wipe clean with a damp cloth. The seamless surface means there's nowhere for grime to hide, which makes it one of the most practical premium finishes available.
Versatile & Design Forward
Microcement is both decorative and functional. It works on walls, floors, exteriors, backsplashes, countertops, and even furniture. The seamless, industrial-chic look is trending in boutique hotels, high-end restaurants, and design-forward homes, now available for projects of any size in Vancouver WA and Clark County.
Recent microcement projects
A look at bathroom renovations, accent walls, and surface finishes from recent jobs in the Vancouver WA and Clark County area.
Microcement shower & wet area FAQ
Is microcement waterproof in a shower?
The microcement itself is water resistant, not waterproof. What makes a microcement shower watertight is the bonded liquid membrane underneath it, plus a sealed topcoat rated for continuous water exposure on top. Microcement is the finish. The membrane behind it is the waterproofing, and a shower needs both.
Does a microcement shower need a waterproof membrane behind it?
Yes, every time. We roll two coats of liquid membrane over the substrate and band the corners, the niche, and the valve penetrations with fabric before a single coat of microcement goes on. Any applicator who skips the membrane in a wet area is building you a leak with a nice finish on it.
Can microcement go over existing shower tile?
Often, yes. The tile has to be bonded tight with no hollow spots, the backing behind it has to be sound and dry, and the pan has to be in good shape. We tap out the whole wall before we commit to it. If the tile is drummy or the board behind it is soft, the tile comes out.
Can you put microcement on a shower floor?
We can, once the pan and the slope to the drain are right. Microcement follows whatever is under it, so a pan that ponds water will still pond water with a new finish on top. We also add a fine grit to the topcoat on shower floors so the surface isn't slick underfoot when it's wet.
Do you do microcement in steam showers?
No. We turn those down. A steam shower drives hot vapor through the wall assembly continuously, which is a different problem from splash and spray, and it needs a full vapor barrier system and a sloped ceiling built for it. We'd rather tell you that up front than warranty something we don't trust.
Do microcement showers crack?
Hairline cracks show up when the substrate moves, which is why we embed fiberglass mesh across the full base coat instead of just at the joints. If one does appear, it gets repaired in place. We open the hairline, refill it, feather the finish coat back out, and reseal that panel. There's no grout joint to match.
What cleaners will ruin a microcement shower?
Bleach, vinegar, citrus cleaners, tub-and-tile acids, and abrasive pads all attack the topcoat. Use a pH-neutral cleaner and a soft cloth, and squeegee the walls after a shower. Most microcement showers that look tired have a worn sealer, not worn microcement, and that usually traces back to what was under the sink.
Do you install microcement showers in Vancouver, Washington?
We do. AvilaCo Drywall applies microcement across Vancouver, WA, Camas, Washougal, Ridgefield, Battle Ground, and the rest of Clark County. Genuine microcement applicators are thin on the ground in Southwest Washington, so we cover a wide radius for wet-area work. Call (360) 904-3878.
Thinking about microcement shower walls?
AvilaCo Drywall is one of the few crews doing genuine microcement wet-area work in Southwest Washington. Send us photos, then we'll come look at the substrate and tell you straight whether your tile can stay. Free estimates across Clark County.