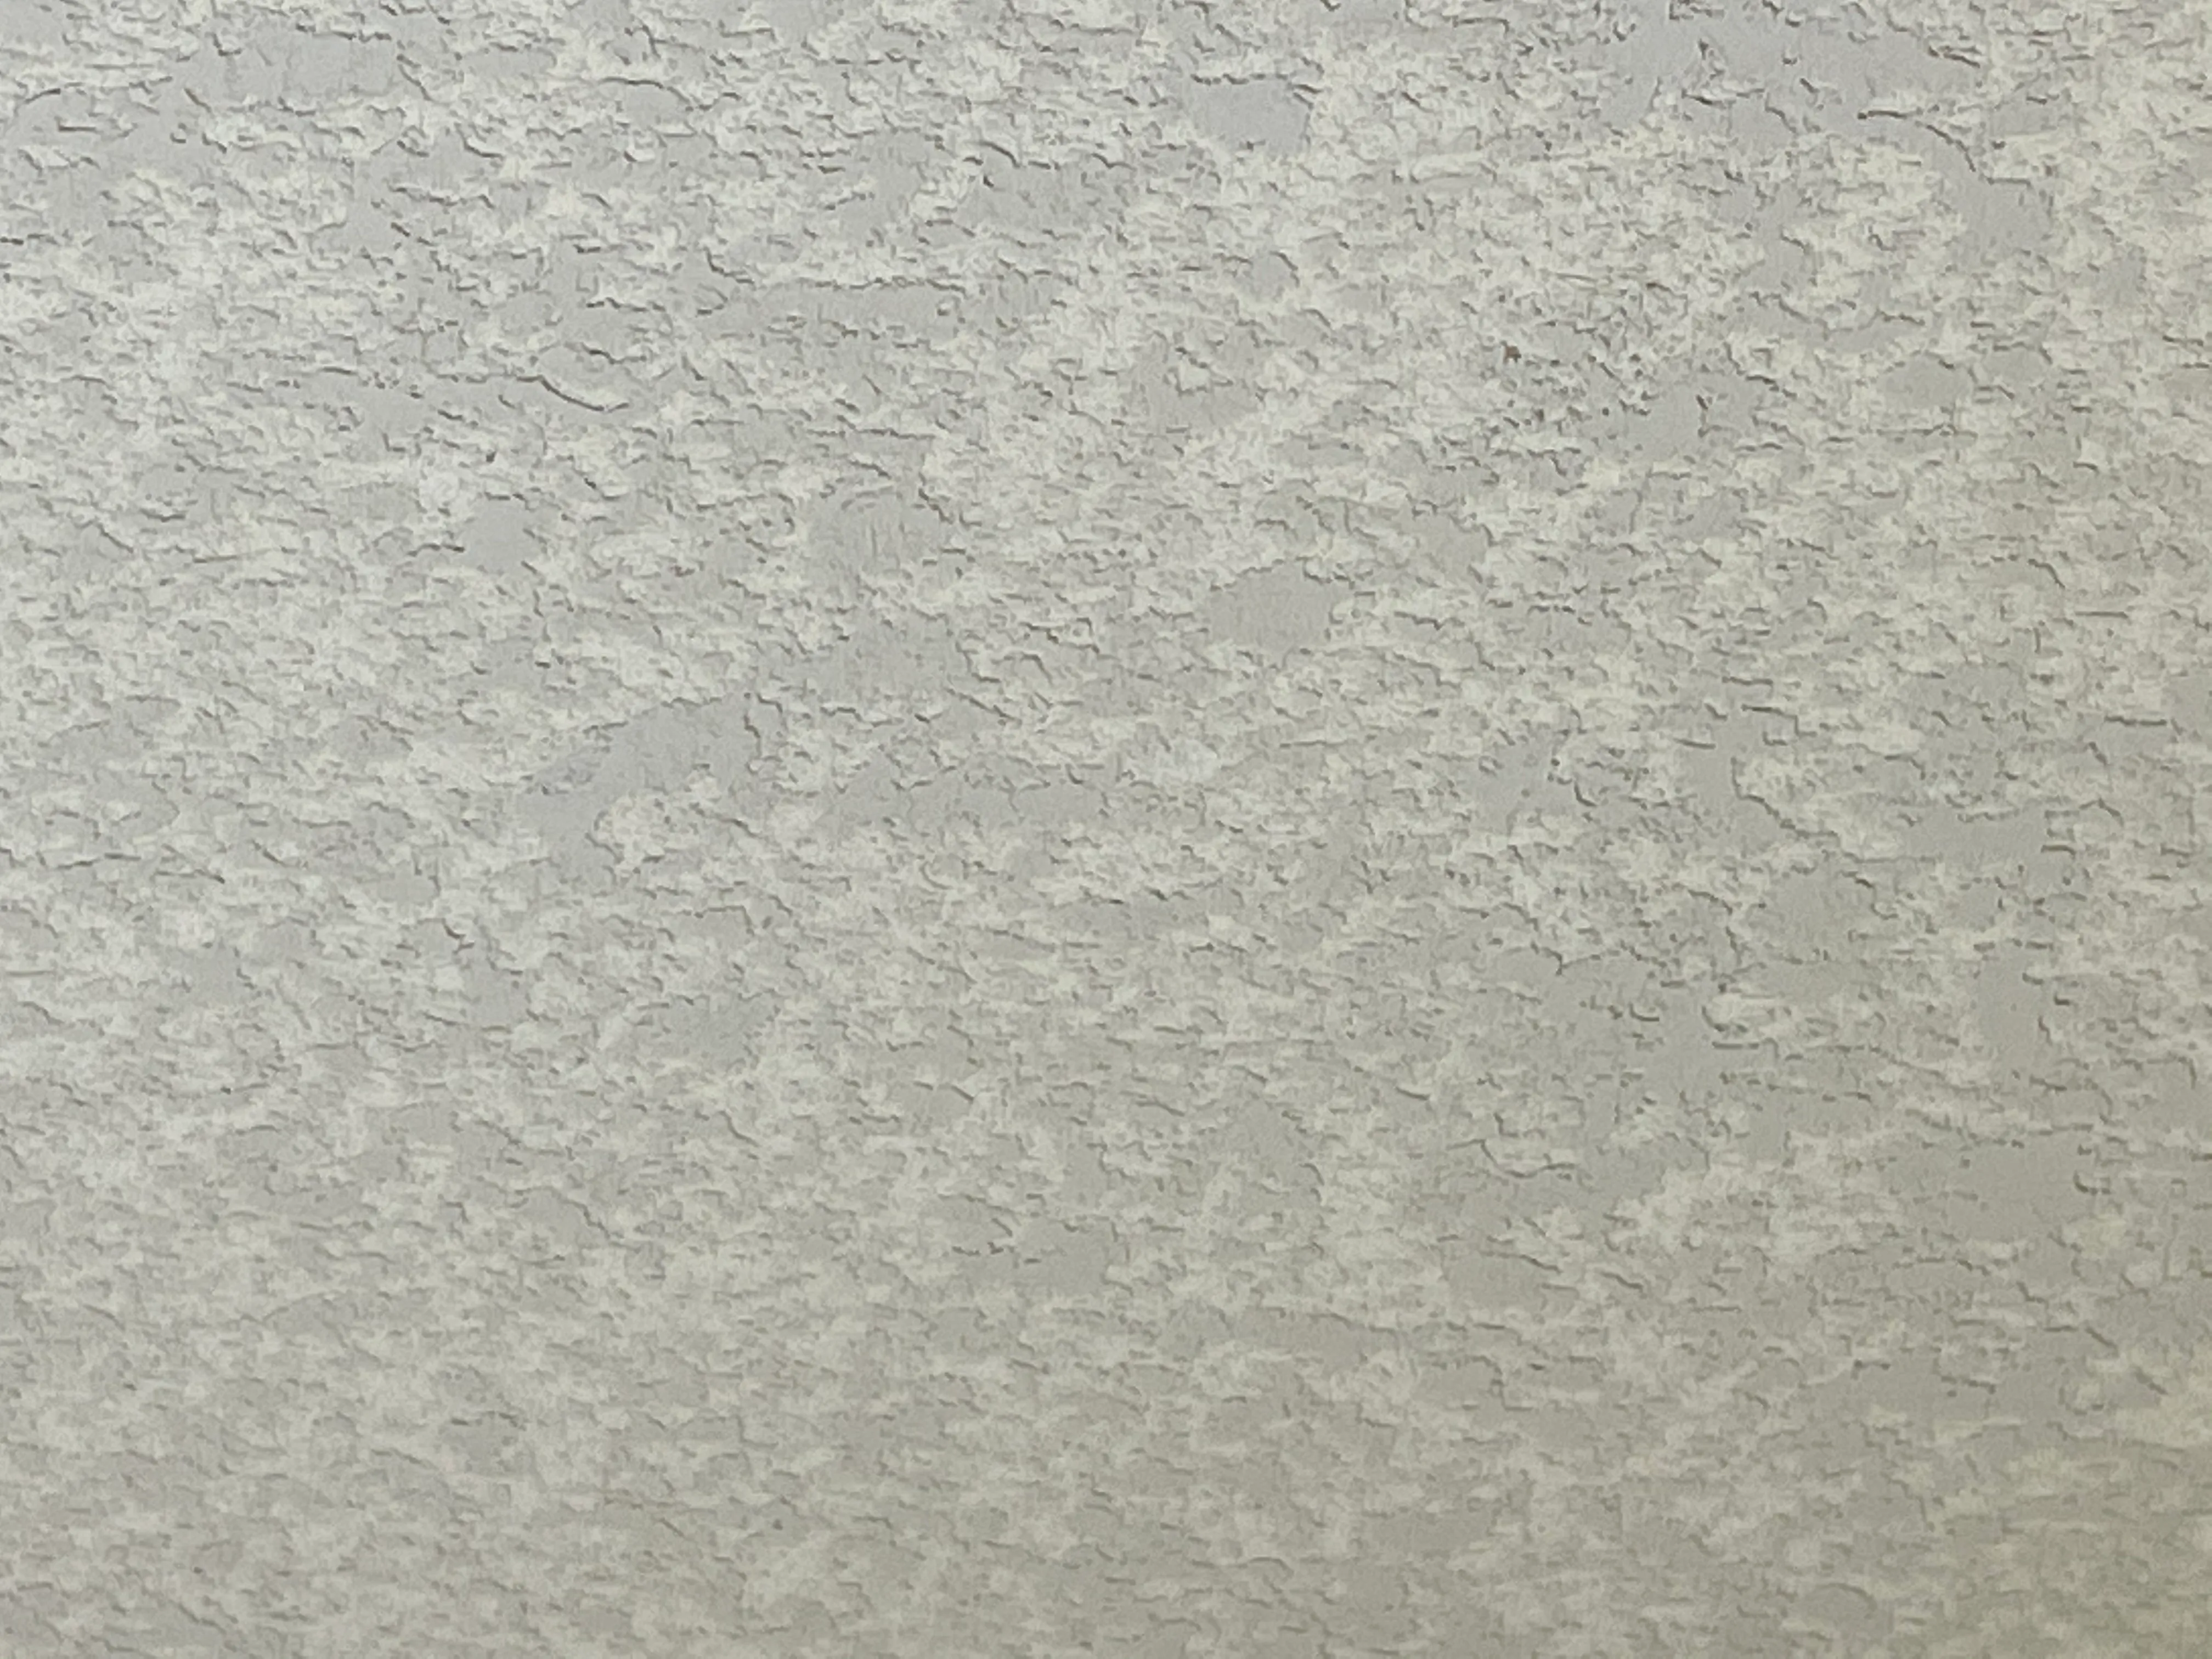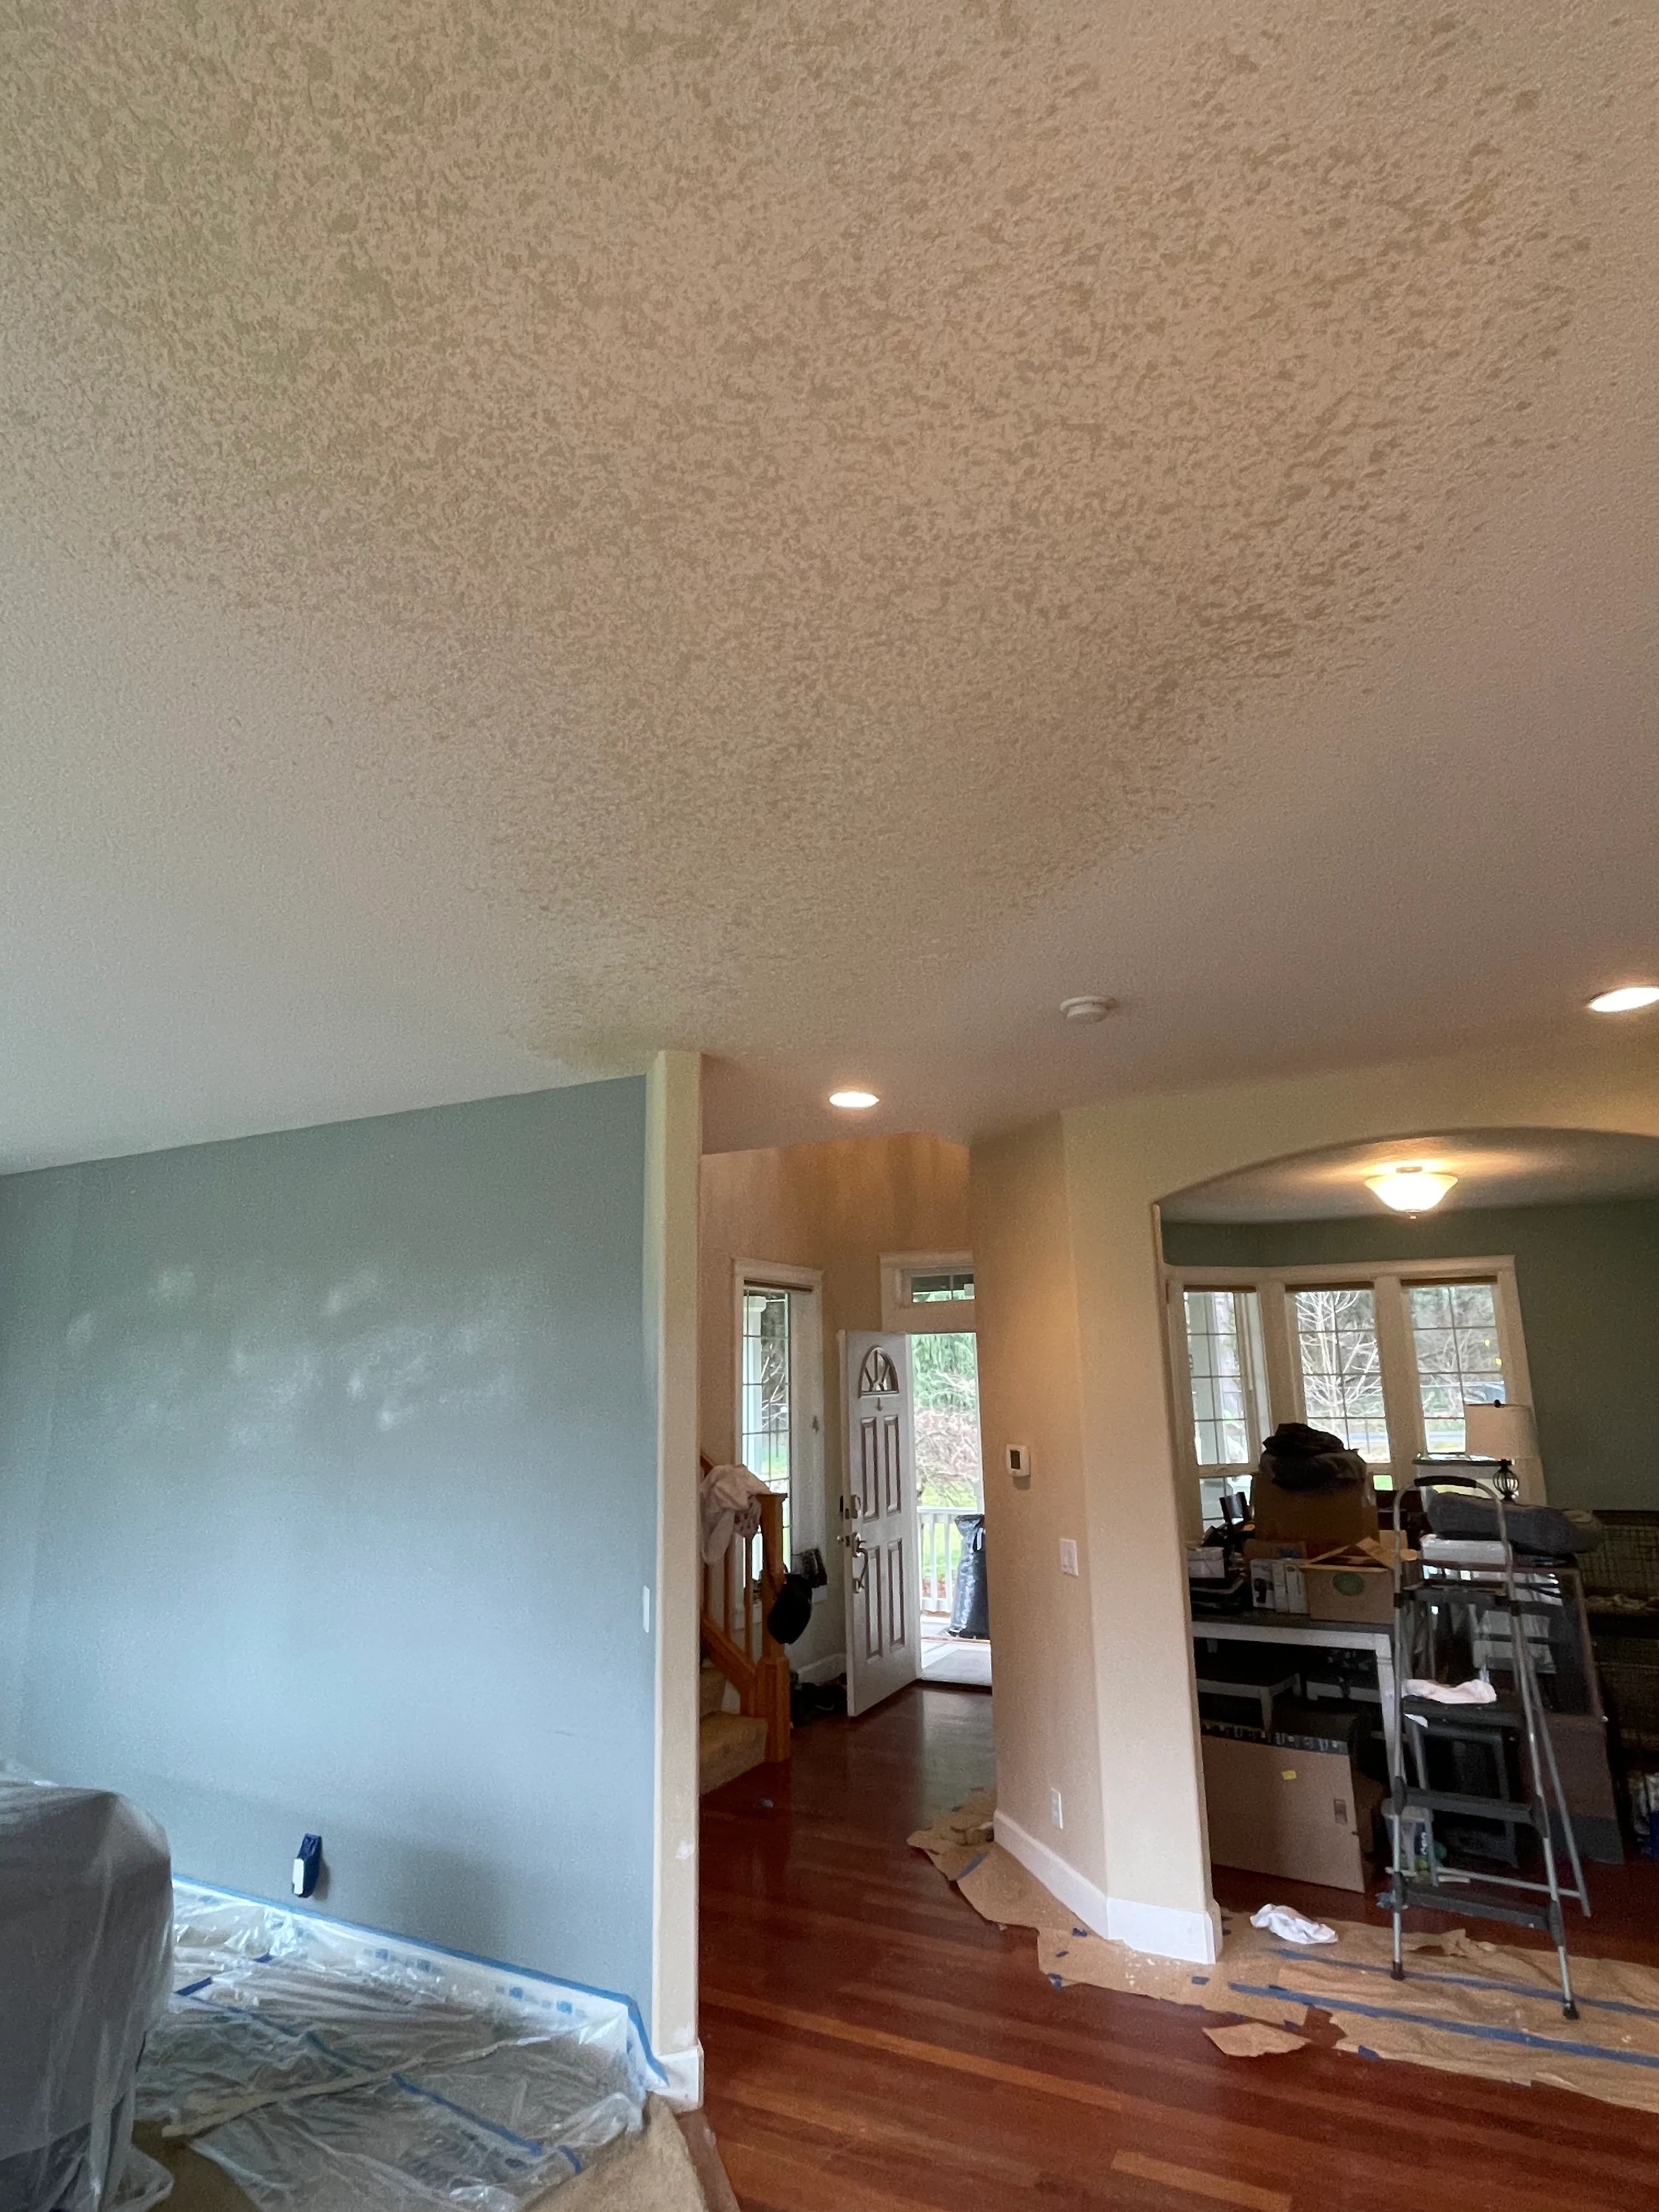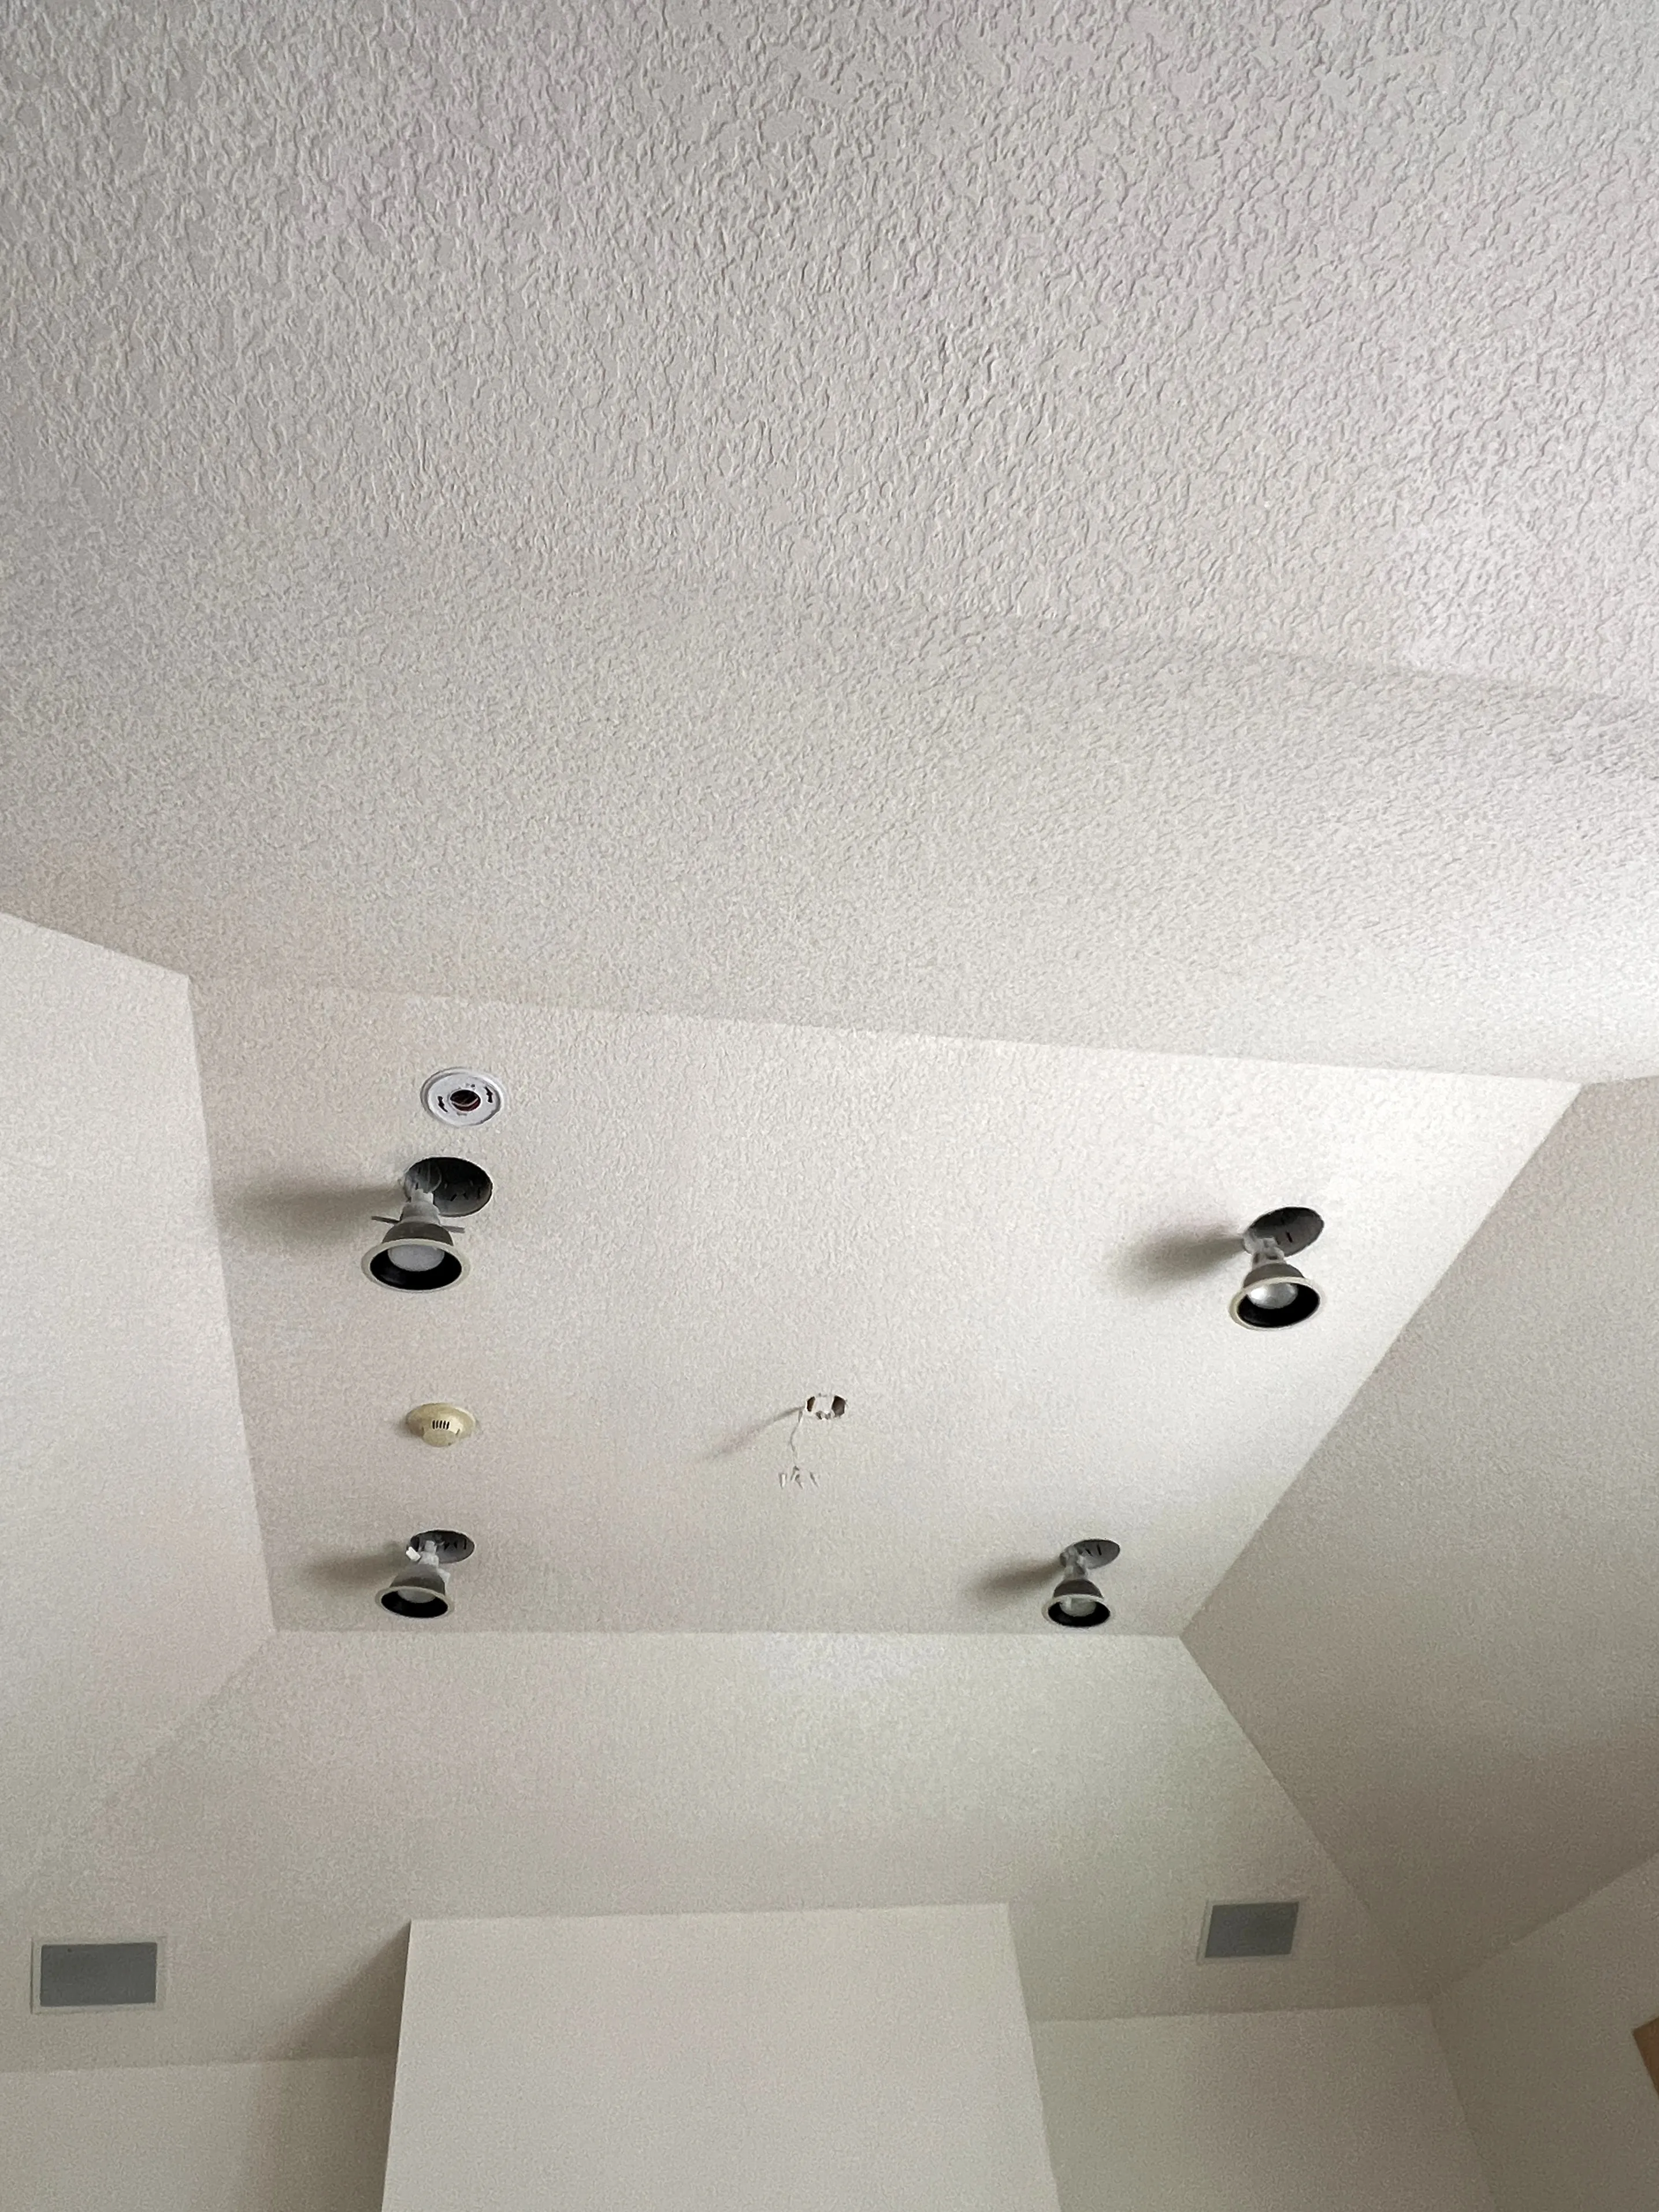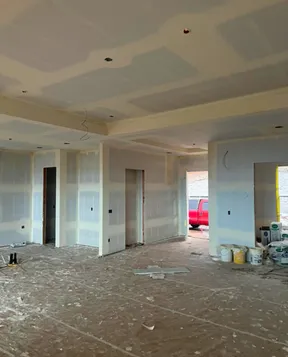
A drywall patch showing through paint can look like a dull rectangle, a shiny halo, a raised outline, or a different texture. Those appearances point to different things to inspect. Adding another coat without checking the surface may leave the same mark in place.
Start by describing what you see and when you see it. The next step is to separate a surface-shape problem from a paint or texture difference. That gives your drywall contractor or painter a better starting point than “the patch needs more paint.”
Identify the appearance before choosing a fix
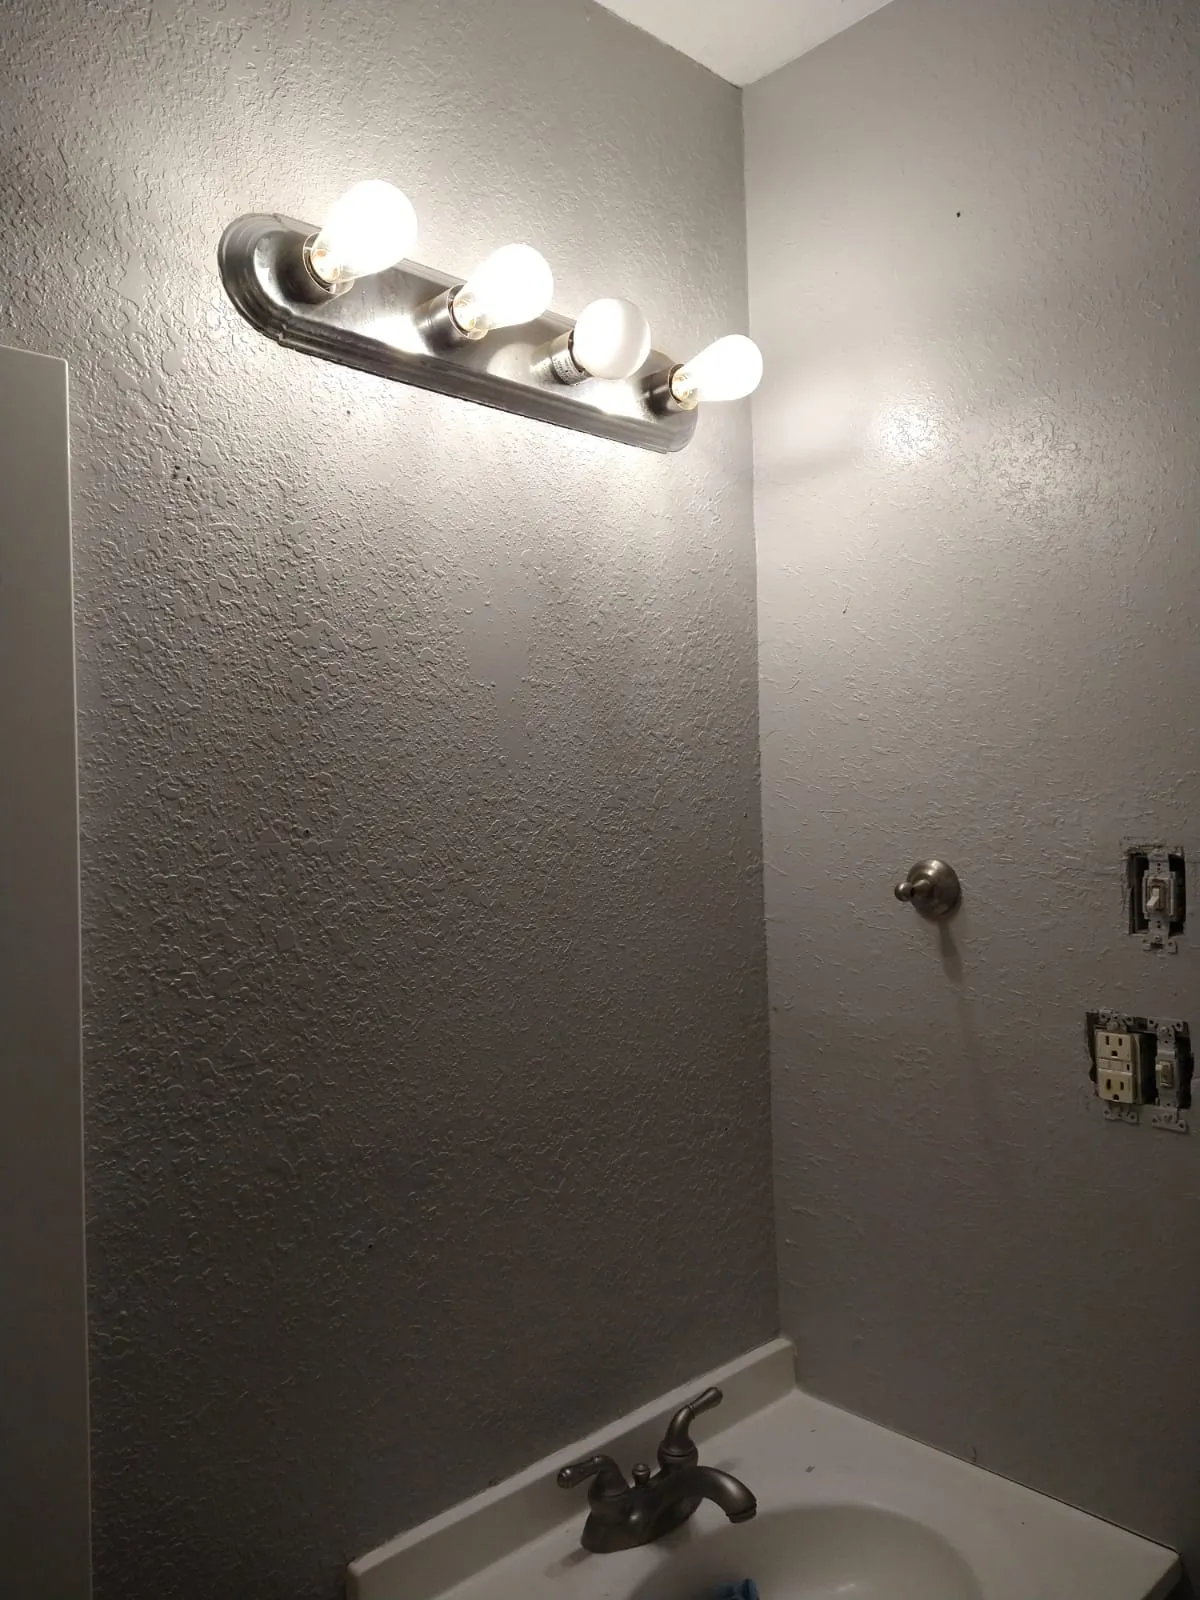
Look at the wall in daylight and under the room's normal lamps. Then change your viewing angle. Note whether the patch is always visible or only when light travels across it from a window or fixture.
A raised outline suggests the surface transition deserves inspection. A flat patch with a different pattern points toward texture. A patch that looks duller or shinier may involve the coating system, paint sheen, or how the surface was prepared. These are observations to share, not a complete diagnosis.
Take a photo from the doorway and another from the angle where the defect is most obvious. Include one close view. Phone cameras can exaggerate some lighting effects and hide others, so explain what your eye sees too.
If the repair was recently painted, ask the painter when the coating is ready for final assessment. Use that instruction before deciding whether the finished result has failed.
Check whether the patch is flat
Paint follows the shape of the surface. If the repair has a ridge or abrupt edge, a color-matched finish won't make the geometry disappear. Have the drywall contractor inspect the transition before a painter keeps adding coats.
Ask whether the repair needs further finishing and how far that work would extend. A larger feathered area may be needed to create a gentler transition, which can change the amount of texture and paint work afterward.
Don't start sanding a painted patch without checking the surface and the home's age. In an older home, the existing paint or texture may need assessment before disturbance. Tell the contractor what is known about previous testing and renovation work.
If the original opening was made for utility work, check that the patch is secure and that the work behind it was completed before closure. Our drywall repair after plumbing and electrical work page explains that handoff.
Understand paint flashing and surface preparation
Flashing describes a visible variation in a painted or decorated surface. Differences in absorption between joint compound and surrounding surfaces can contribute to it. USG's troubleshooting handbook discusses high-suction joints, drying, and priming as part of addressing finish variation.
Ask which primer was used and whether the repair was fully ready before it was applied. Keep the product names with the job notes. “Paint and primer” on a finish-coat label doesn't, by itself, answer whether the repaired surface received the preparation required by the selected system.
The solution should come from inspecting the existing surface and following compatible product instructions. Avoid picking an additional primer at random, especially if several coatings have already been applied.
If one contractor repaired the drywall and another painted it, ask them to agree on the handoff condition. That is more useful than deciding blame from the shape of the visible patch.
A texture difference can survive a perfect color match
Compare the patch with the surrounding wall up close. Look at the size and spacing of the texture rather than color alone. A smooth repair in a lightly textured room may be hard to notice before painting and much clearer afterward.
Ask whether the surface needs texture adjustment before another paint coat. A finish-coat change can't recreate a missing knockdown pattern. Likewise, adding heavy texture to a fine orange-peel wall can leave the patch just as visible in a different way.
Our guide to matching drywall texture explains the details that affect a blend. It also covers when a broader finish area may be worth comparing with a localized repair.
If the wall already contains several old patches, show the contractor which finish you consider the best reference. The goal should be a clear agreed result, not another patch matched to the nearest imperfect patch.
Check paint product, color, and sheen together
A leftover paint can is useful information, but it isn't a promise that today's touch-up will disappear. Record the brand, product line, color formula, and sheen from the label. Tell the painter whether the paint was stored for a long time or whether water or another product was added.
If you don't have the original paint, discuss how a match will be evaluated. A small color sample may help with color selection while still leaving sheen and application differences to consider. Ask whether painting to a natural wall boundary is more predictable than touching up a spot.
Have the painter explain the finish area included in the quote. One coat on the patch, a blended touch-up, and repainting the wall from corner to corner are different services.
For a bright room in Ridgefield, include photos showing the windows and fixtures. The light that reveals the repair is part of planning a satisfactory result.
Give each stage enough time
A repair has several handoffs: compound to sanding, surface preparation to primer, and primer to finish paint. Product instructions and conditions on site determine when those steps are ready. The date on the calendar doesn't establish that the material is dry.
USG's jobsite conditions guidance explains how temperature, humidity, and insufficient drying time affect finishing. Tell the crew if the room is unheated, used for laundry, or kept closed for long periods.
Ask what conditions the room needs between visits. If those conditions change, tell the contractor before the next stage. A temporary schedule adjustment can be easier than undoing work that was applied too soon.
Our article on drywall repair timelines gives a fuller view of the sequence. For your project, get the actual stages and dependencies written into the plan.
Request a repair plan instead of another blind coat
Send the contractor the photos, the date of the original repair, and the products used. Explain whether the defect is a ridge, texture mismatch, color change, or sheen difference. Include any earlier attempts to fix it.
Ask the proposed scope to identify the surface correction, primer, finish area, and paint responsibilities. Confirm protection and cleanup if sanding or texture work will be needed in an occupied room.
Review the completed result under the room's normal lighting after the appropriate drying period. If something still needs attention, describe that specific observation and refer back to the agreed finish area.
AvilaCo provides drywall repair and painting in Longview, Kelso, and the wider Southwest Washington service area. We can discuss the visible patch and the work needed to get the wall ready for a consistent finish.
Common questions
Will another coat hide a drywall patch?
It depends on the cause. A paint-related difference may need coating work, while a ridge or texture mismatch needs surface correction first.
Why is the patch shinier than the wall?
Sheen, application, surface absorption, and preparation can affect the appearance. Have the painter inspect the finish and product history before choosing a remedy.
Do I have to repaint the whole room?
Not necessarily. A single wall or a smaller finish area may be appropriate. Compare the expected result and boundaries with the painter.
Can new paint be judged immediately?
Ask when the selected coating is ready for final review. Assess the finish after that period under the normal room lighting.