Drywall Restoration After a Plumbing Repiping
A complete copper-to-PEX repipe left this Vancouver, WA home with torn-up walls and ceilings in four rooms. Here's how we made every surface look like it was never touched.
Vancouver, WA
4 Rooms — Patch & Texture
Sherwin-Williams
 Before
 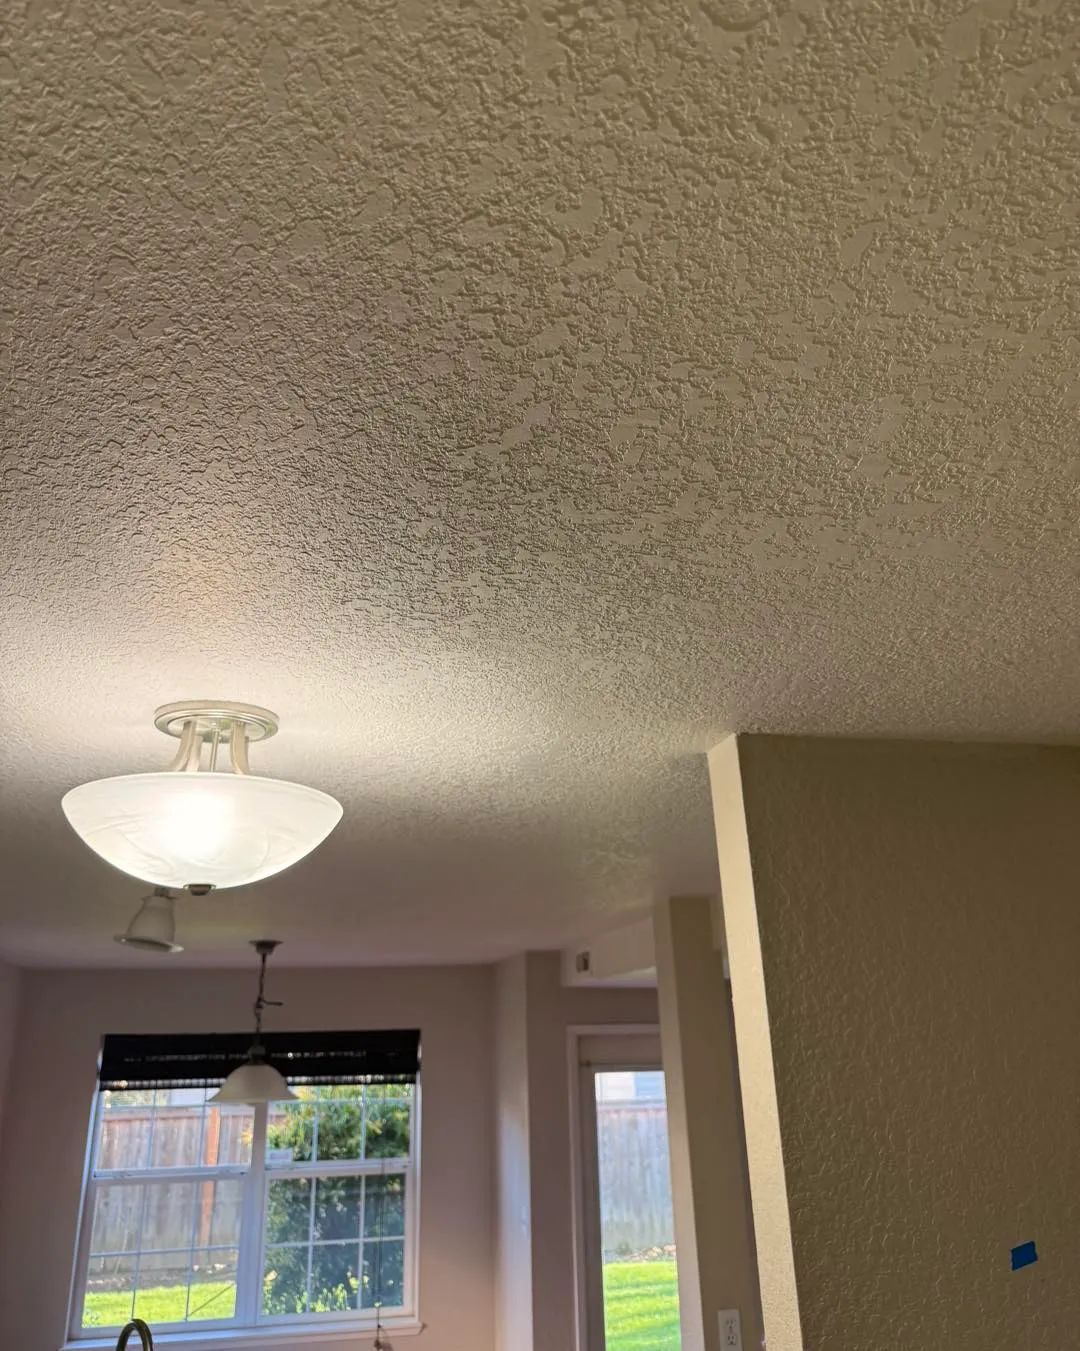 After
After New pipes are great. The holes they leave behind? Not so much.
When a homeowner gets their entire house replumbed, the plumber's job ends with new pipes — and walls and ceilings full of holes. This home needed drywall restoration in four separate areas after a complete copper-to-PEX repipe.
Every room had different damage, different textures, and different challenges. Our job: make it all disappear.
The Restoration
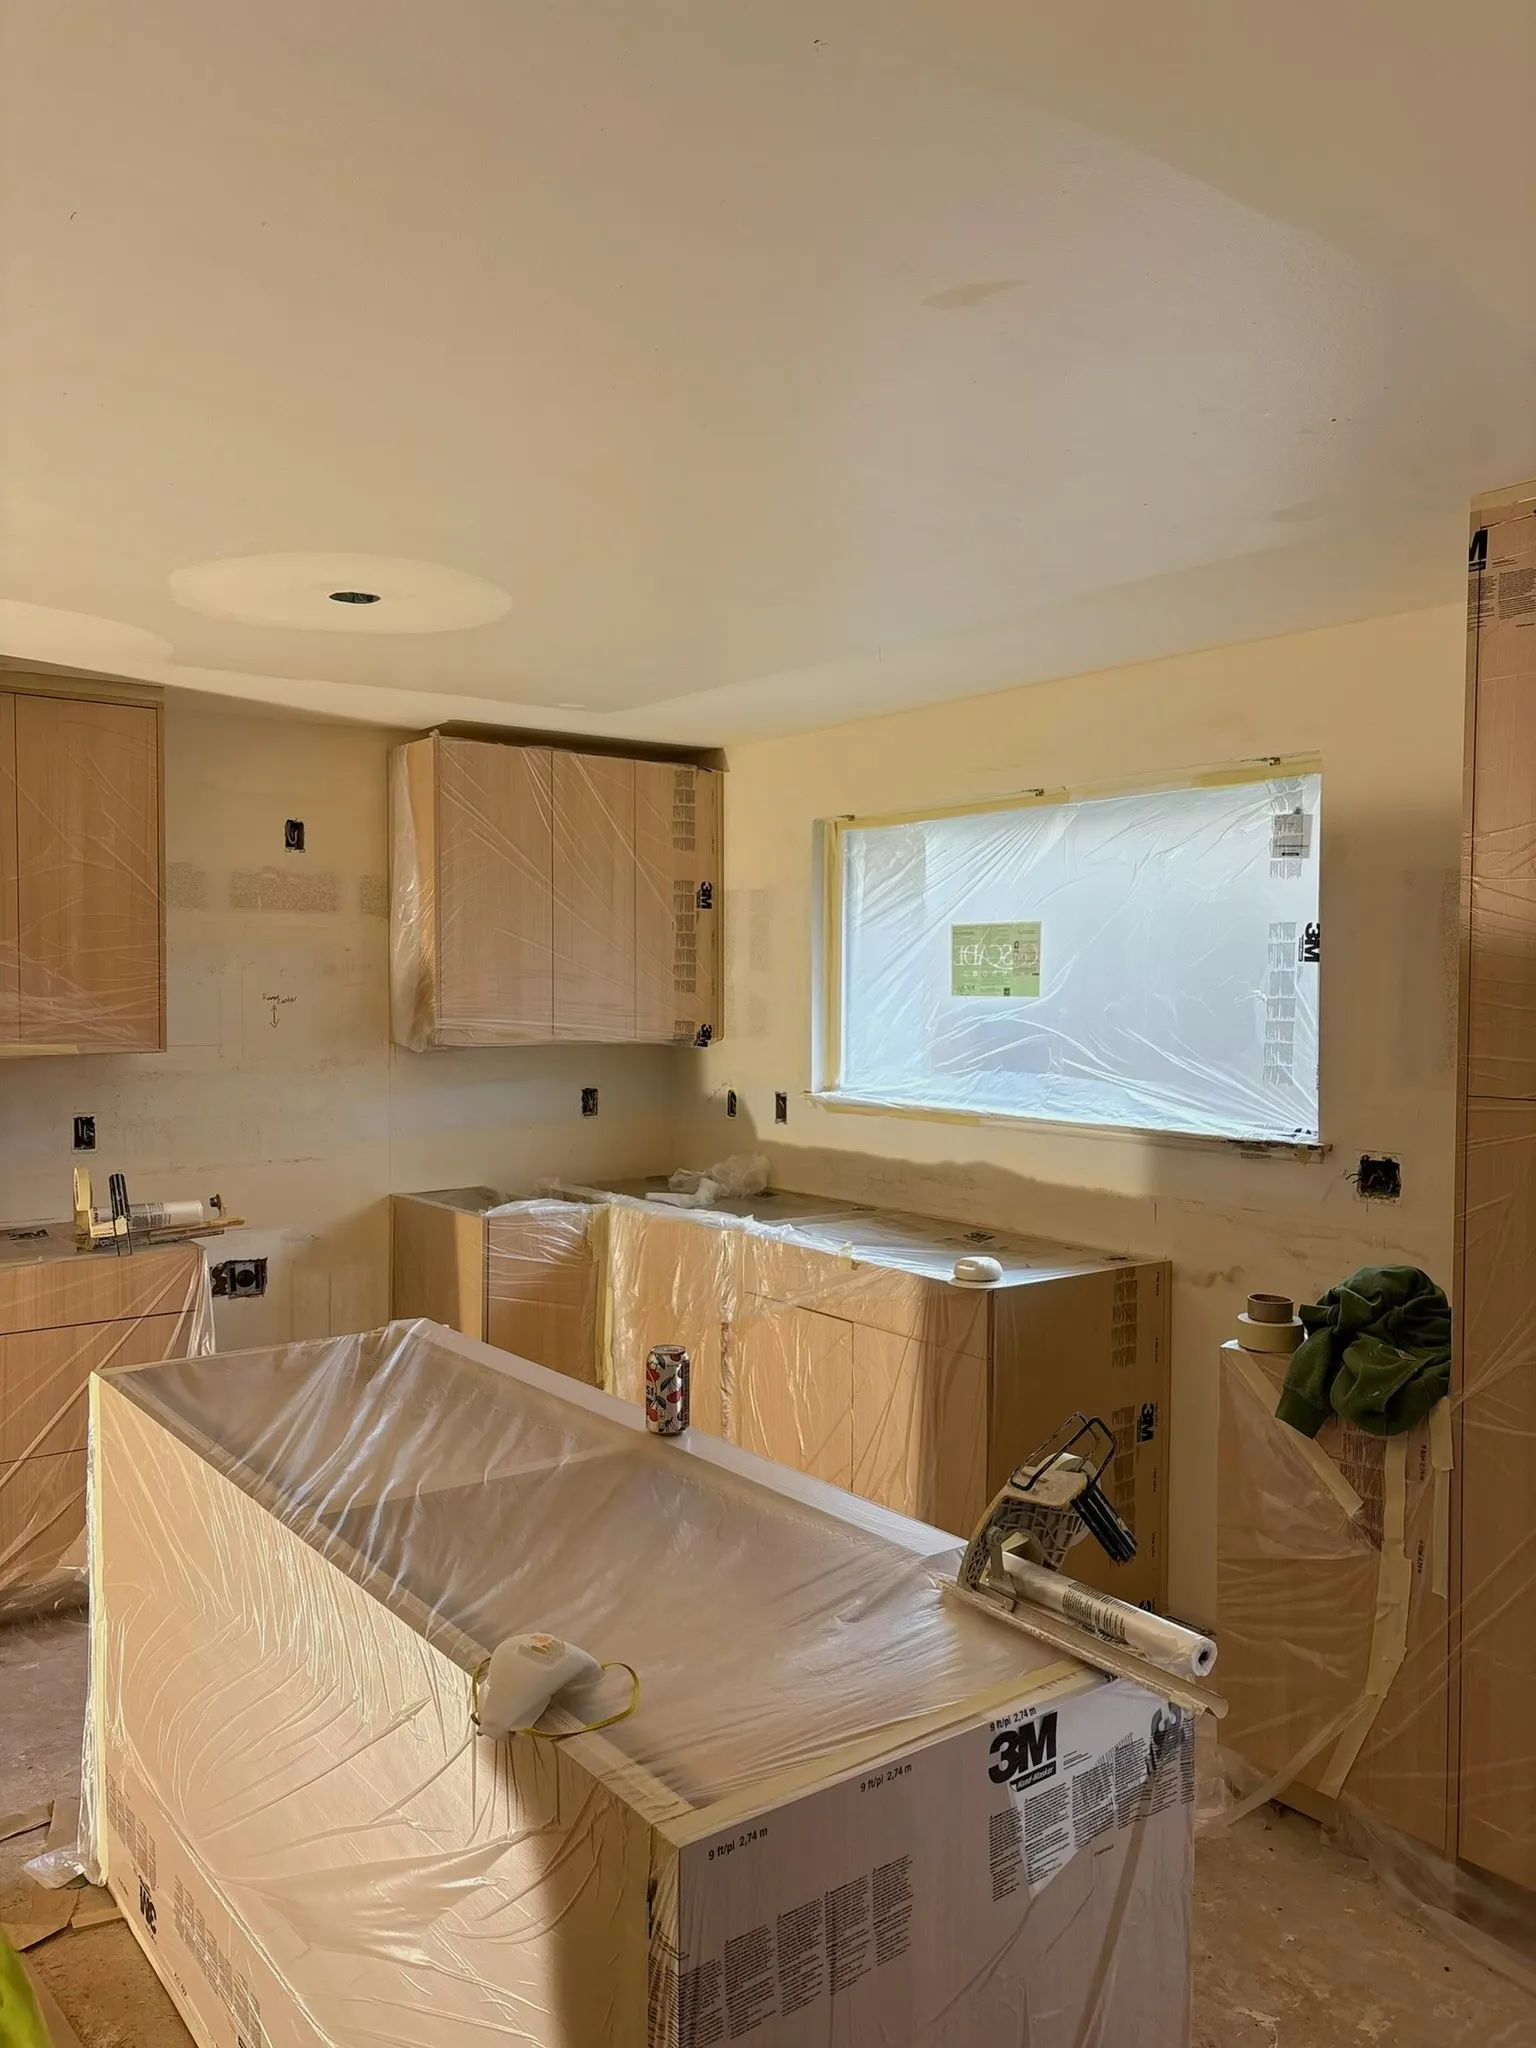
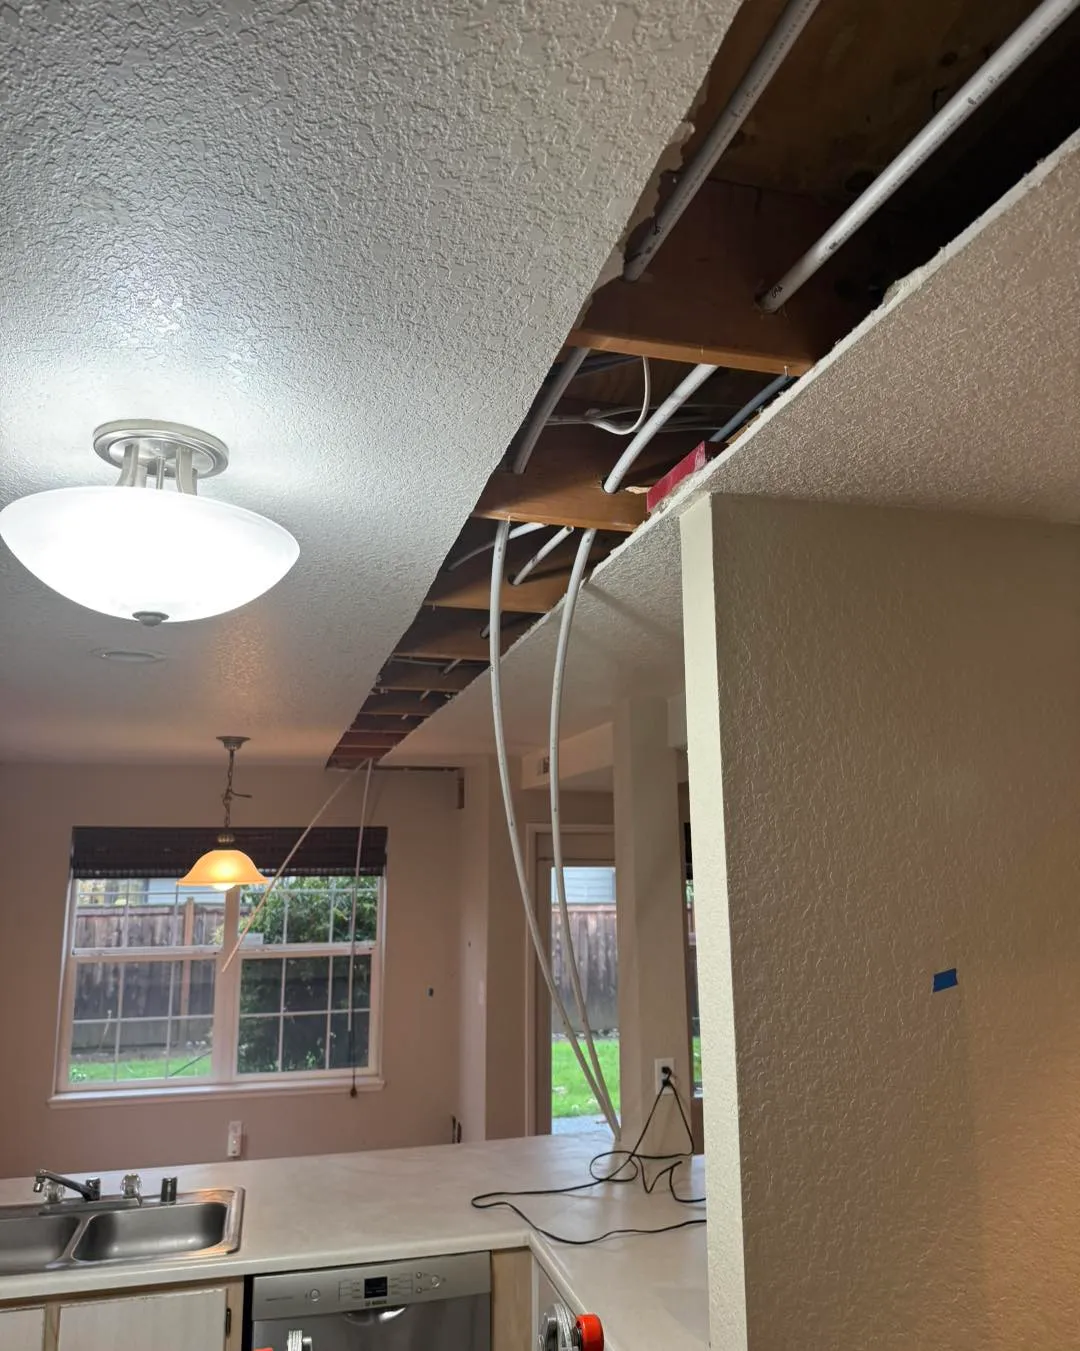
Before After Kitchen Ceiling
The plumber cut a 10-foot channel across the kitchen ceiling to run new PEX lines. We patched the opening with new drywall, taped and mudded to a smooth finish, then applied knockdown texture to match the existing ceiling. Painted with Sherwin-Williams to blend seamlessly.
 Before
 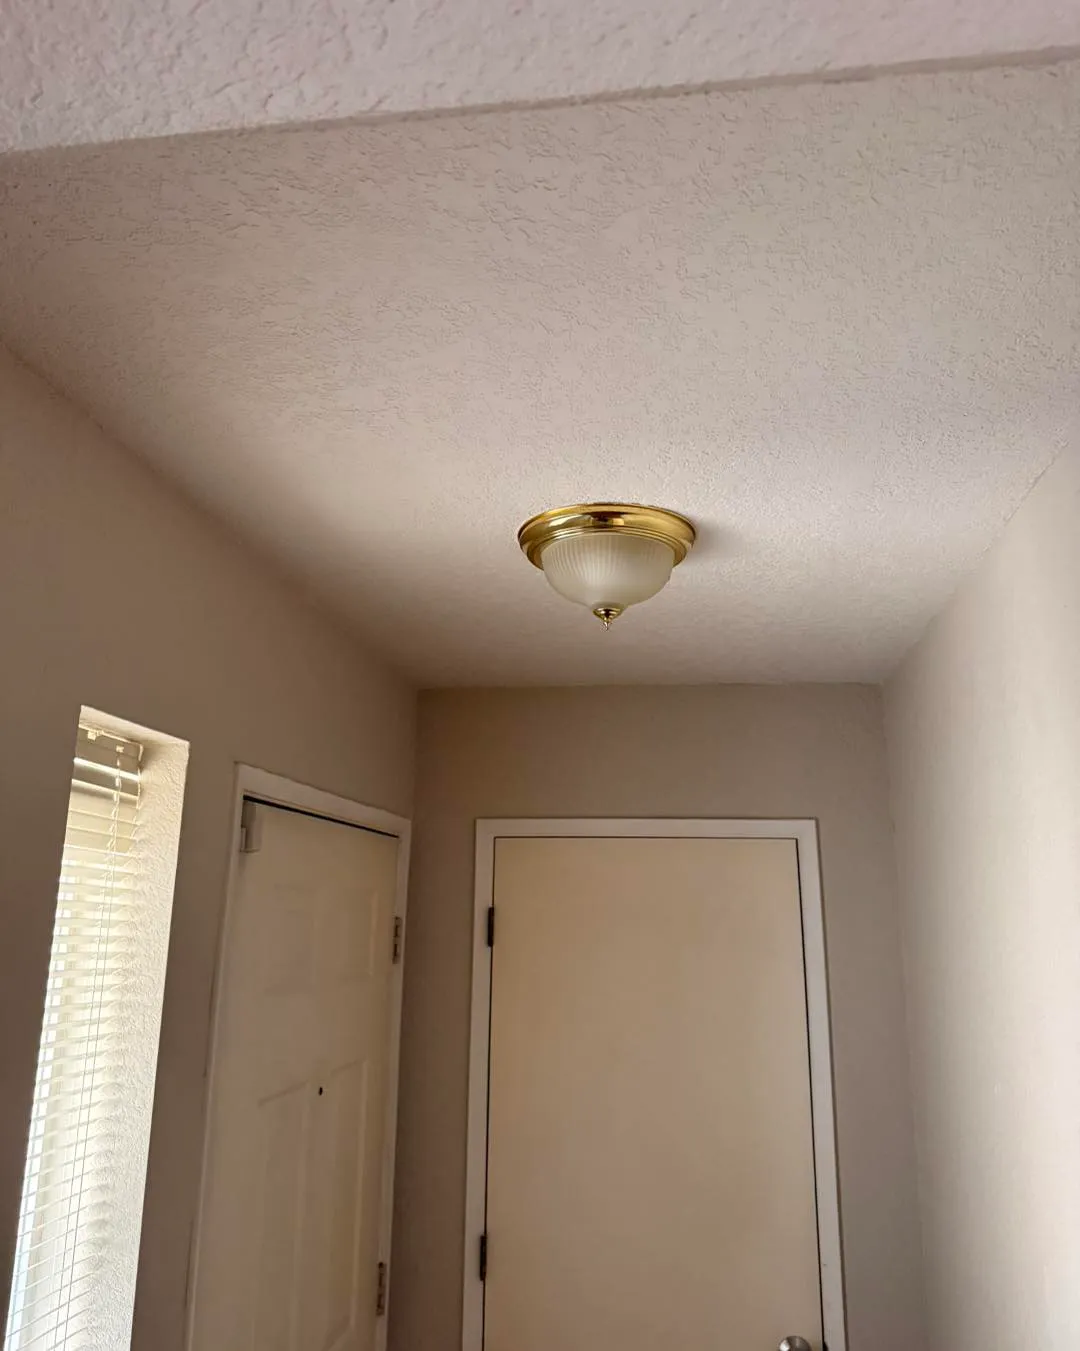 After
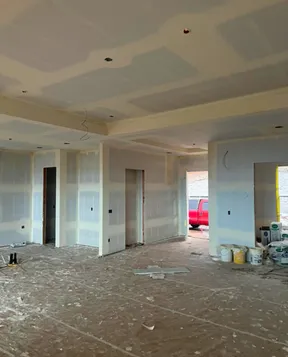
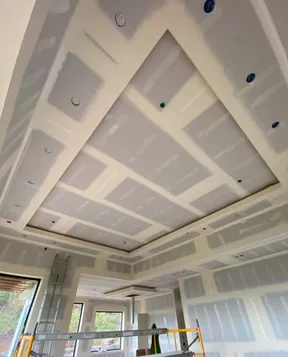
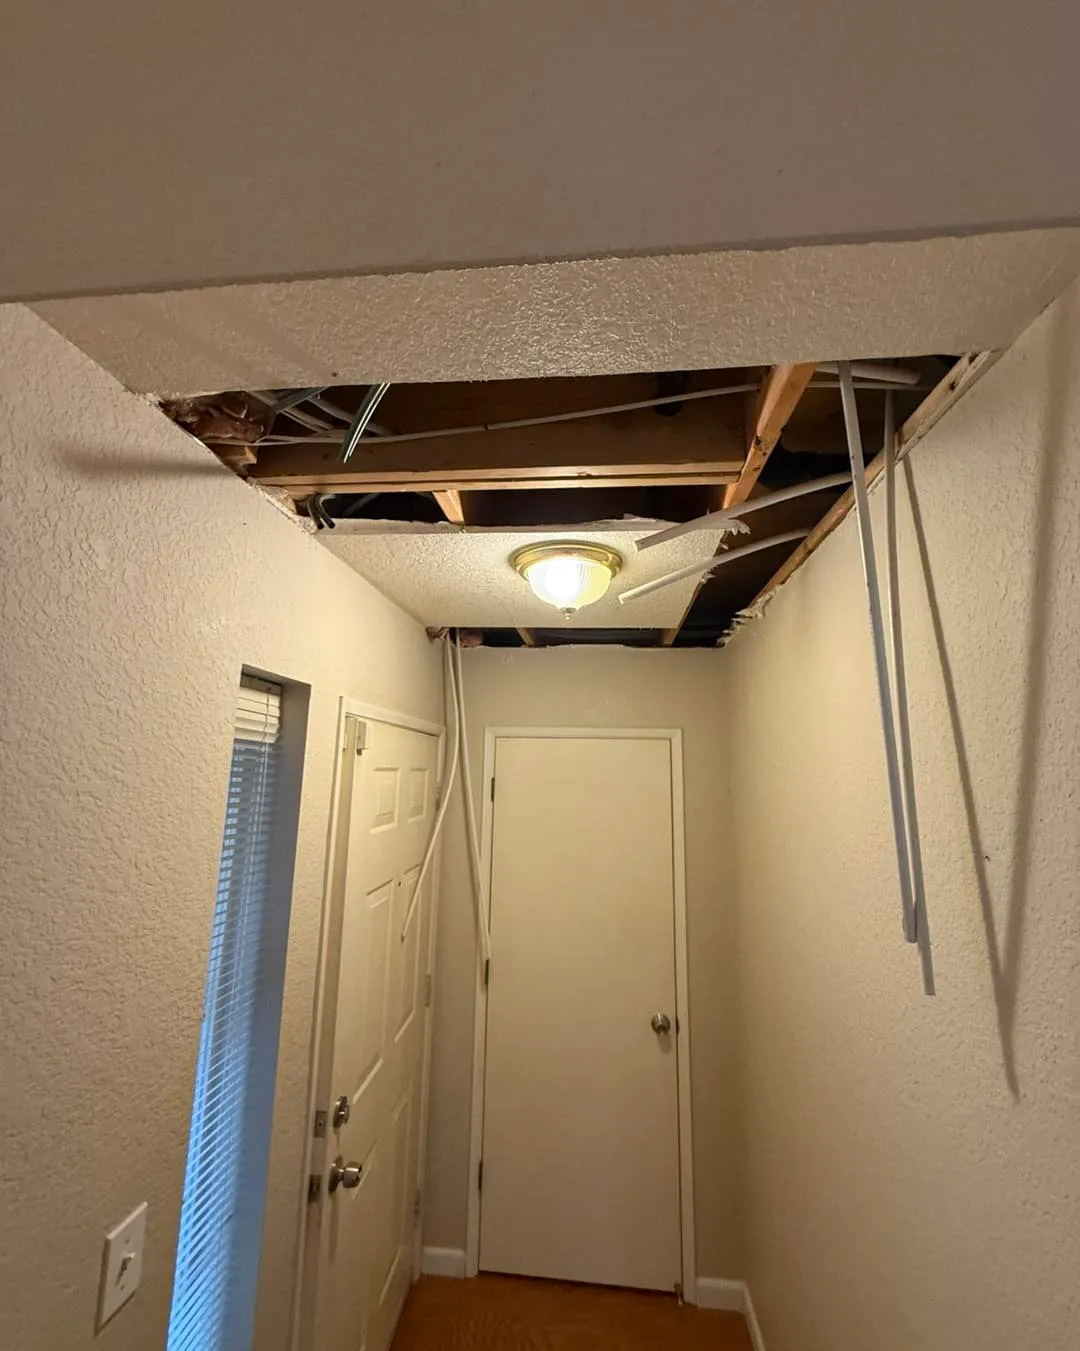
After Hallway Ceiling
A large section of the hallway ceiling was removed to access the main trunk line. We framed in new backing, hung fresh drywall, and built up three coats of mud to get it flush. The knockdown texture was hand-matched to the original.
 Before
 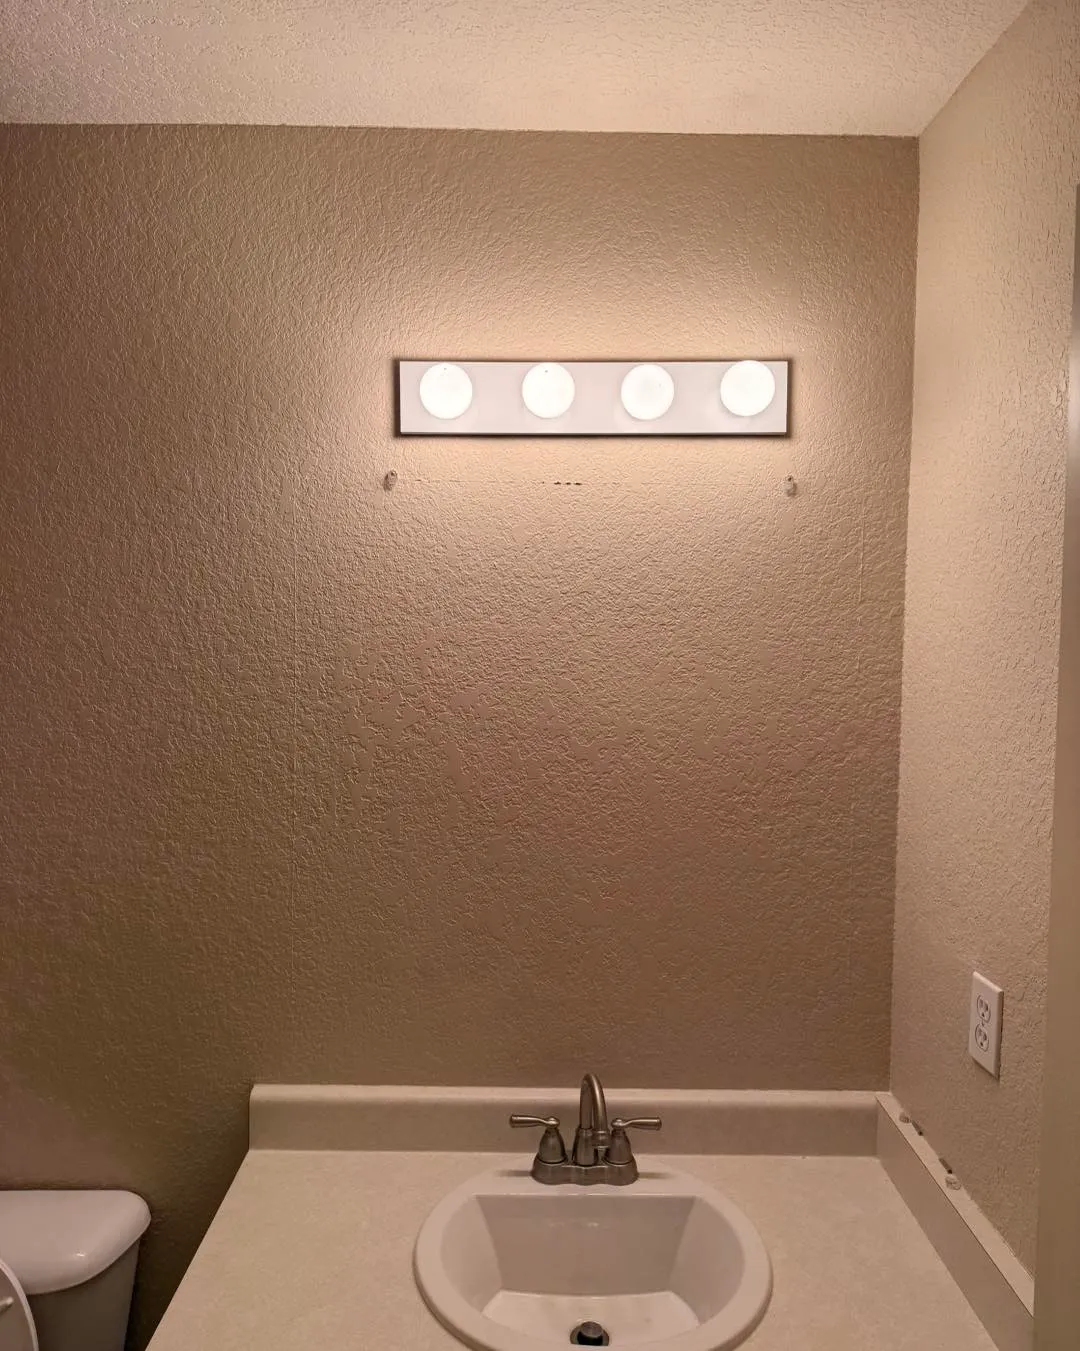 After
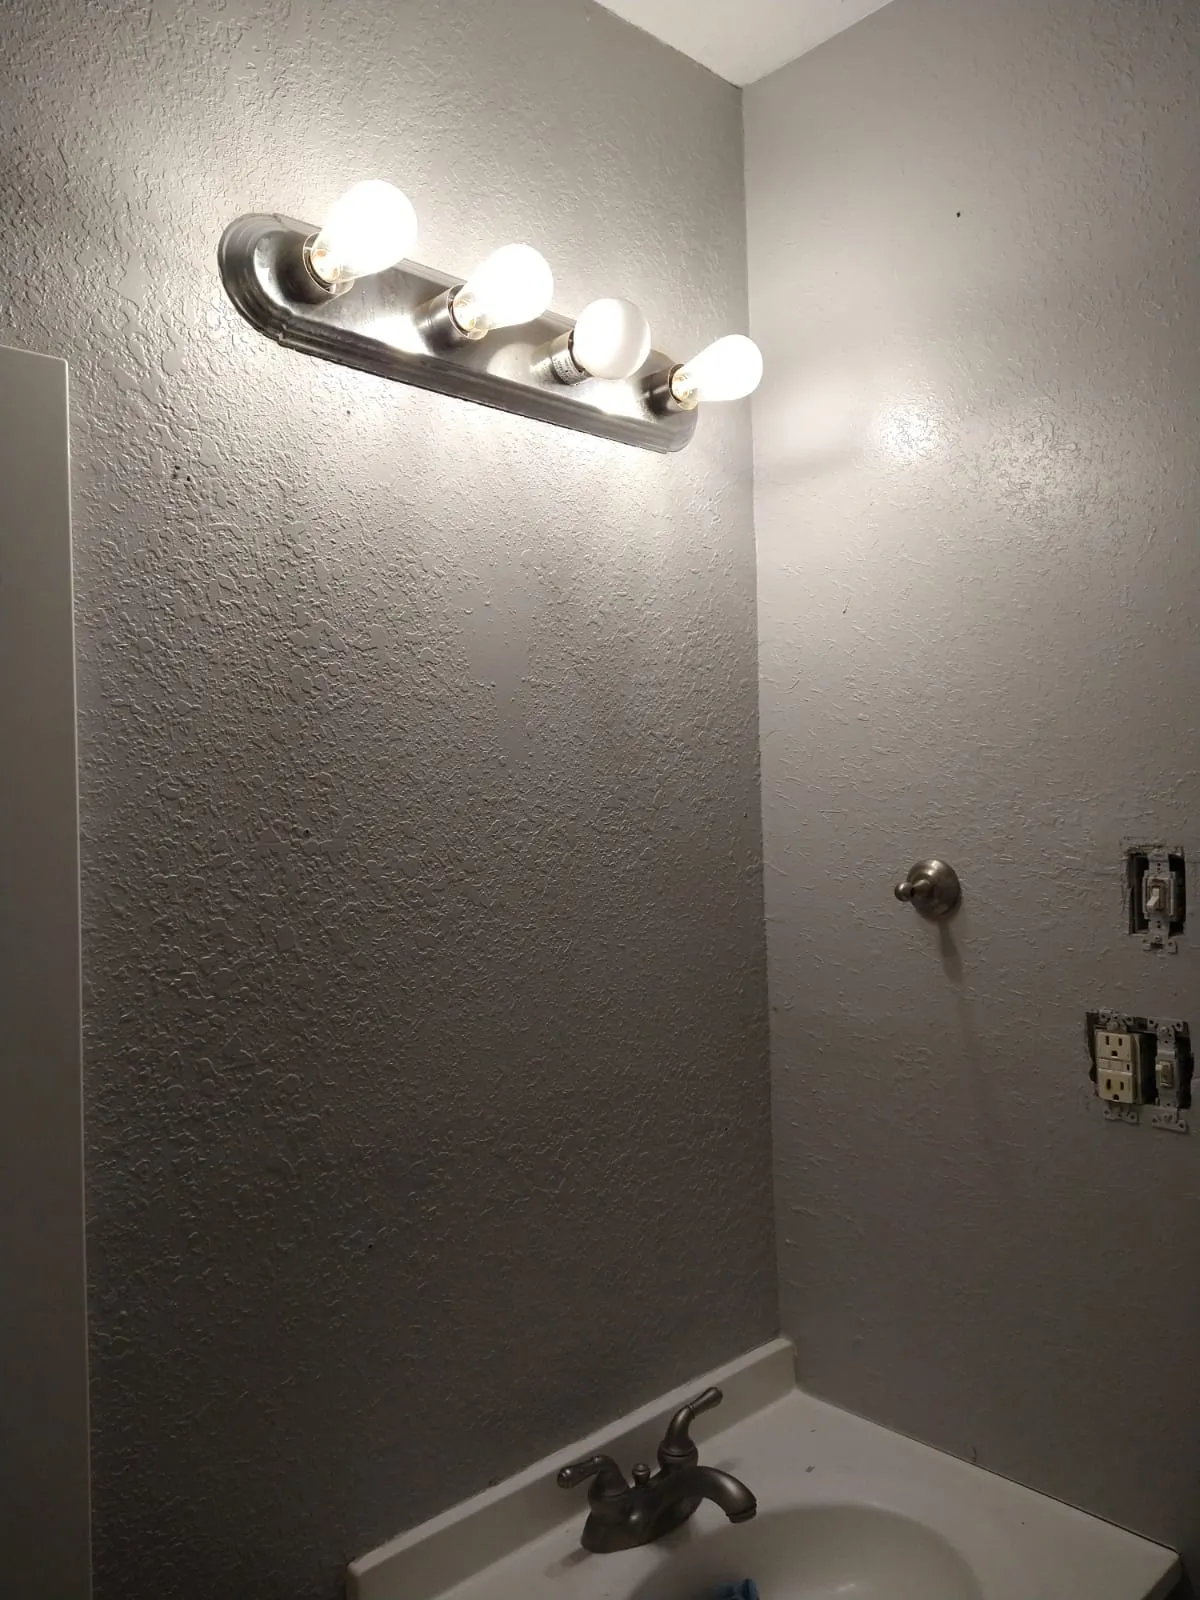
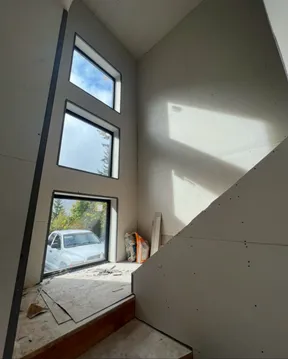
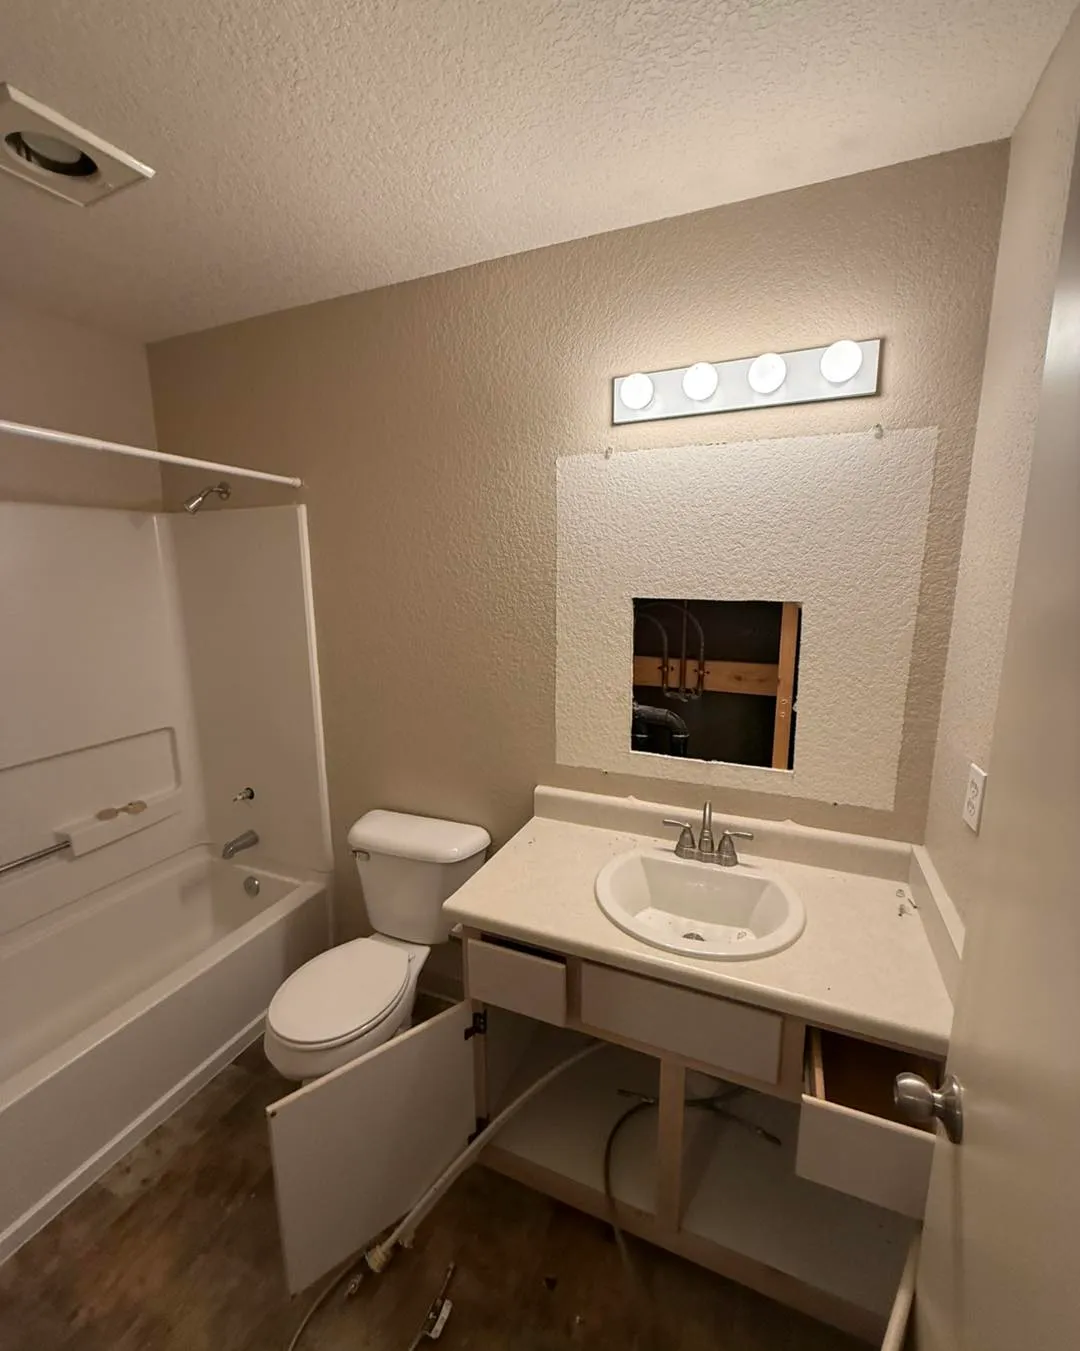
After Bathroom Wall
Behind the vanity, the plumber opened up the wall to swap copper supply lines for PEX. We patched the cutout, matched the existing orange peel texture, and painted to blend.
 Before
 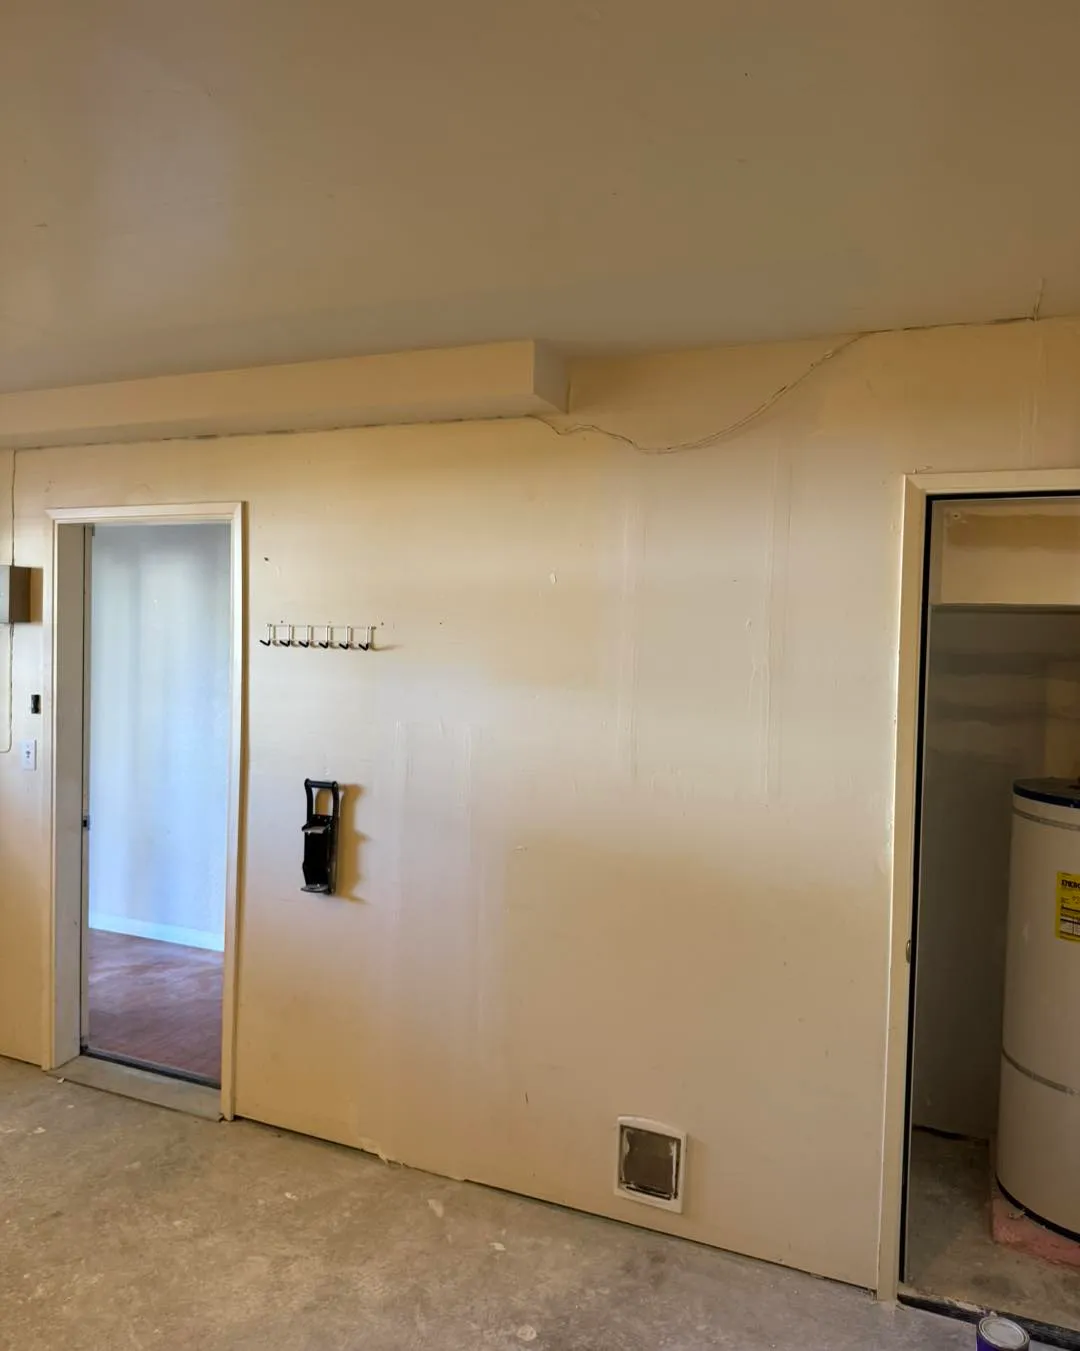 After
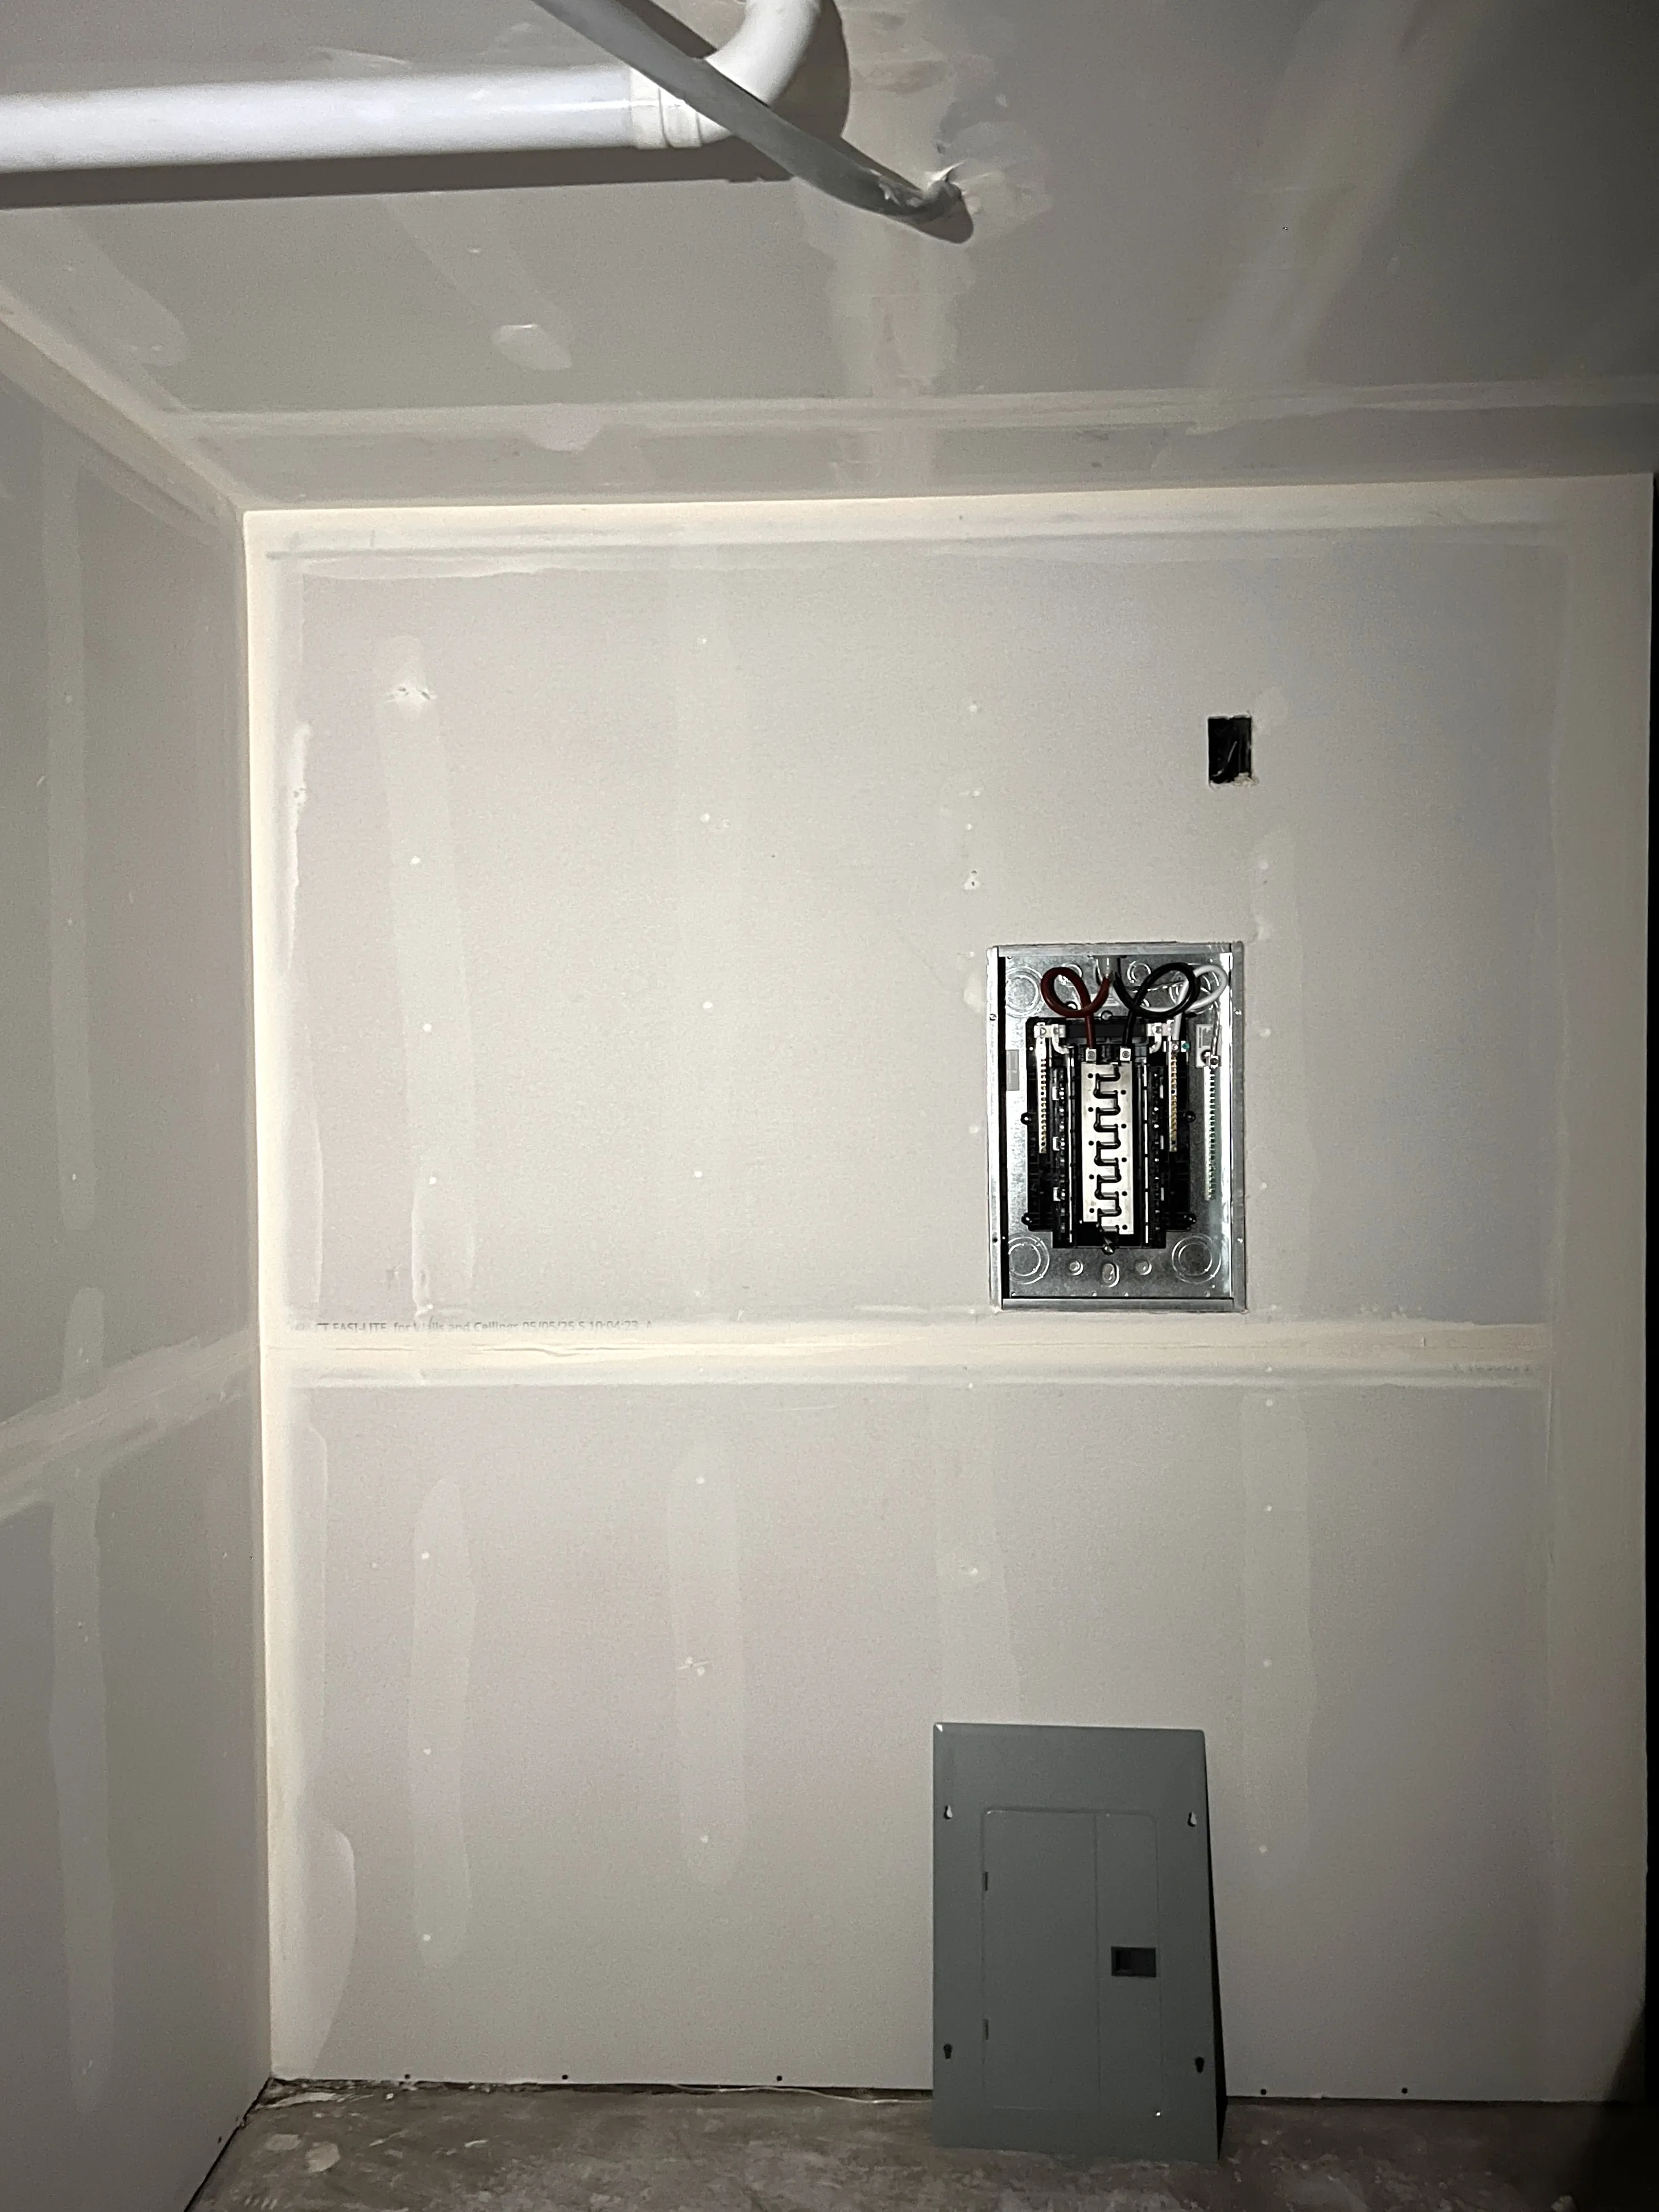
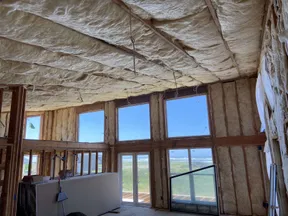
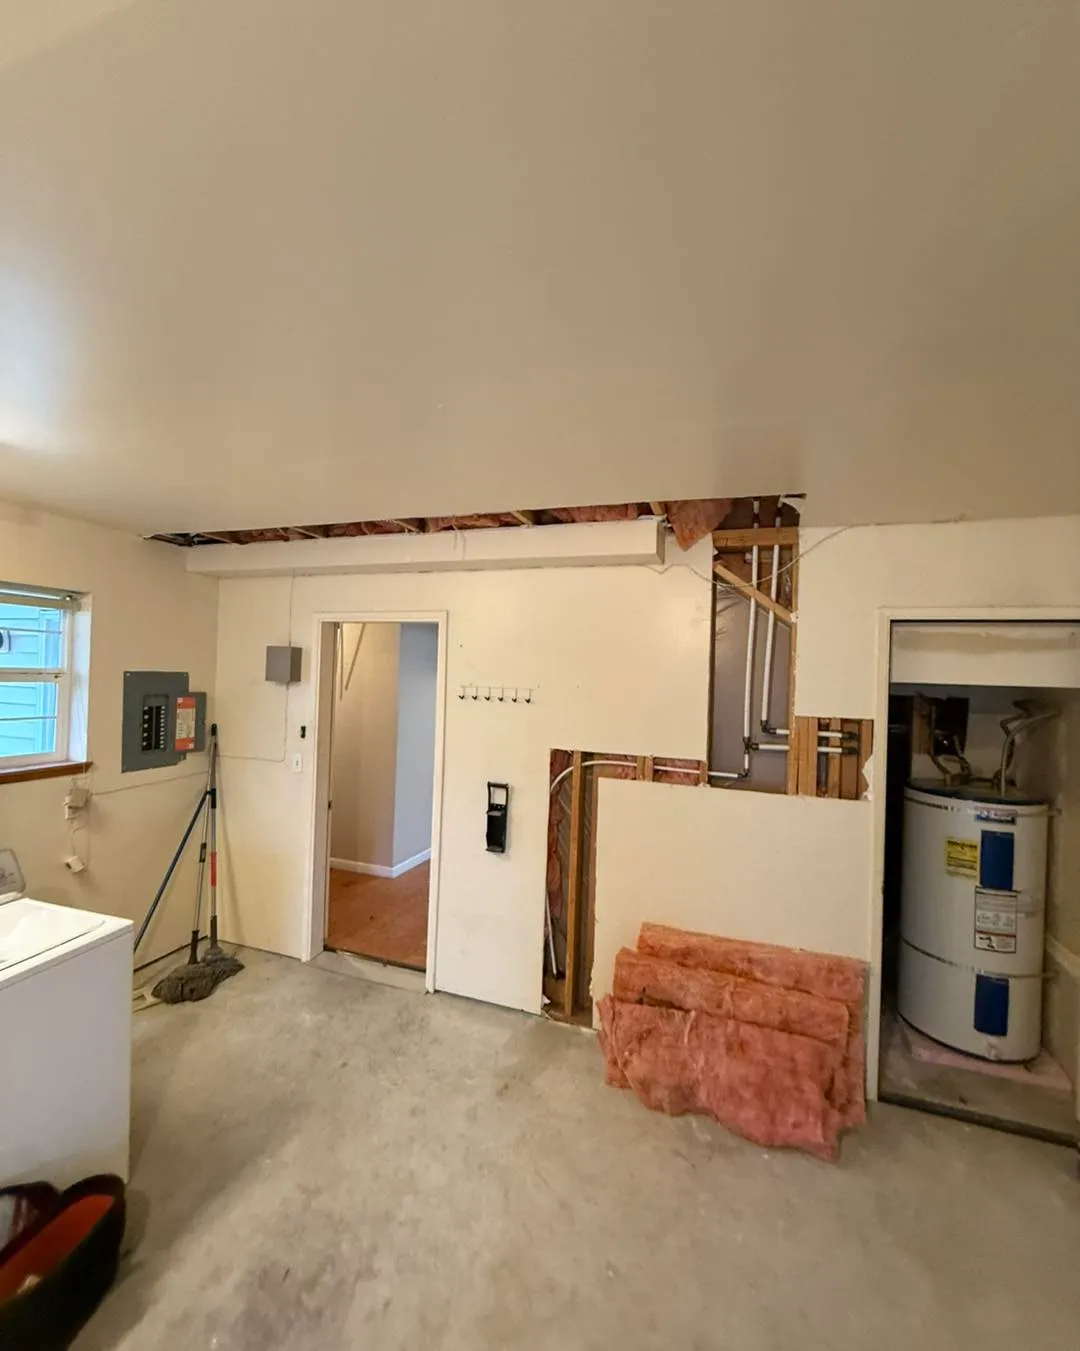
After Basement Utility
The utility room took the biggest hit — ceiling channels, wall cutouts around the water heater, and exposed framing. We patched everything, added insulation where needed, and finished with a clean painted surface.
Six Steps to Invisible Repairs
Every repipe restoration follows the same proven process — no shortcuts, no visible seams.
Assessment
Walk the home with the homeowner, document every opening left by the plumber, and plan materials.
Framing & Backing
Install wood backing and any needed framing so new drywall has solid support at every seam.
Hang & Tape
Cut and hang new drywall to fit each opening precisely. Tape all joints and apply first coat of mud.
Mud & Sand
Build up two to three coats of joint compound, sanding between each for a perfectly flush surface.
Texture Match
Hand-apply texture (knockdown, orange peel, or smooth) to match the existing walls and ceilings exactly.
Prime & Paint
Prime patched areas and paint to match existing colors. We use Sherwin-Williams for a lasting, consistent finish.
Recently had a repipe?
Don't live with torn-up walls and ceilings. We'll patch, texture-match, and paint everything back to original — usually in just a few days.