You've got a drywall installation project coming up. Maybe you're building a new home in Battle Ground. Maybe you're finishing a basement in Vancouver. Maybe you're adding a bedroom in Camas and you need someone to hang board and make it look right.
Before you start calling around for quotes, there are a few things worth knowing. Not because you need to become a drywall expert. But knowing the basics helps you ask better questions, tell a good drywall contractor from a bad one, and understand what you're paying for when that estimate shows up.
Not all drywall board is the same
Standard drywall works for most rooms in your home. But certain spaces need something different, and your drywall installation crew should know which board goes where without you having to ask.
Moisture-resistant drywall (sometimes called green board) is designed for bathrooms, laundry rooms, and anywhere that sees regular humidity. If you live in Clark County, you already know how damp it gets from October through May. Moisture-resistant board in your wet areas is a no-brainer.
Mold-resistant drywall (purple board) goes a step further. It's a solid choice for basements and spaces where moisture isn't just humidity but a real, ongoing concern. Basements in Vancouver, WA and Washougal see this a lot.
Fire-rated drywall (Type X) is thicker and required by code in certain spots. The wall between your garage and your living space, for example, or in multi-family construction. It's not optional. Building code dictates where it goes.
Soundproof drywall is heavier and denser than standard board. It's used in home theaters, bedrooms that share a wall with a noisy space, or anywhere sound transfer is a problem. It costs more, but it makes a noticeable difference if sound is a concern.
If a contractor plans to use the same standard board in every room of your home without asking about the rooms, that's worth a second thought.
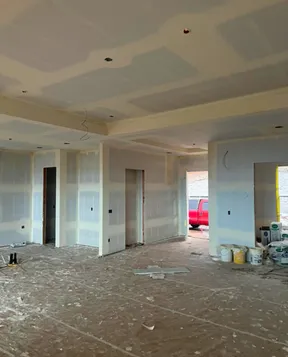
Ceilings go up first, then walls
This is one of the most common questions people ask about drywall installation. When your crew shows up, the ceiling boards get hung before the wall boards. Always.
The wall sheets butt up against the bottom edge of the ceiling sheets, which supports those edges and creates a tighter joint. It also means the ceiling-to-wall seam is covered by the wall board rather than left exposed.
Ceiling drywall is usually 5/8" thick. It's heavier and stiffer, which means it resists sagging between joists. Wall drywall is typically 1/2". The thicker ceiling board also helps with sound between floors if you've got a two-story home.
What affects your drywall installation timeline
A single room might take a few days from hanging to final texture. A full new construction home typically takes one to two weeks. Here's what changes the timeline on your project:
Room count and square footage. More rooms means more cutting, more corners, more detail work around doors and windows. A four-bedroom home takes longer than a two-bedroom.
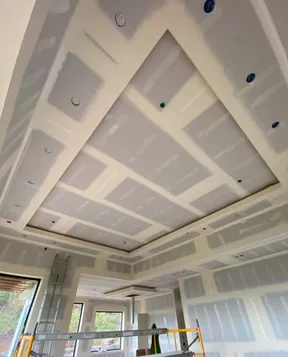
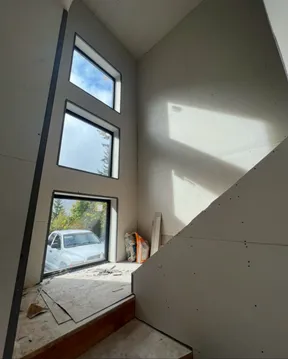
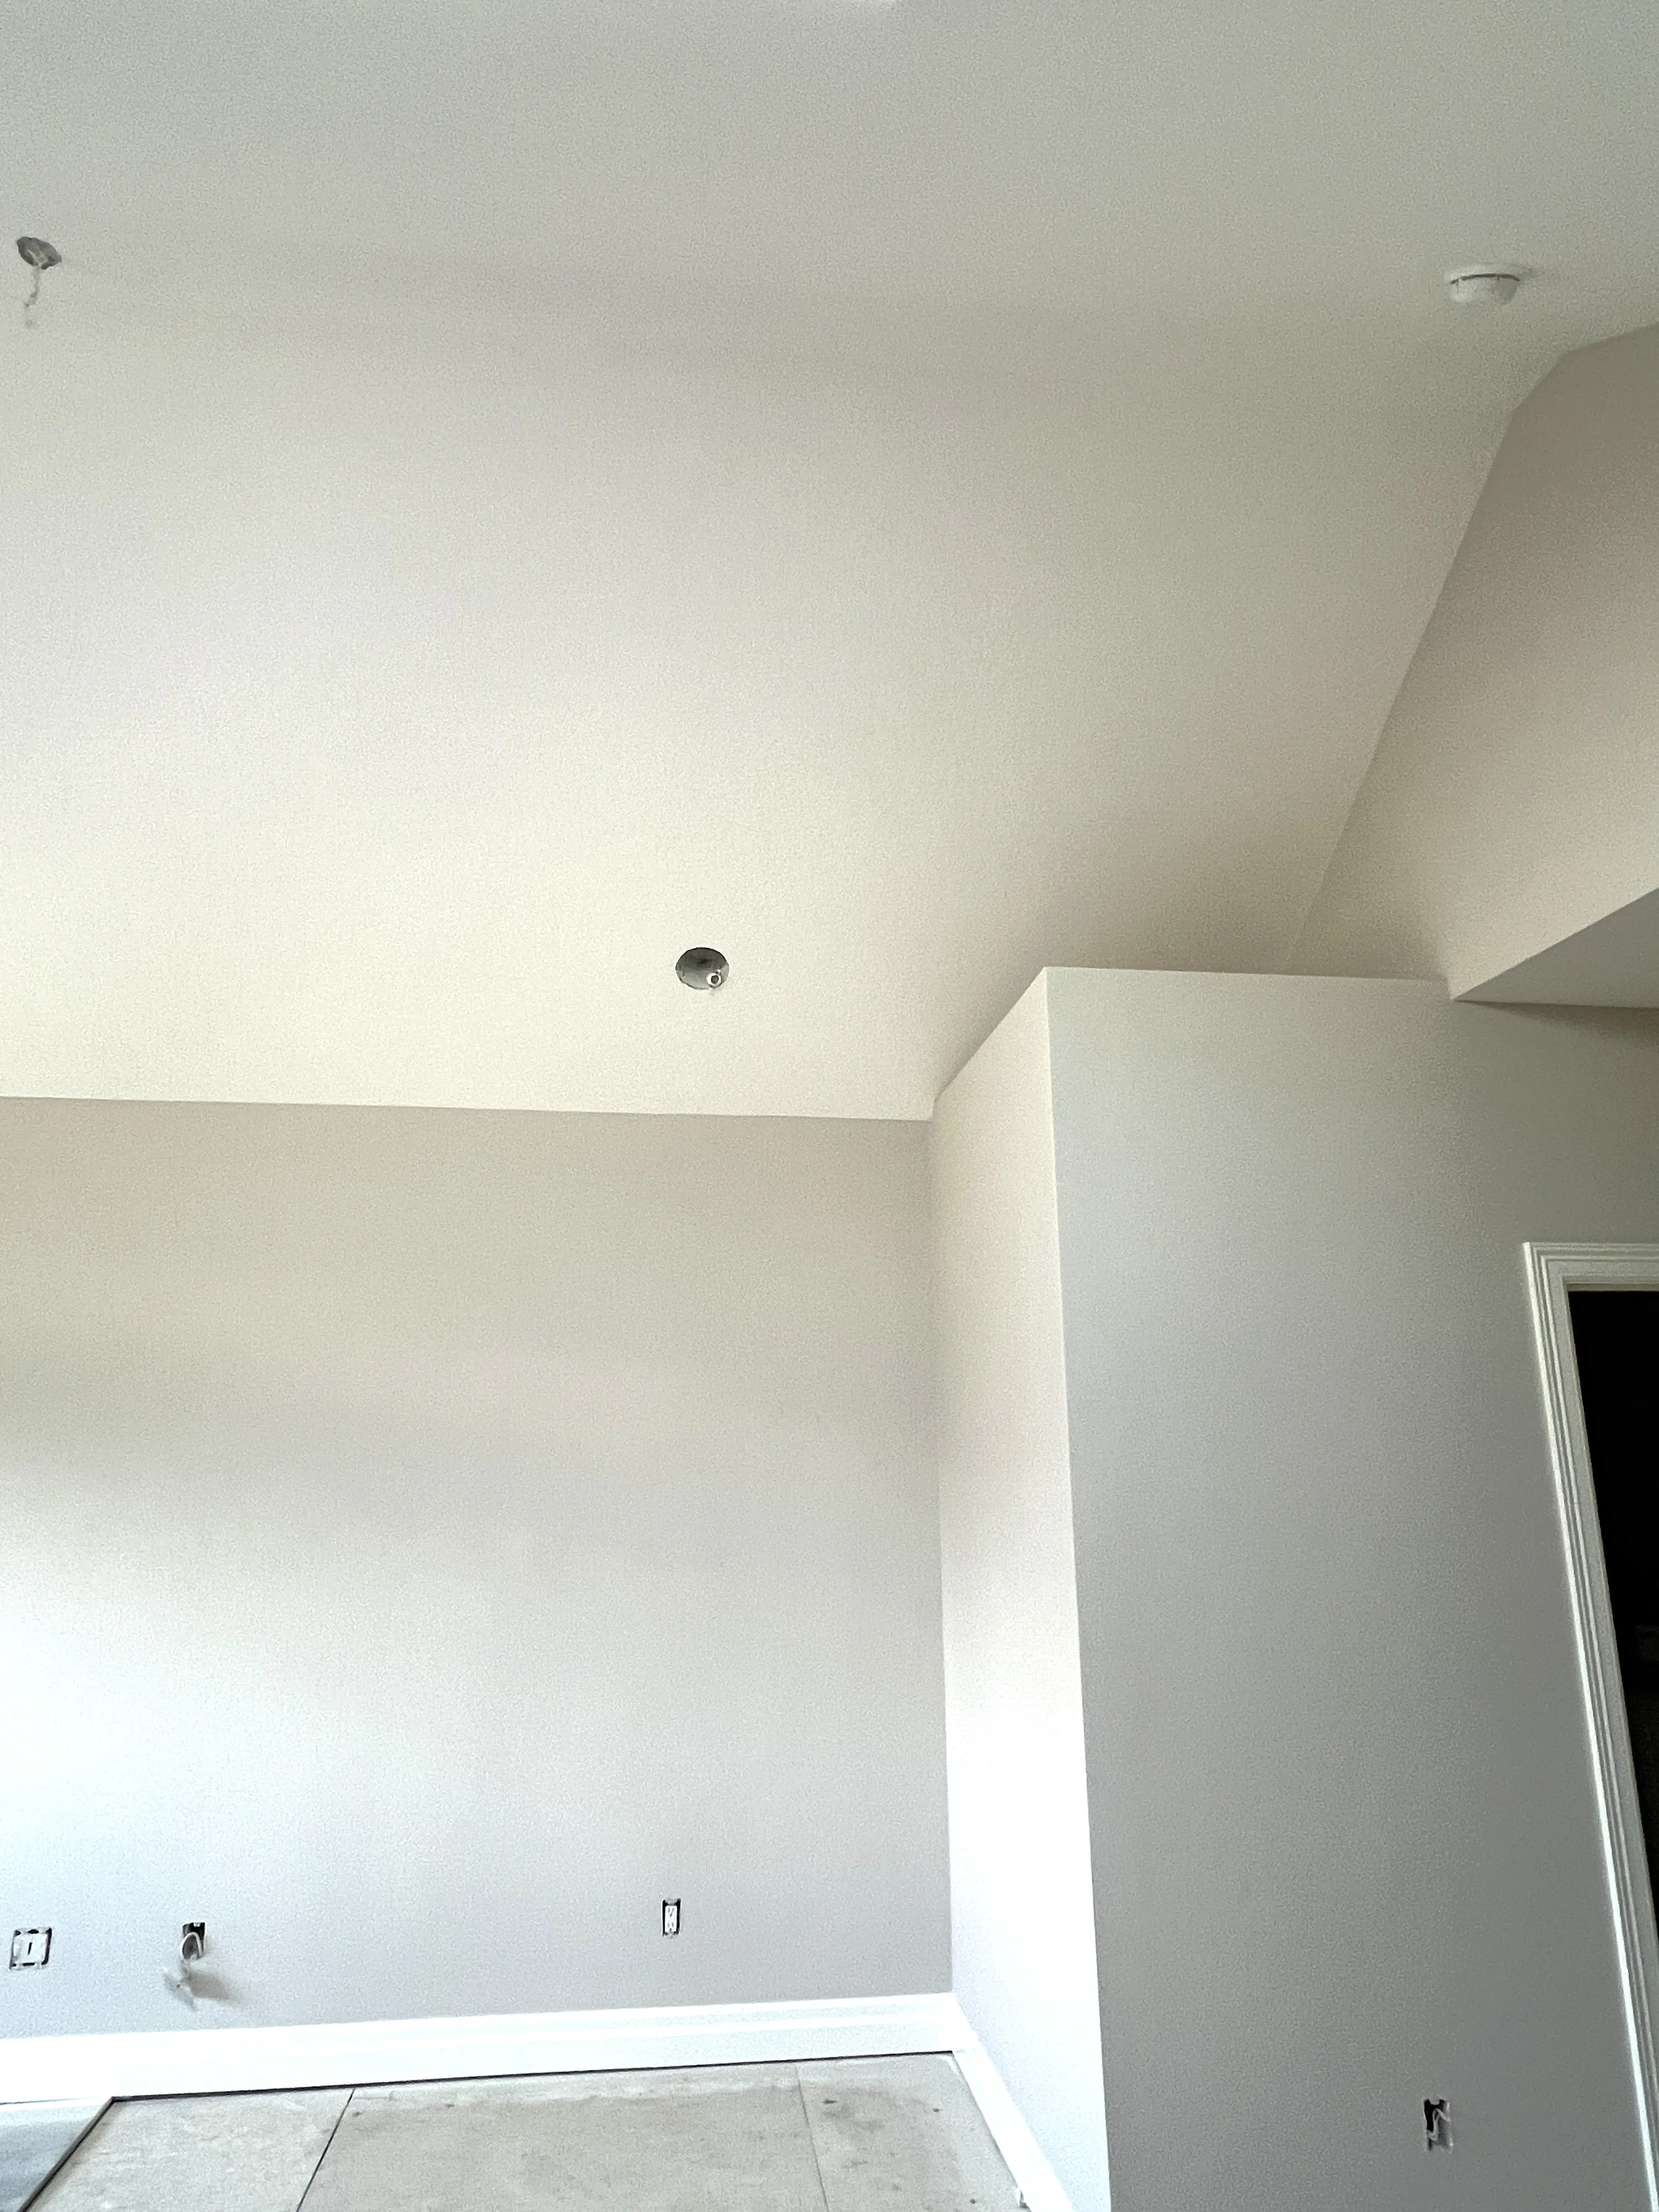
Ceiling height. Standard 8-foot ceilings are straightforward. Vaulted ceilings and tall walls require scaffolding and more time. We do a lot of vaulted ceiling drywall installation on new builds in Ridgefield and Battle Ground, and the extra height always adds time to the schedule.
New construction vs. remodel. New construction drywall installation moves faster because the framing is open and accessible. Remodels take longer. There's existing work to protect, old drywall to remove, and sometimes surprises behind the walls that nobody expected.
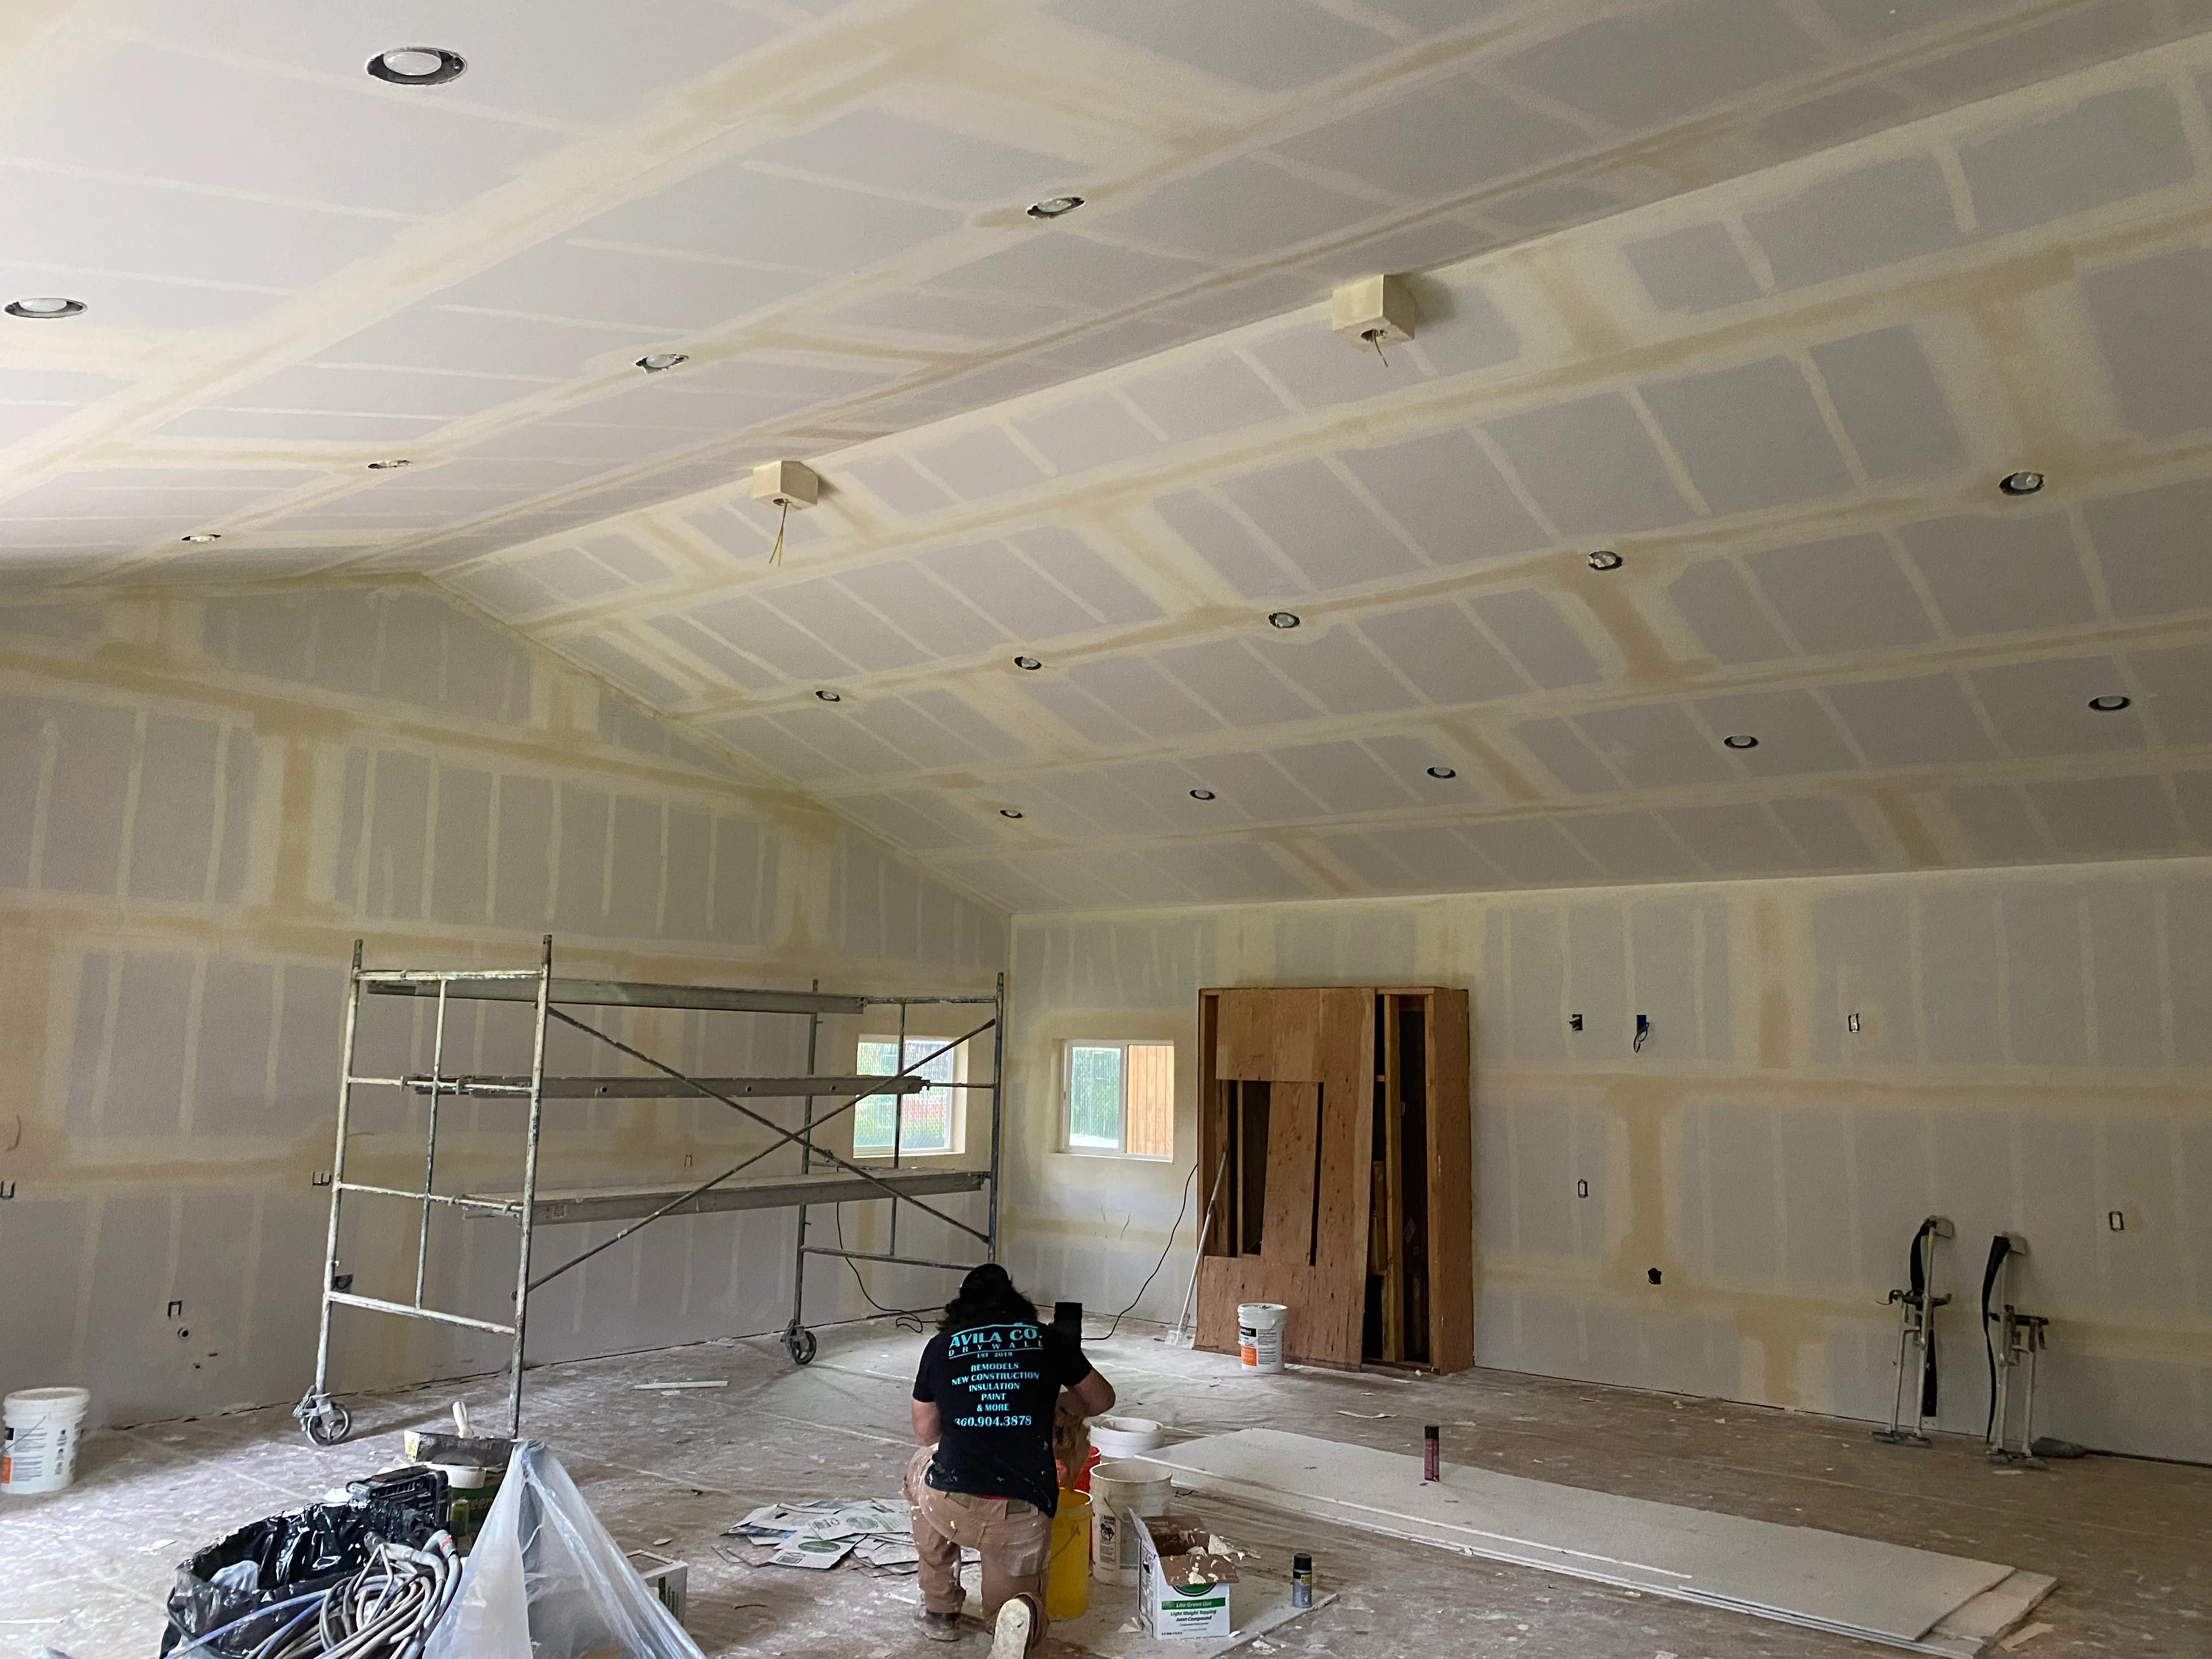
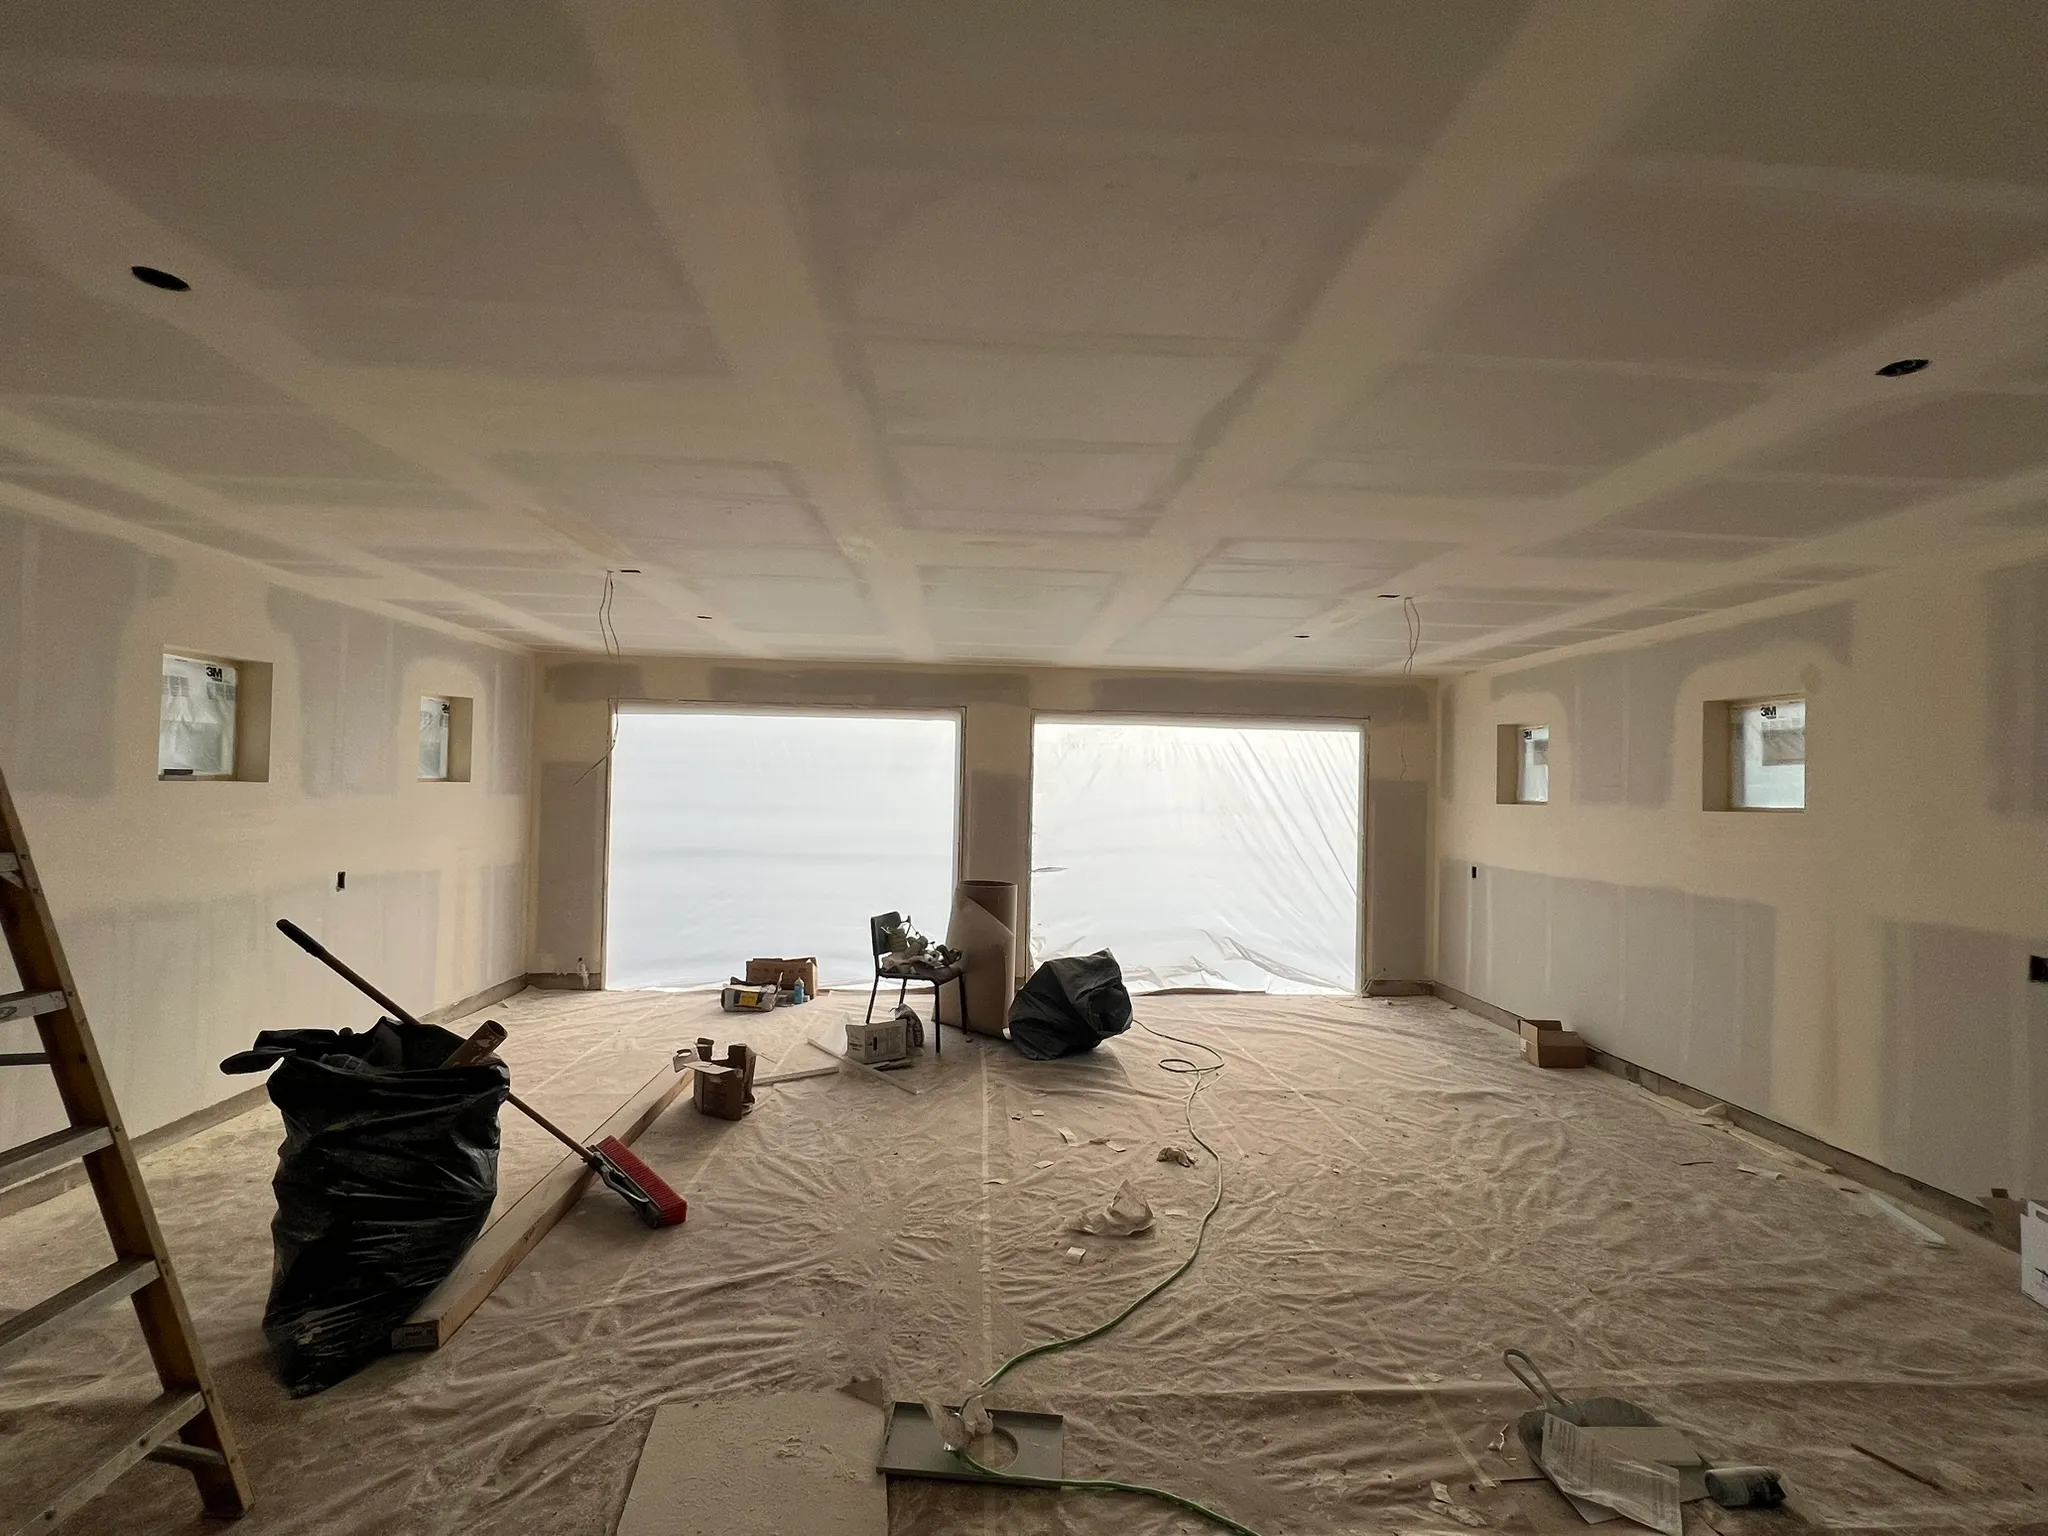
Taping and mudding. This part isn't a one-day job. Each coat of joint compound needs to dry before the next one goes on. Most drywall installation projects need two to three coats, sometimes more depending on the finish level.
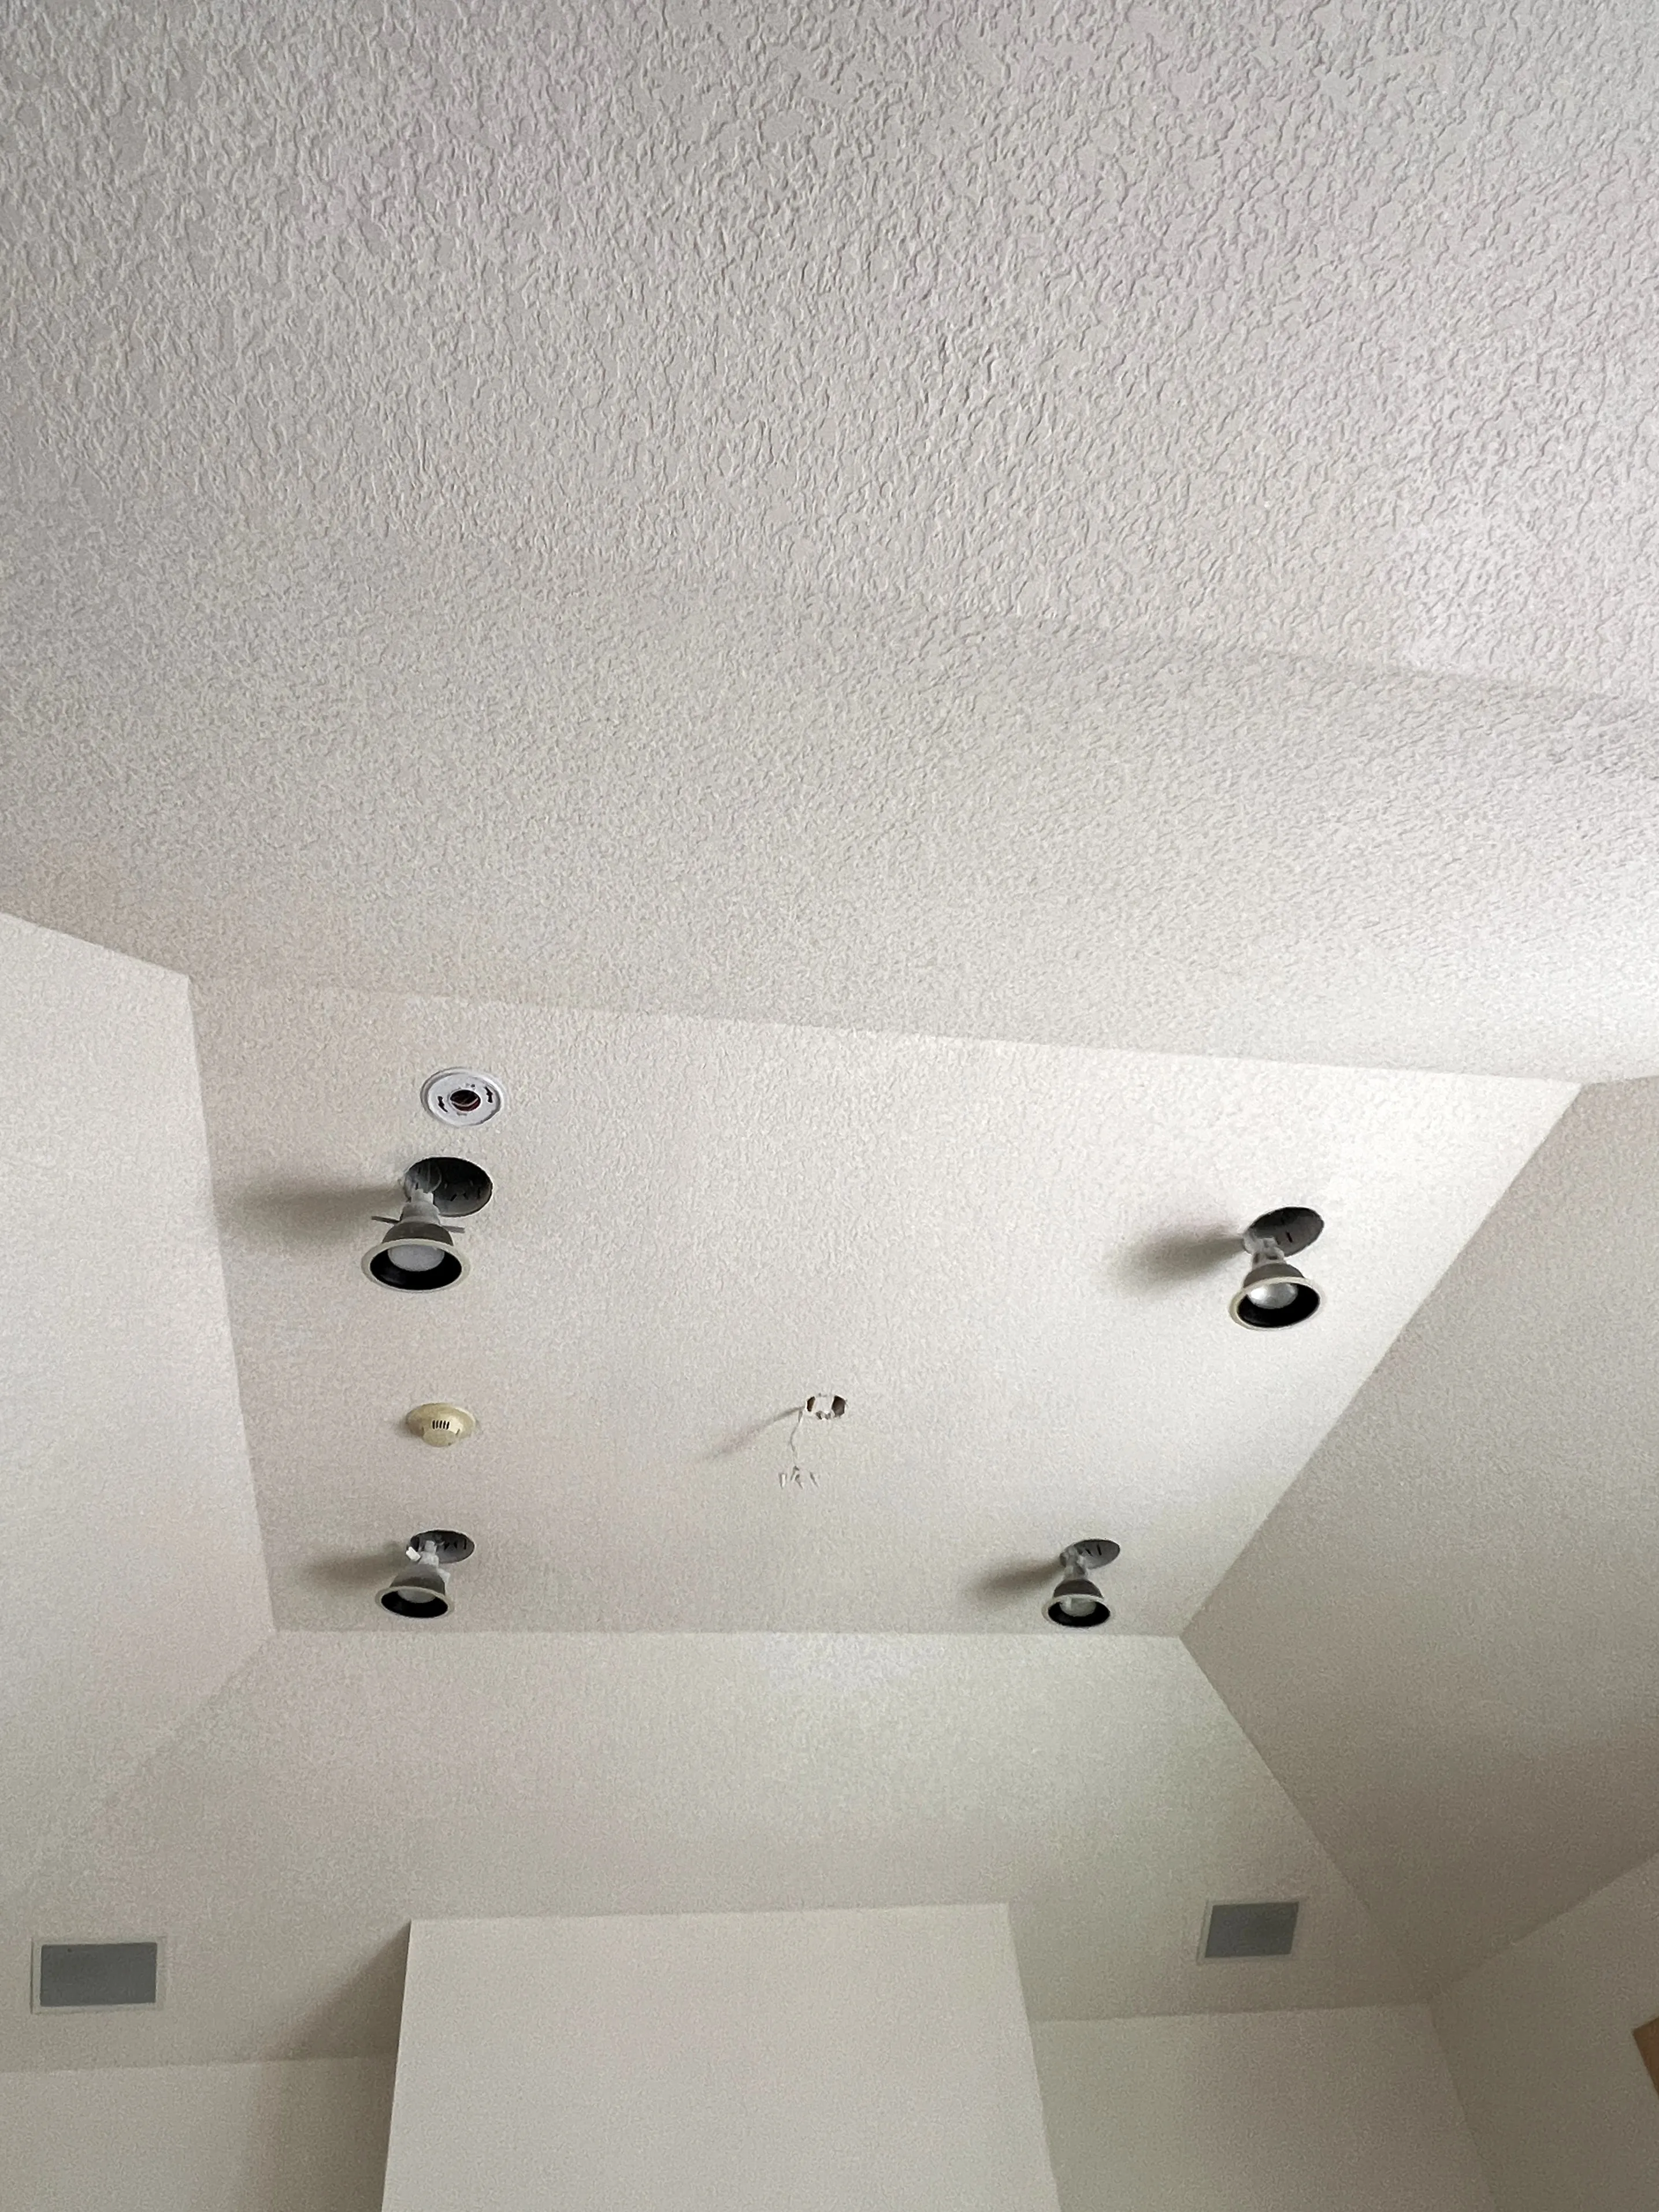
Texture. After the mud is sanded smooth, texture gets applied. Knockdown, orange peel, skip trowel, smooth finish. Each texture has a different application process and dry time.
Drywall finish levels matter more than you'd think
The drywall industry uses six recognized finish levels, numbered 0 through 5. Most homeowners don't know these exist. But they directly affect how your walls look once they're painted, and understanding them will help you have a better conversation with your drywall installer.
Level 0 is raw board on framing. No taping, no mud. Used for temporary construction or spaces behind walls that nobody sees.
Level 1 means the joints are taped and hit with one coat of compound. You see this in areas above drop ceilings or in mechanical spaces where fire resistance matters but looks don't.
Level 2 adds a thin skim of compound over the screw heads along with the taped joints. Common in garages, warehouses, and storage areas.
Level 3 is the minimum for textured walls. Joints get two coats of compound, screw heads get an additional coat. If your drywall installation includes knockdown or orange peel texture, Level 3 is typically the starting point because the texture hides minor imperfections.
Level 4 is the standard for most residential drywall installation. Joints and screw heads get three coats total. This works well with flat or eggshell paint and is what you'll find in most homes across Clark County.
Level 5 is the highest quality drywall finish. After the Level 4 work, a thin skim coat covers the entire wall surface. This creates a perfectly uniform finish. If you're planning to paint with dark colors, semi-gloss, or gloss paint, Level 5 prevents a problem called "flashing." That's when tape joints and screw spots show through the paint because the drywall surface absorbs paint differently in those areas compared to the surrounding board.
Ask your contractor what finish level they plan to deliver. If they look confused by the question, that tells you something.
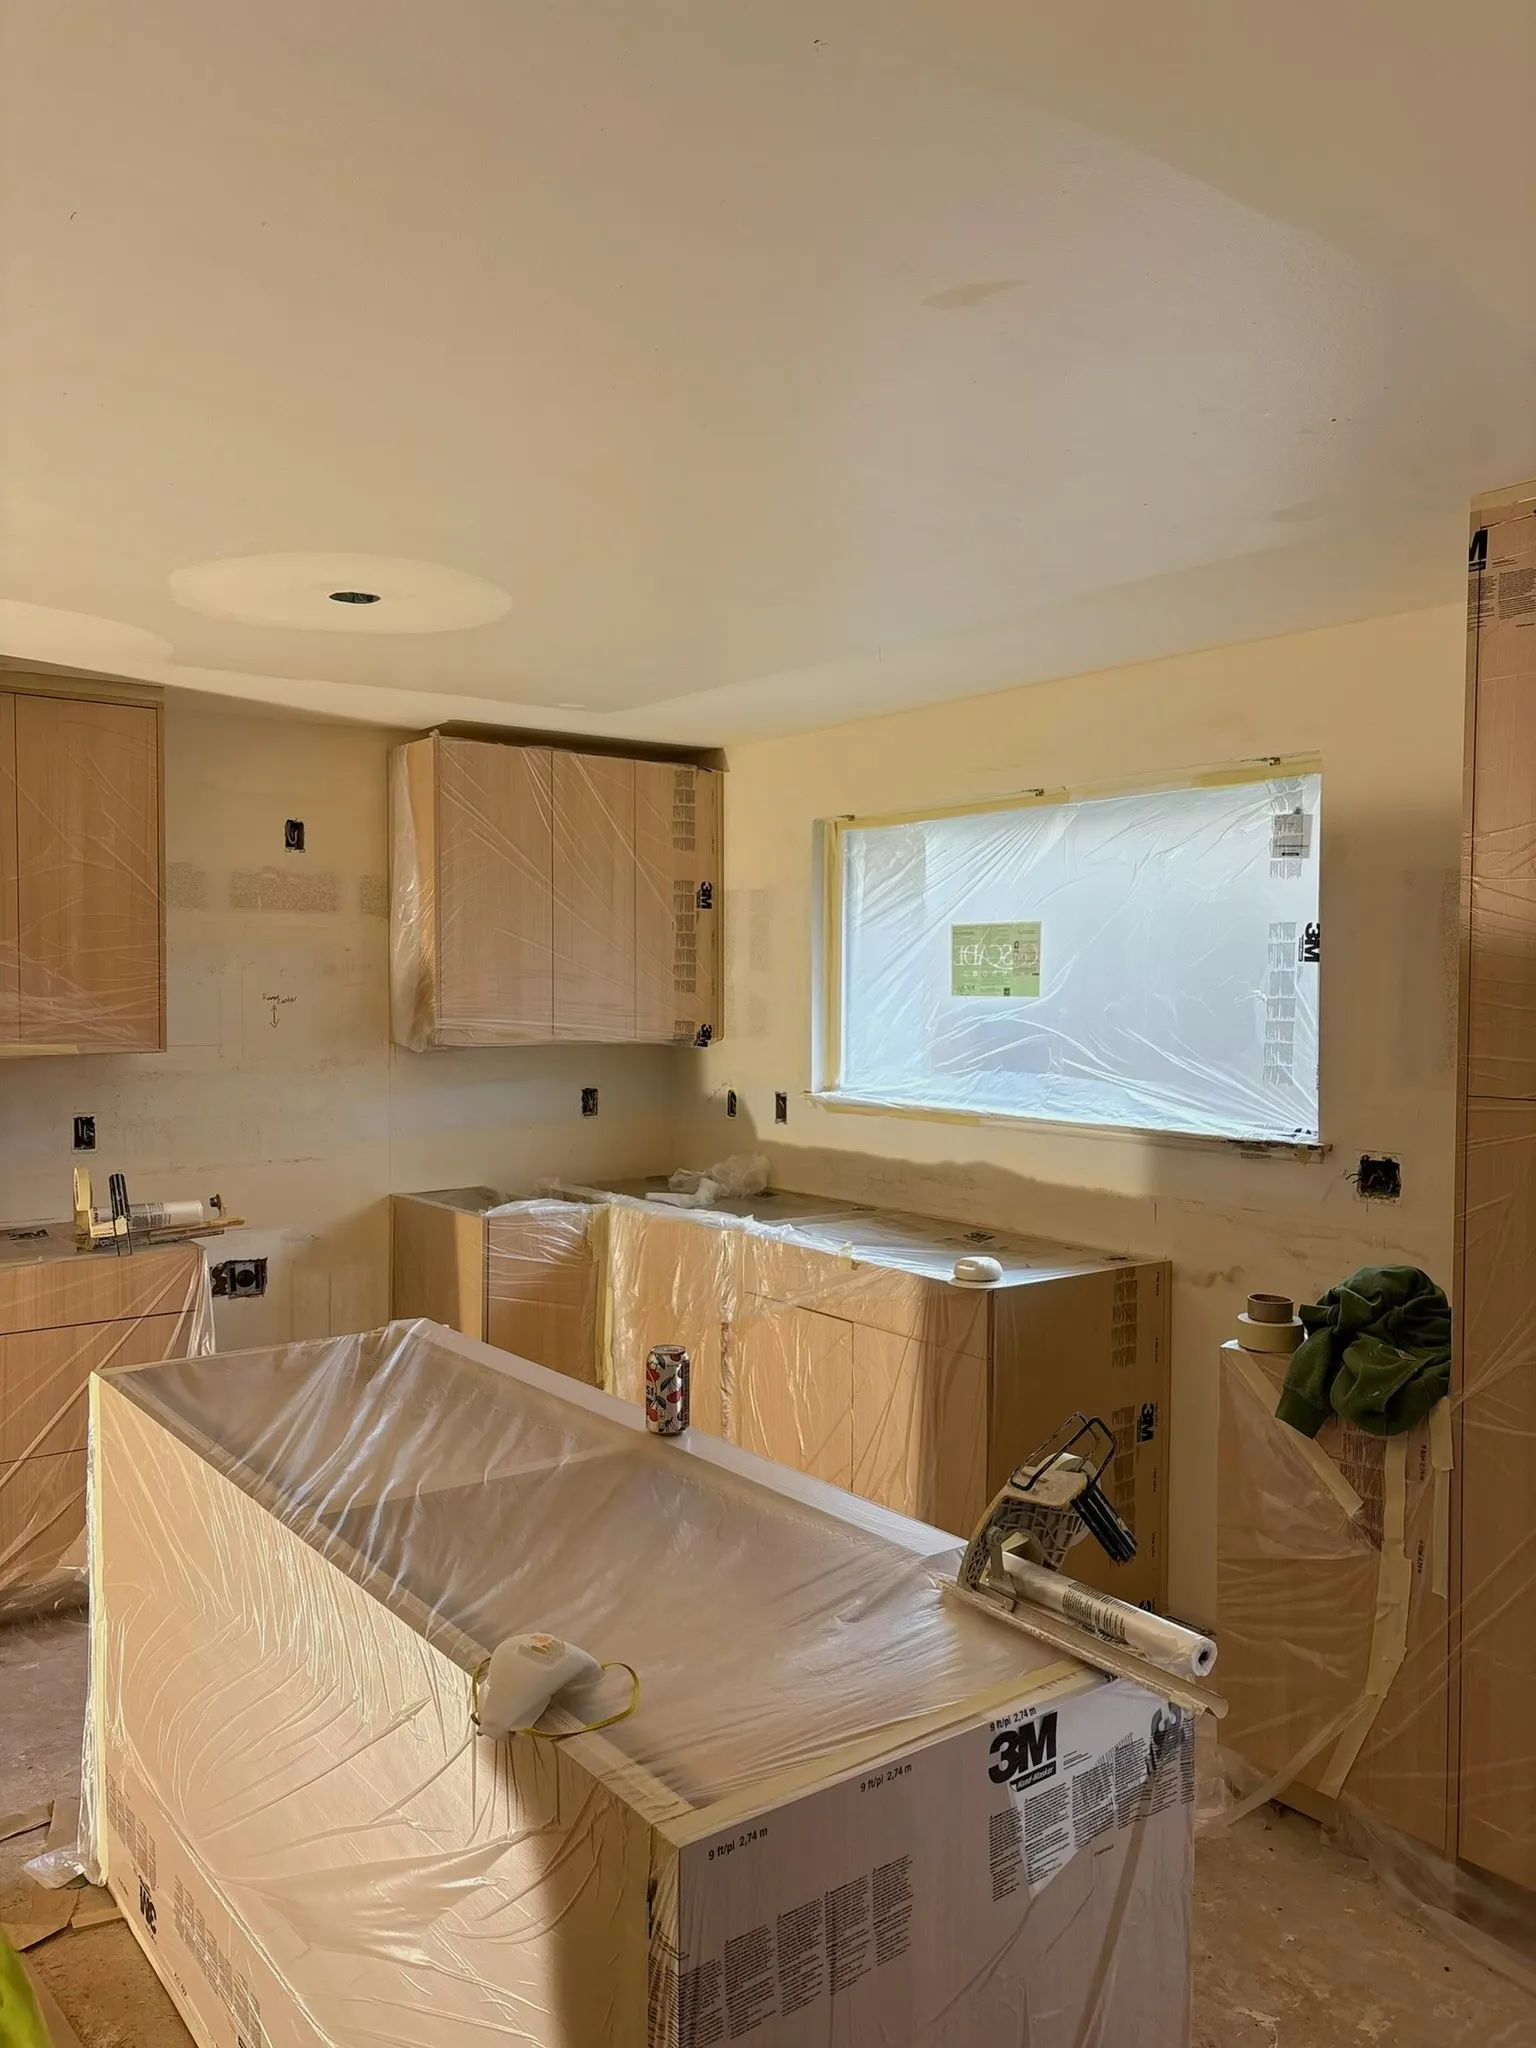
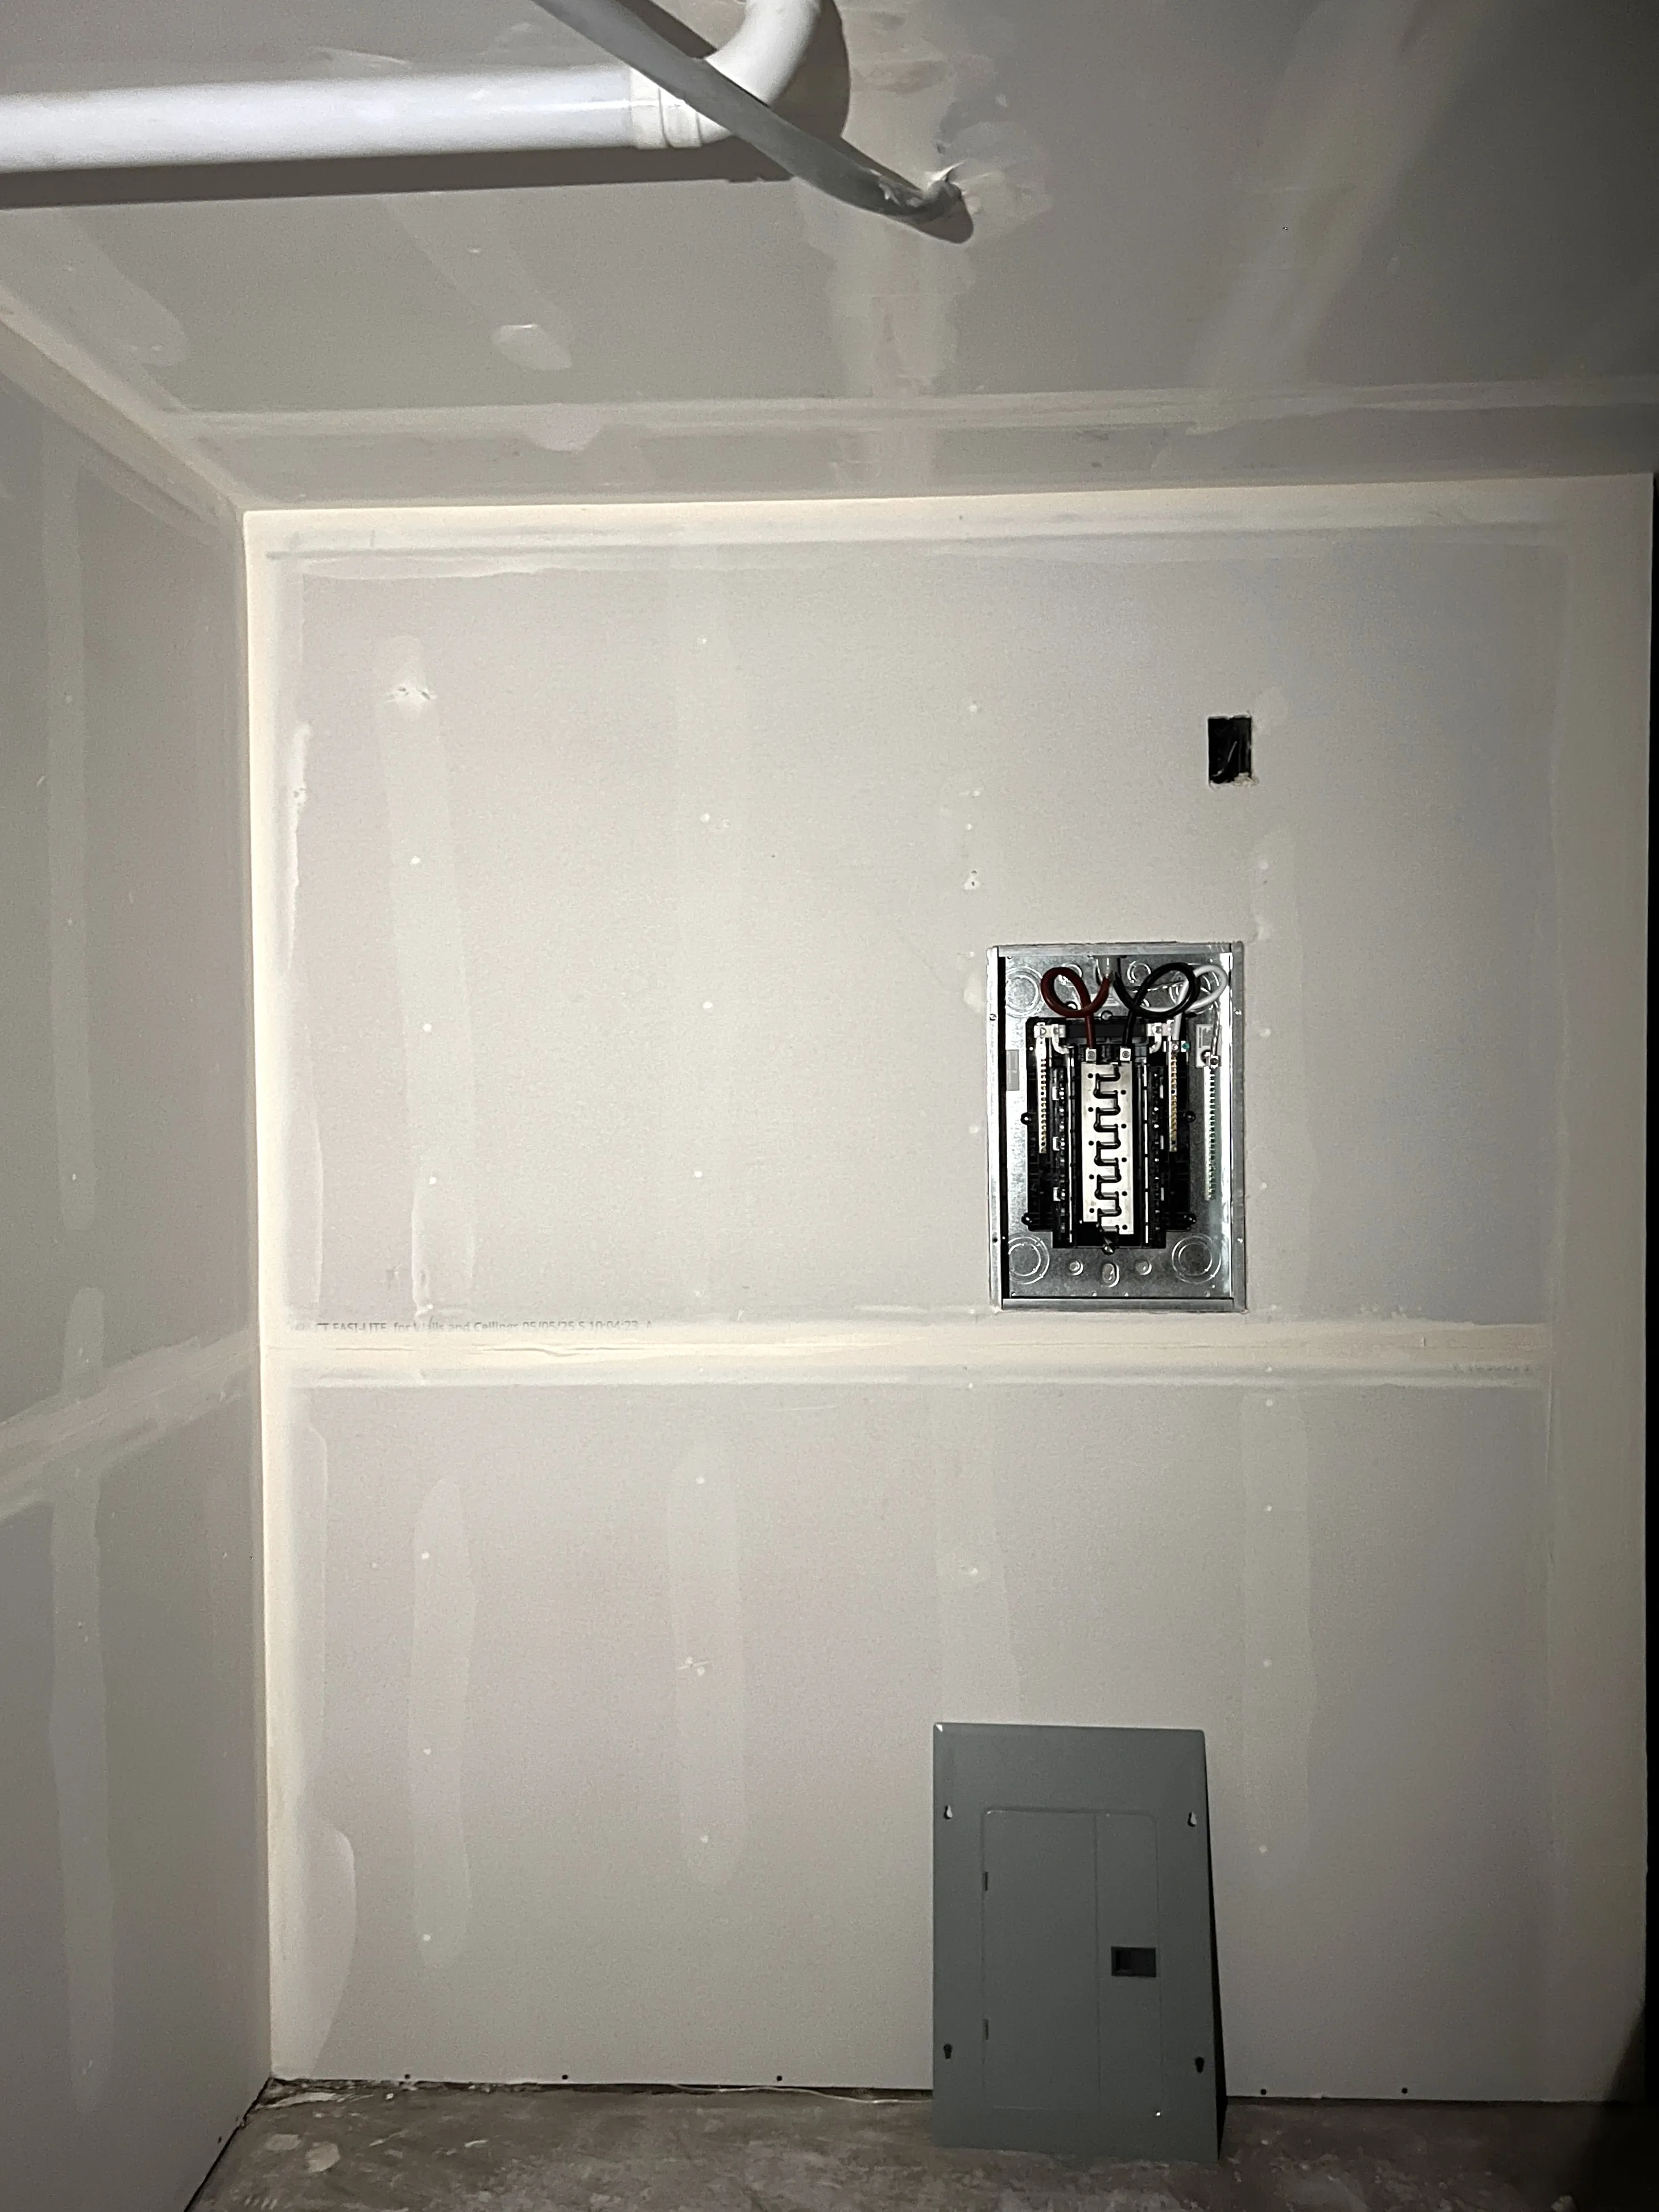
Prep your home before the drywall crew shows up
A few things need to happen before drywall installation starts, and taking care of them ahead of time keeps your project moving without delays.
Get your rough-ins inspected. Electrical wiring, plumbing, and any low-voltage work (network cable, speaker wire, security systems) all need to be in the walls and inspected before drywall covers them up. Once the board goes on, there's no easy access.
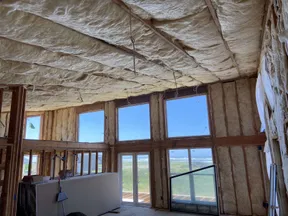
Install insulation first. Whether it's batt, blow-in, or Rockwool, insulation goes in before drywall. If you need both, some drywall crews handle insulation too (we do), which keeps you from having to coordinate multiple trades.
Make sure HVAC and in-wall components are in place. Ductwork, bath fans, fireplace chases, anything that lives inside the wall cavity needs to be there before the drywall crew shows up.
Clear the work area. Move furniture, protect your floors, and give the crew room to work. Drywall installation generates dust, especially during sanding. The more you clear out ahead of time, the less cleanup you'll deal with after.
Questions to ask before you hire a drywall contractor
Not all drywall contractors work the same way. Some just hang board and that's it. You'd need a separate crew for taping, and another one for texturing. Other contractors handle the full drywall installation from the first sheet to the final texture coat. Knowing which type you're talking to saves you from surprises later.
Here are some questions worth asking:
- Are you licensed and insured in Washington state?
- Do you handle hanging, taping, and texturing, or just part of the drywall installation process?
- Do you subcontract any of the work to other crews?
- What drywall finish level do you deliver as standard?
- Can you match existing wall texture on a remodel?
- Do you install insulation as well?
- What does your cleanup process look like at the end of each day?
- How do you handle unexpected issues or changes to the scope?
A good drywall contractor won't be bothered by these questions. They'll answer them straight because they've heard them before and they've got real answers.
Getting an estimate
A drywall installation estimate should tell you what board type they're using, what finish level you'll get, whether taping and texturing are included, and what the timeline looks like. If an estimate is just a number on a napkin, that's usually a sign to keep looking.
Pay attention to how the contractor communicates during the estimate too. Do they show up on time? Do they ask questions about your project, or do they just measure and leave? A contractor who takes the time to understand what you need is more likely to deliver work you're happy with.
If you're in Clark County and your project needs drywall installation, we're happy to come take a look. AvilaCo Drywall handles the full process from hanging through taping and texturing with one crew, no subcontracting. We serve Vancouver, Battle Ground, Camas, Ridgefield, Washougal, and the surrounding area. Reach out for a free estimate or give us a call at (360) 904-3878.