We've been hanging, taping, and finishing drywall across Vancouver, WA and Clark County for years. And one of the biggest factors in how smoothly a project goes has nothing to do with our crew. It's how well the home is prepared before we show up.
A well-prepped home means we can start working immediately, keep dust contained, protect your belongings, and finish on schedule. A home that isn't ready means delays, extra cleanup, and sometimes extra cost. This checklist covers everything you should do before your drywall contractor arrives, whether it's a full installation, a repair project, or a texture job.
Why home prep matters more than you'd think
Here's the reality: drywall work is messy. There's no way around it. Cutting drywall boards creates dust. Mixing and sanding joint compound creates more dust. And that dust is incredibly fine. It gets into fabrics, electronics, air ducts, and places you wouldn't expect.
When a homeowner takes 30 minutes to prep a room properly, it saves hours of cleanup after the project. It also means the crew can focus entirely on the work instead of spending time moving your things or working around obstacles.
The other side of it is cost. If the crew has to move furniture, cover things that should have been moved, or deal with access issues, that time gets built into the project. A prepared home is a faster project, and a faster project usually costs less.
Clear the room completely
This is the single most important step. Move everything out of the work area. Furniture, wall art, mirrors, curtains, lamps, electronics, rugs. All of it. If it can be carried to another room, carry it to another room.
Drywall dust doesn't just settle on top of things. It gets into the crevices of upholstered furniture, behind TV screens, inside speaker grills, and onto every shelf and surface. Even with plastic covering, dust finds its way in. The safest approach is to remove items from the room entirely.
What can stay: Large pieces that physically cannot leave the room, like a built-in bookshelf or a piano that won't fit through the doorway. These need to be pushed to the center of the room and fully wrapped in plastic sheeting, taped shut on all edges.
What must go: Electronics (TVs, computers, gaming consoles), anything fabric (curtains, throw pillows, upholstered chairs), wall decor, and anything valuable or irreplaceable. Don't leave a family photo album in a room where someone is sanding drywall mud.
Take down curtain rods and blinds too. They collect dust and they get in the way if we're working near windows.
Protect your floors
Your flooring needs protection regardless of type, but the approach differs depending on what you've got.
Hardwood and laminate floors: Lay down heavy-duty canvas drop cloths first, then cover those with 6-mil plastic sheeting. The canvas provides cushion so dropped tools or drywall screws don't dent or scratch the wood. The plastic on top catches dust and compound drips. Tape the edges to the baseboards with painter's tape so nothing slides around.
Carpet: Plastic sheeting alone works here because carpet already provides cushion. Use 6-mil poly, overlap seams by at least 12 inches, and tape every seam. Drywall compound that gets ground into carpet is extremely difficult to clean. The goal is zero contact between the compound and your carpet fibers.
Tile and vinyl: Same approach as hardwood. Canvas first for protection against drops and scrapes, plastic on top for dust. Tape all edges.
Don't skip the hallway between the work area and the exit. The crew will be walking back and forth all day, and drywall dust on boots tracks through the house fast. Lay a runner of plastic or a drop cloth along the path from the work room to the nearest exterior door.
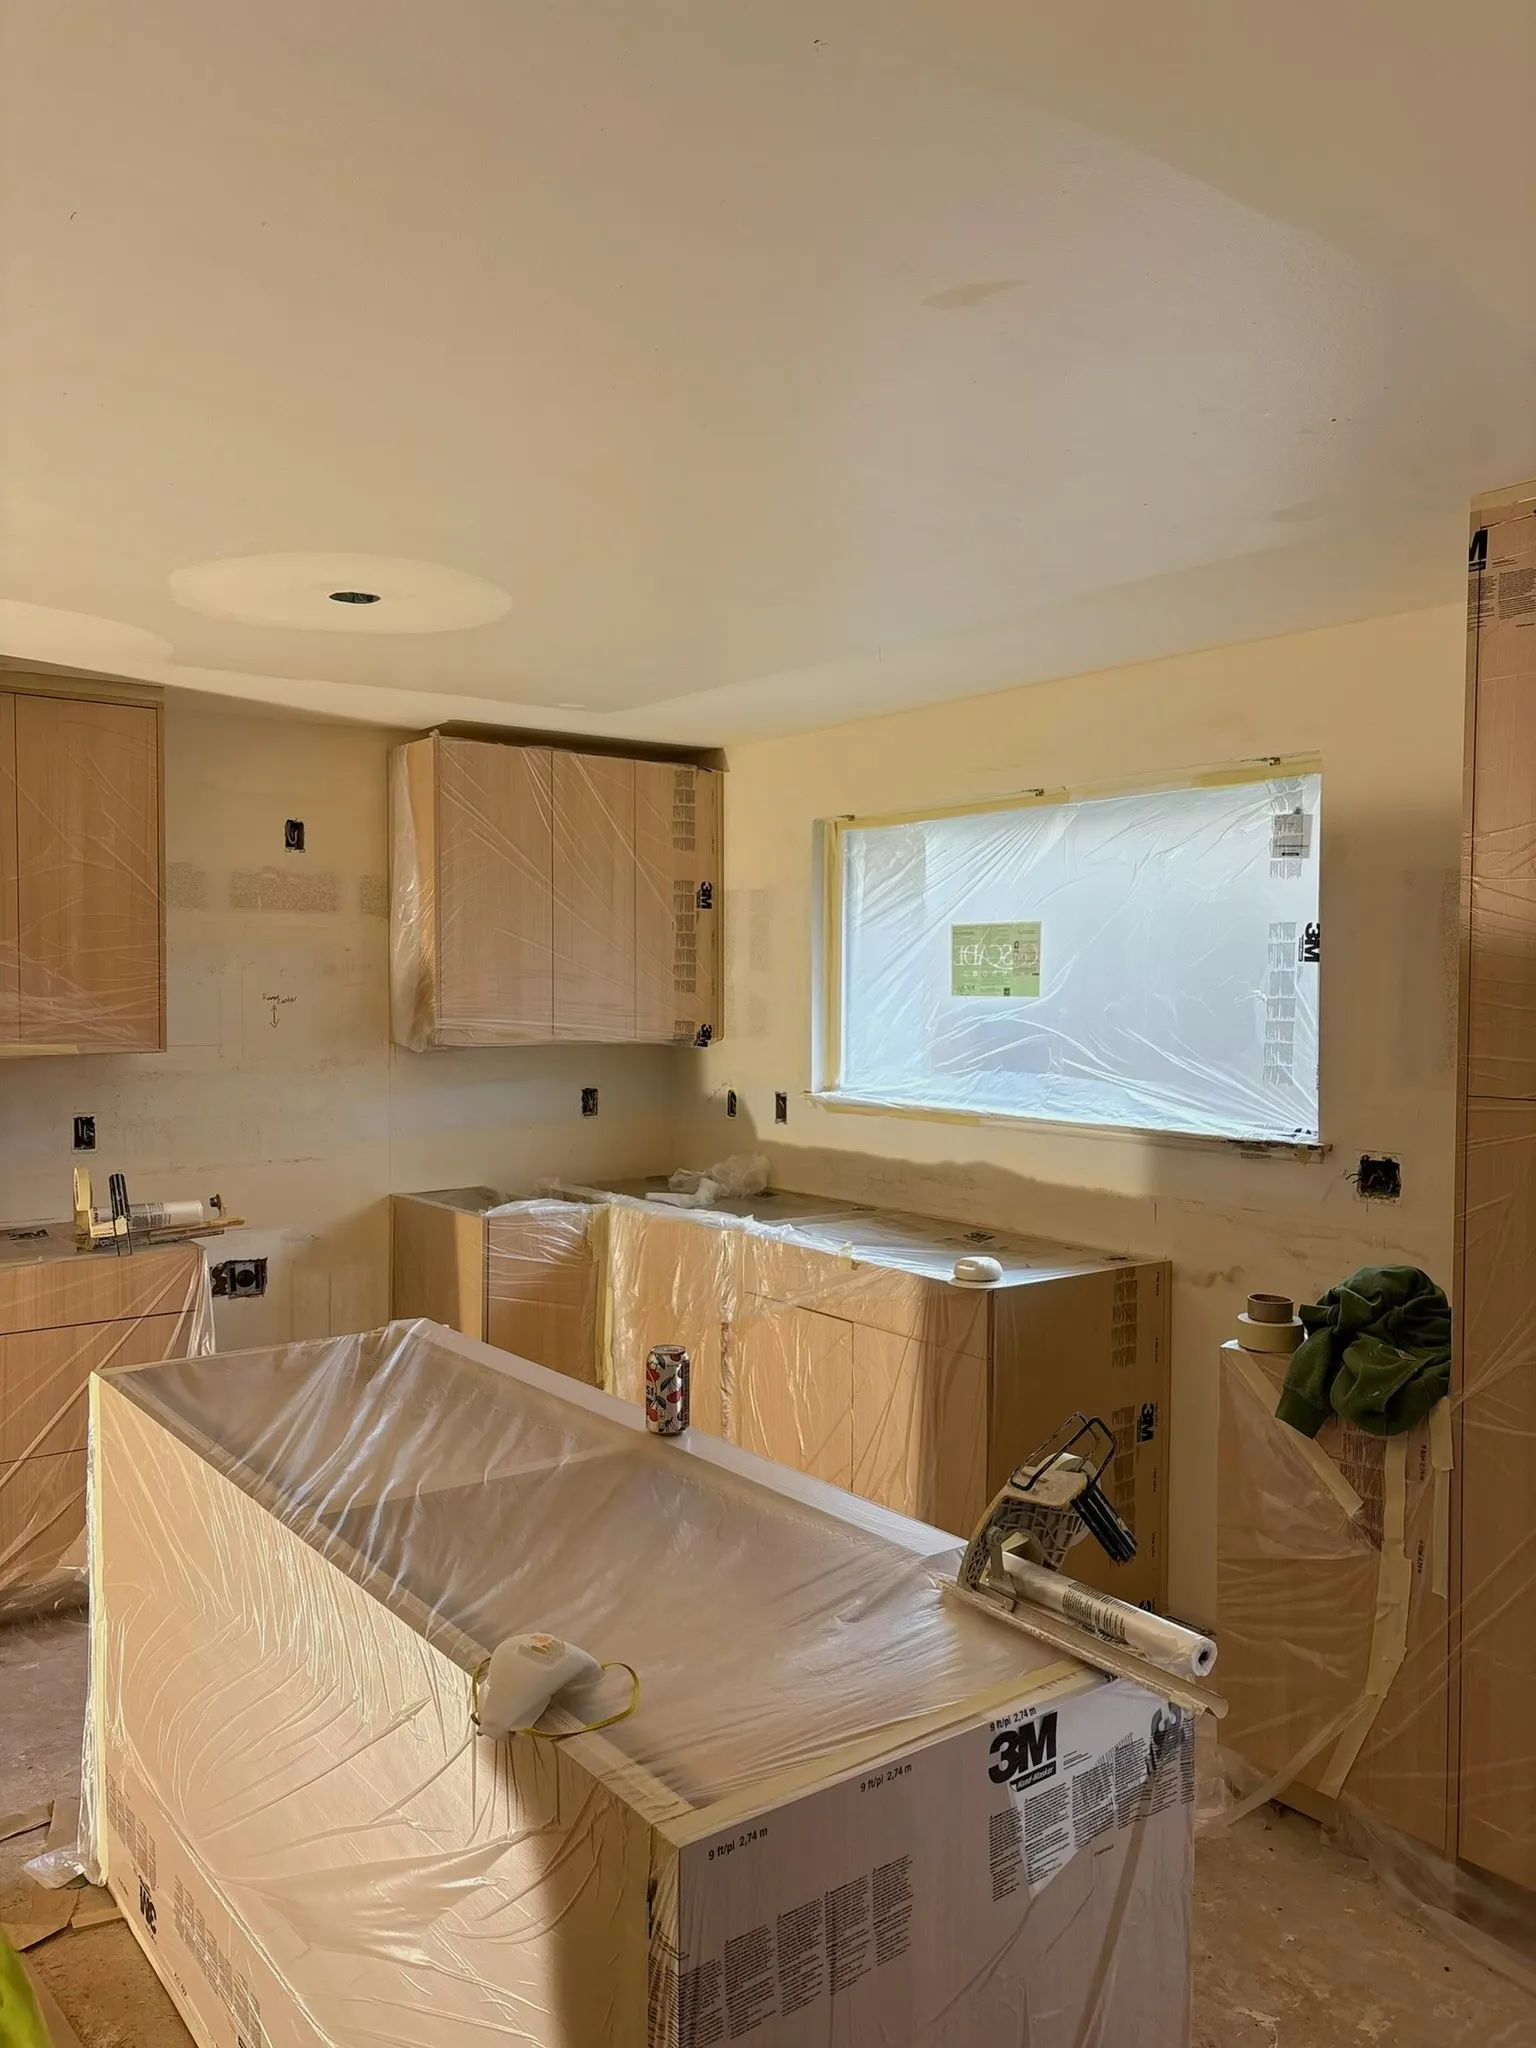
Seal the room for dust containment
This is where most homeowners underestimate what's needed. Clearing the room and covering floors isn't enough. You need to contain the dust inside the work area so it doesn't migrate to the rest of your home.
Hang plastic over doorways. Use 6-mil plastic sheeting and painter's tape to create a floor-to-ceiling barrier over every doorway that connects the work area to the rest of the house. Leave one entry point with a slit cut down the middle so the crew can get in and out. Some contractors bring zip-wall poles that create a tight seal. We typically handle this ourselves, but having the plastic ready helps.
Close and cover HVAC vents. This is the one most people miss, and it's one of the most important. Close every supply vent and return air vent in the work area. Then cover each one with plastic and tape. Drywall dust getting pulled into your ductwork is a genuine problem. It circulates through your entire house, coats your air filter, and can damage your blower motor over time. If you have a return air vent in or near the work room, seal it tight.
Seal return air vents especially. Supply vents blow air out, so they're less of a concern during work. But return vents actively pull air in, which means they'll suck drywall dust straight into your duct system. Cover every return vent within 15 feet of the work area.
If you have a forced-air system and the work area is large, consider turning the system off entirely during sanding hours and opening a window in the work room instead.
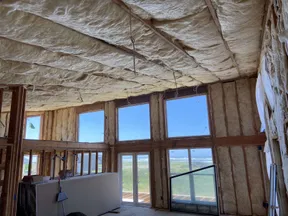
Electrical and plumbing: get inspections done first
This section applies mainly to new construction and major remodels. If you're doing a drywall repair or retexture, you can skip ahead.
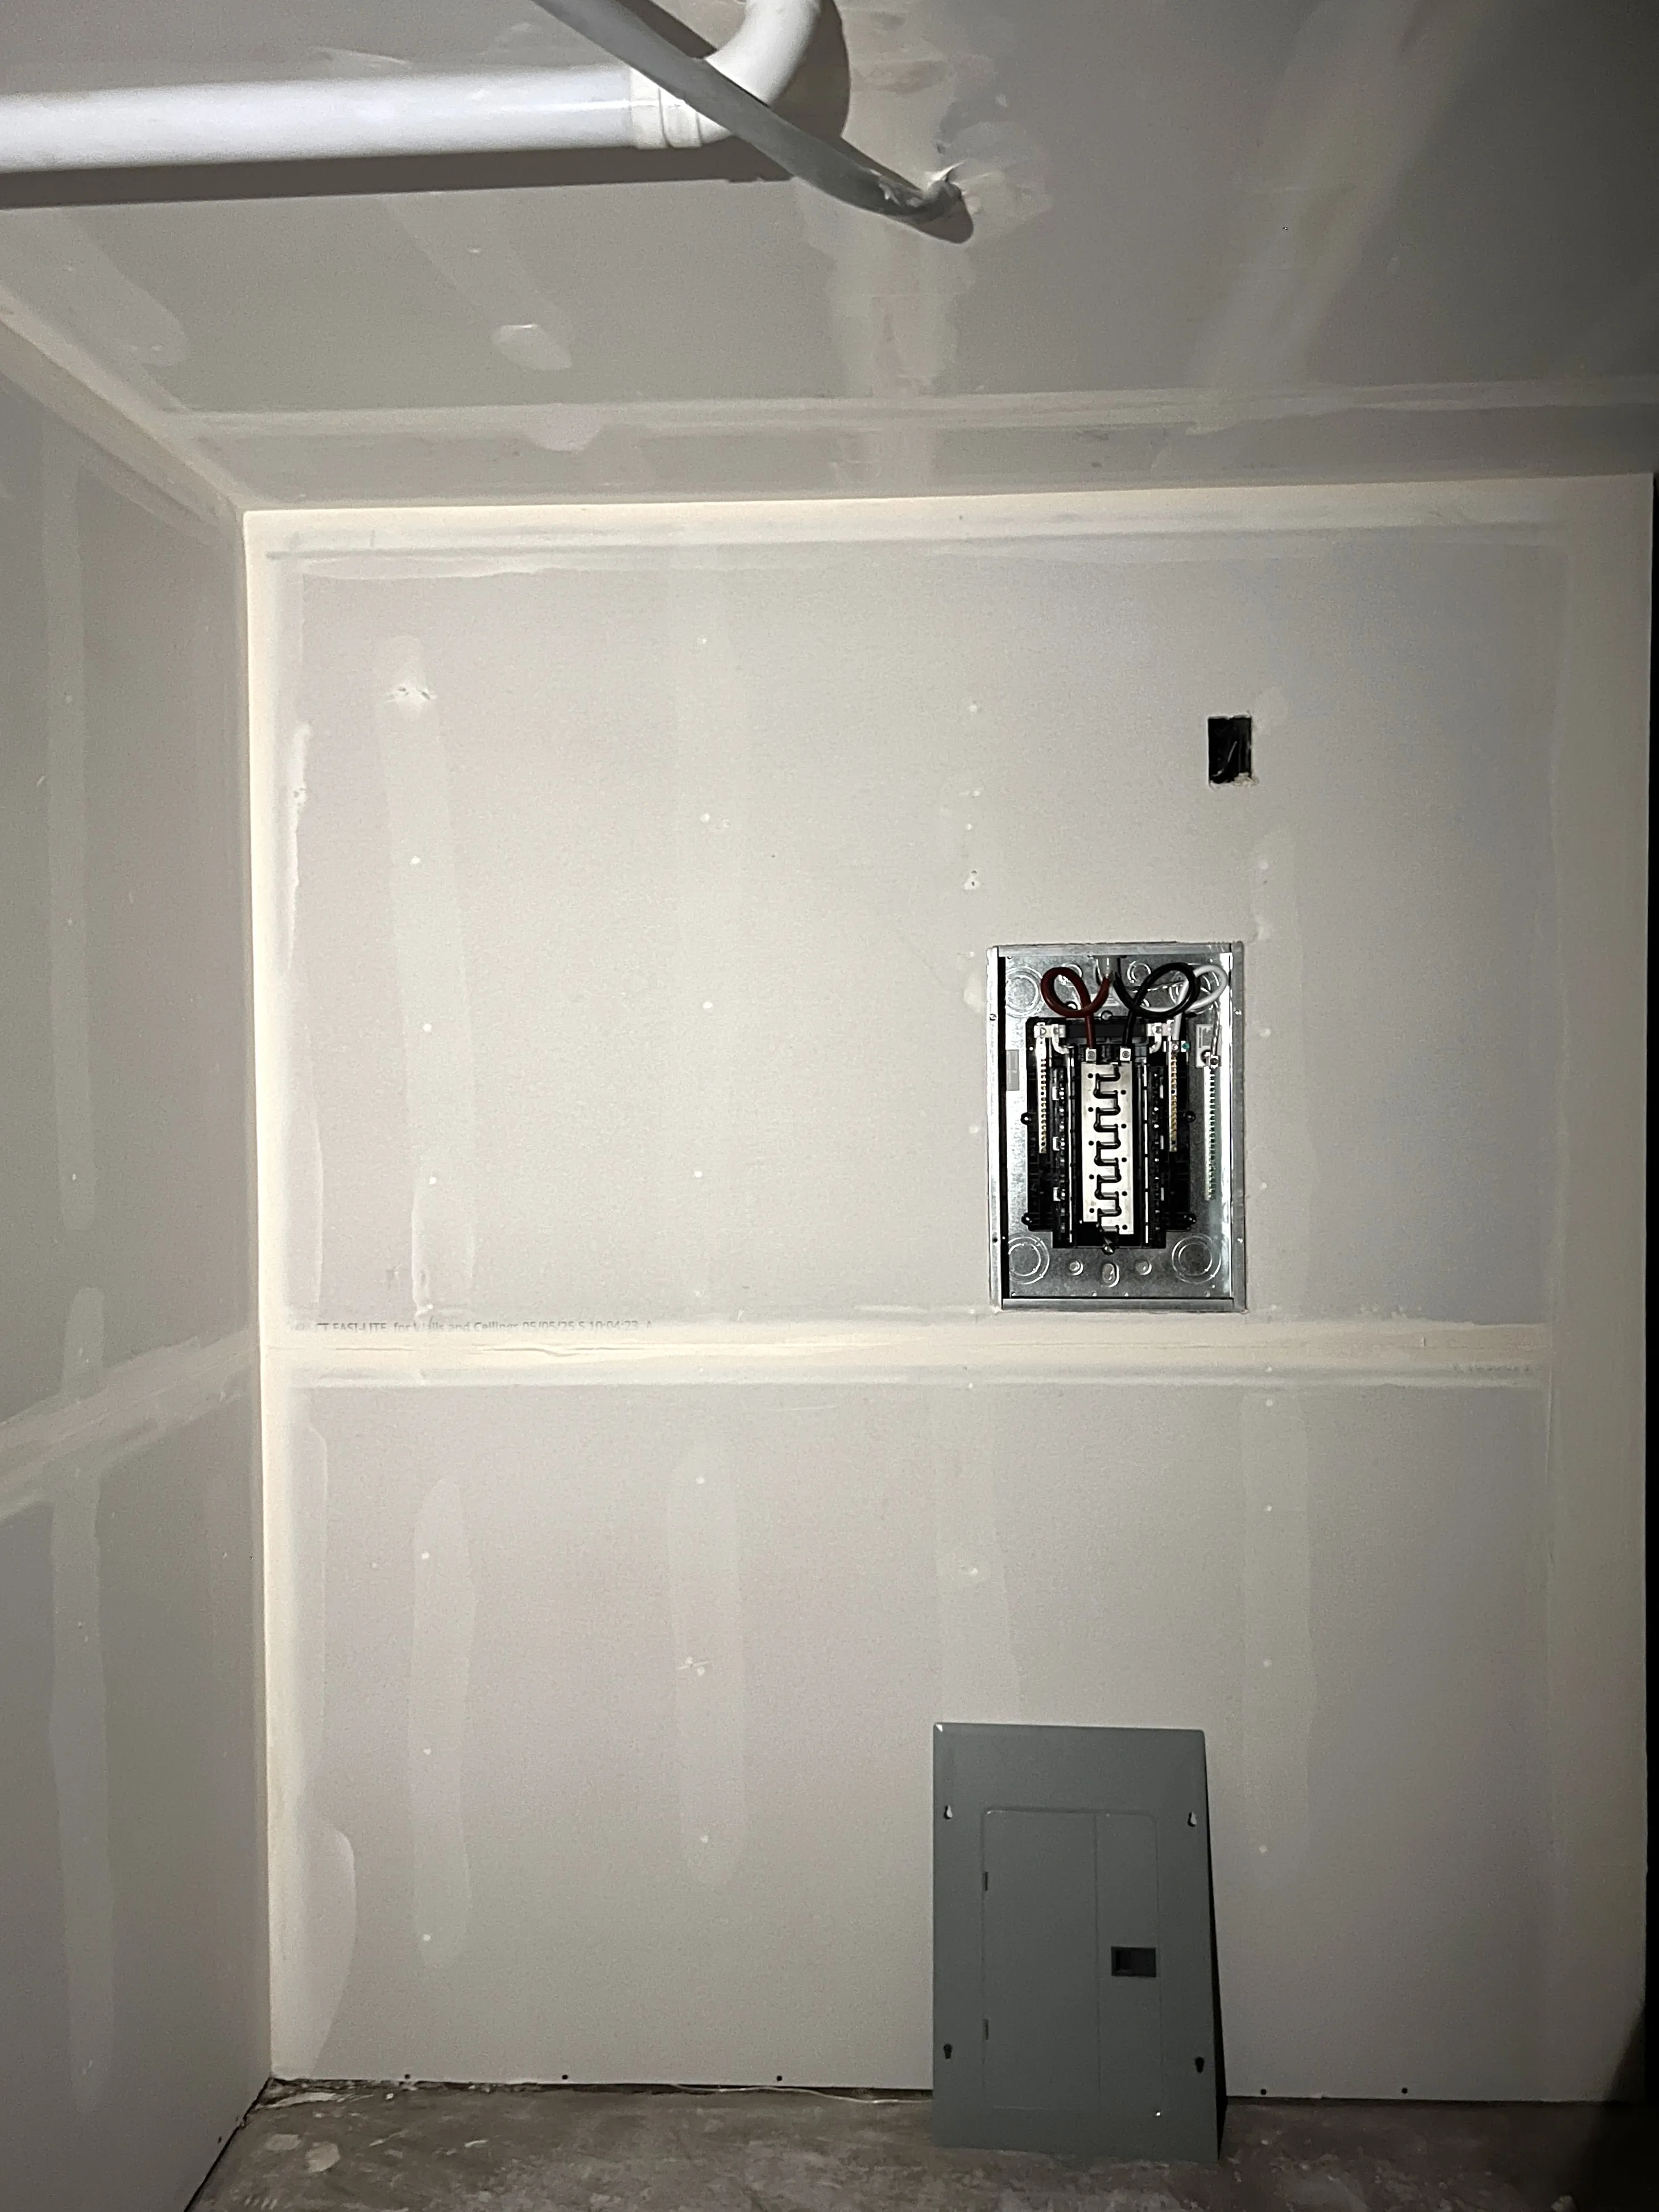
Before drywall goes up on any wall, everything inside that wall needs to be done and inspected. That means:
- Electrical rough-in complete and inspected
- Plumbing rough-in complete and inspected
- Low-voltage wiring in place (network, coax, speaker wire, security systems)
- HVAC ductwork installed
- Insulation installed and inspected
- Any in-wall backing for TV mounts, grab bars, or heavy shelving
Once the drywall is up, getting to anything inside the wall means cutting it open. That's expensive and frustrating for everyone. We've shown up to jobs where the electrical inspection hadn't happened yet and had to push the start date. Coordinate with your electrician and plumber early so inspections are done at least a few days before the drywall crew is scheduled.
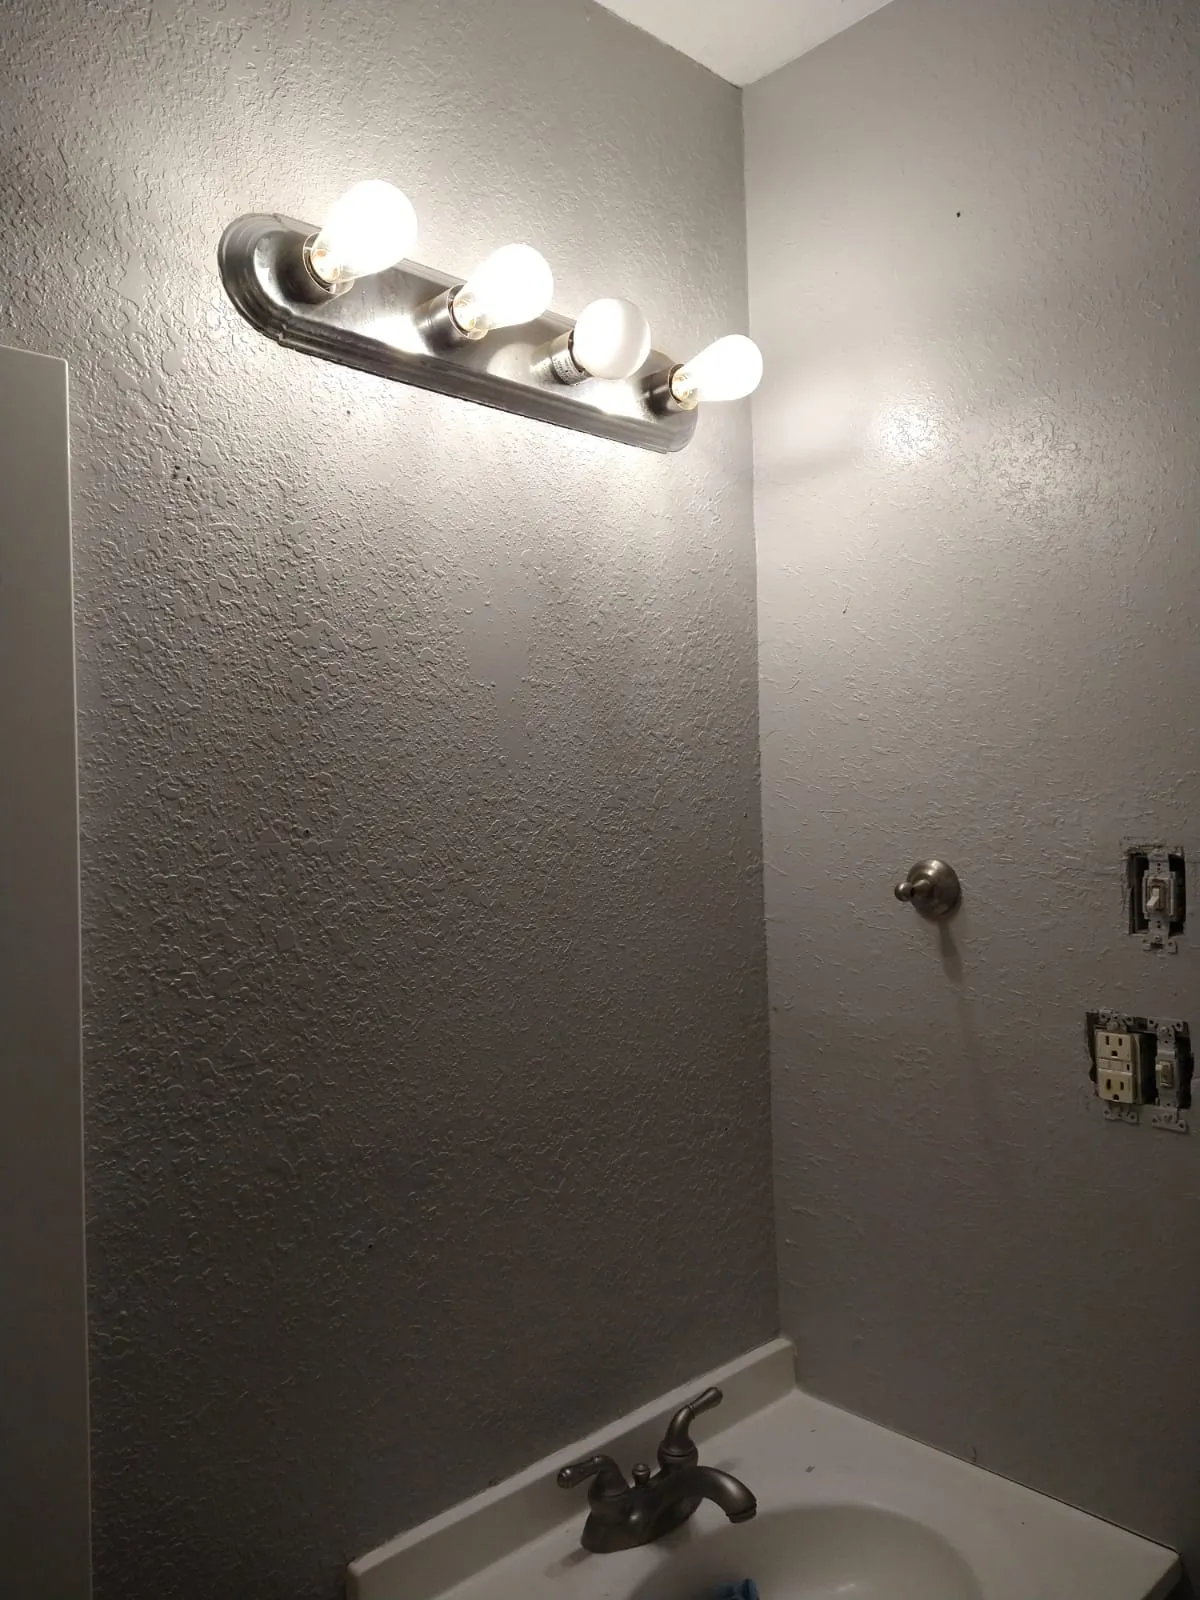
Also make sure all outlet boxes, switch boxes, and fixture locations are clearly accessible and not blocked by debris or leftover construction materials. The drywall crew needs to see where every box is to cut around them accurately.
Access and parking for drywall delivery
Drywall sheets are large. Standard boards are 4 feet by 8 feet. Many jobs use 4-by-12-foot sheets, which are nearly impossible to maneuver through tight spaces. A single sheet of 5/8" drywall weighs about 70 to 80 pounds. A typical room might need 20 to 30 sheets. A full home can be several hundred.
Here's what the crew needs:
Driveway access. The delivery truck needs to get close to the house. If you have vehicles in the driveway, move them to the street. If you share a driveway, let your neighbors know a delivery is coming.
A clear path from the truck to the work area. The sheets need to travel from the truck, through a door, and into the room where they'll be installed. Measure your doorways. A 4-by-12 sheet is 12 feet long, and getting it around a tight corner inside your home might require removing a door from its hinges temporarily. Clear hallways of shoes, coat racks, and anything that narrows the path.
Garage door clearance. If the work area is accessible through the garage, make sure the garage is clear enough for the crew to stage materials. Sheets are often stored flat on the floor, and they take up significant space.
Parking for the crew. Two or three crew members plus a work truck need somewhere to park. If street parking is limited in your neighborhood, let us know ahead of time so we can plan.
Keep pets and small children out of work areas
This should go without saying, but it comes up on almost every residential job. A drywall work area is not safe for pets or small children.
There are sharp utility blades, drywall saws, and screw guns on the floor. There are open buckets of joint compound. There's dust in the air that isn't good for small lungs. And depending on the phase of the project, there may be open stud cavities with exposed wiring.
Keep dogs in a separate part of the house or arrange for them to be elsewhere on work days. Cats are particularly tricky because they'll find their way into open wall cavities if given the chance. We've had cats climb into ceiling joists during a job. Not ideal.
If you have young children at home during the project, establish a clear boundary. The work area is off limits. Period. The crew will keep doors closed and plastic barriers up, but kids are creative about getting through obstacles.
What to expect during the project
Knowing the phases of a drywall project helps you plan your week around the work. Here's the general flow and what each phase feels like from the homeowner's side.
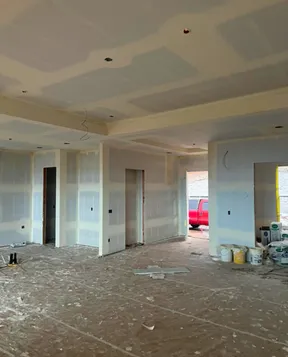
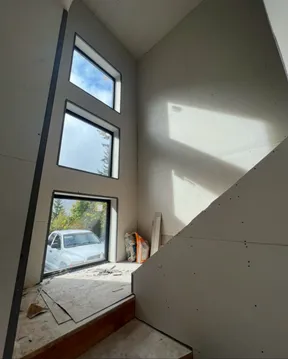
Day 1: Hanging. This is the loudest day. The crew is cutting boards with utility knives and drywall saws, driving screws with impact drivers, and lifting heavy sheets into place. Expect consistent noise from about 7 or 8 AM through the afternoon. The good news is it's one of the least dusty phases.
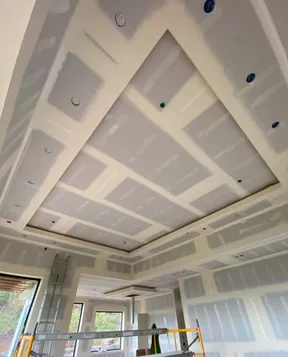
Days 2 through 4: Taping and mudding. The crew applies joint tape and multiple coats of joint compound over every seam, screw head, and corner. Each coat needs to dry before the next one goes on, which usually means one coat per day. This phase is quieter than hanging. You'll hear some scraping and the sound of compound being mixed, but it's nothing compared to hang day. Dust is moderate.
Sanding day: The big one. This is the dustiest day of the entire project. The dried joint compound gets sanded smooth across every seam and surface. Even with dust-extracting sanders, the air in the work area will be thick with fine white dust. This is the day to make sure your plastic barriers are sealed, your vents are covered, and ideally you're not spending the afternoon in the next room. If you're sensitive to dust, plan to be out of the house for a few hours.
Texture day. If your project includes hand texture like knockdown, orange peel, or skip trowel, this happens after sanding. Texture application is relatively quick and much less dusty. Dry time depends on the texture and humidity, typically 24 to 48 hours before the room is ready for paint.
When can you use the room again? Once the final texture or finish is dry, the room is ready for painting and you can start moving furniture back in. For most projects, that's about 5 to 7 days from start to finish for a single room, or 1 to 2 weeks for a larger job. We'll give you a specific timeline before we start.
Talk to your contractor before the project starts
Good communication before the first day prevents most problems. Here are the things worth discussing with your drywall contractor ahead of time:
- Daily schedule. What time will the crew arrive and leave each day? Most residential drywall work starts between 7 and 8 AM. If you have an HOA with noise restrictions or neighbors who work nights, let the contractor know.
- Material staging. Where should drywall sheets and supplies be stored? They need a flat, dry space. Your garage is usually ideal if there's room.
- Access. Will someone be home to let the crew in, or do you need to arrange a lockbox or garage code?
- Timeline. Get the full schedule in writing. When does each phase start and end? When is sanding day? When will you have the room back?
- Concerns about your home. If you have a new hardwood floor you're worried about, say so. If there's a room next to the work area with sensitive equipment, mention it. The crew can take extra precautions if they know what matters to you.
- Cleanup expectations. Ask what the crew handles for daily cleanup and what's left for you. A good crew cleans up their work area at the end of each day. Some handle final cleanup after the project. Others don't.
At AvilaCo, we walk every customer through the prep process before the project starts. We'll tell you exactly what needs to happen, when we're arriving, and what each day will look like. If you have questions about an upcoming project, reach out to us or call (360) 904-3878. We serve homeowners and builders across Vancouver, WA and all of Clark County.