
If you're remodeling a bathroom, kitchen, or any room with hard surfaces, you've probably looked at tile. It's the default. Tile has been the go-to for wet areas and floors for decades, and for good reason. But more homeowners across Clark County are asking about microcement, and the question usually comes down to: is it actually better, or just trendier?
The honest answer is that neither one is universally better. They solve different problems. This is a straight comparison of the two so you can figure out which one makes sense for your project.
What is microcement?
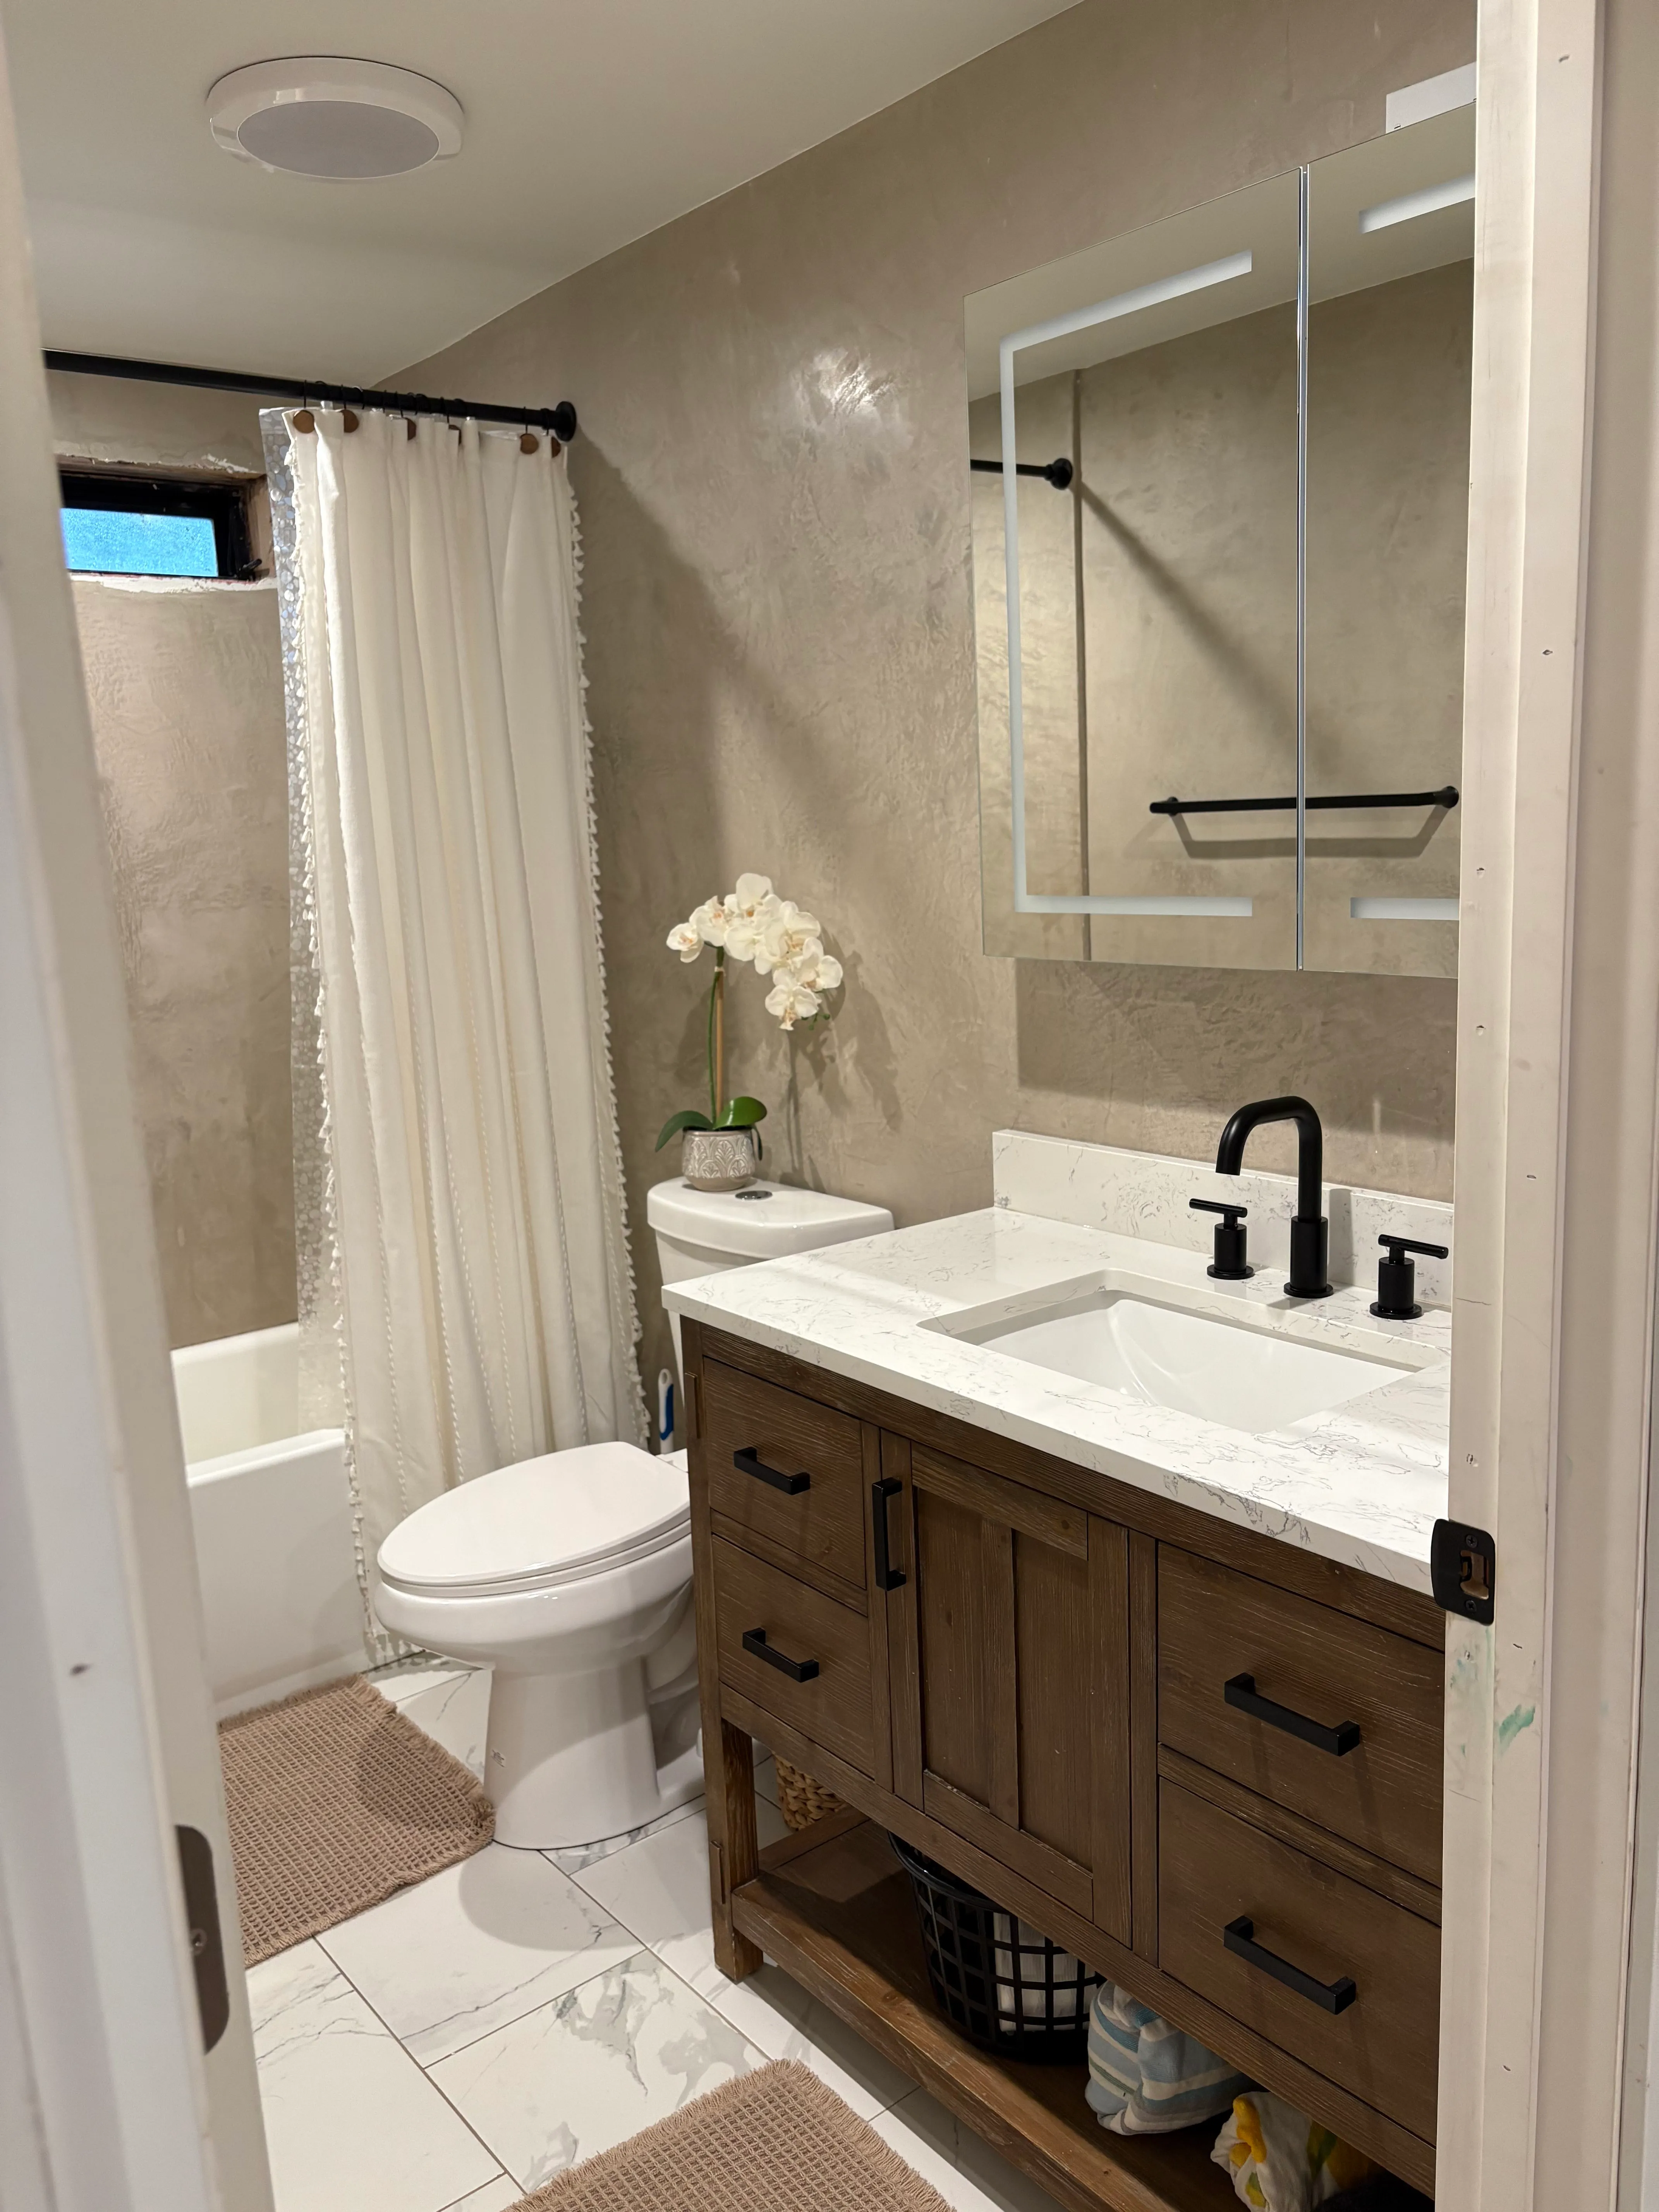
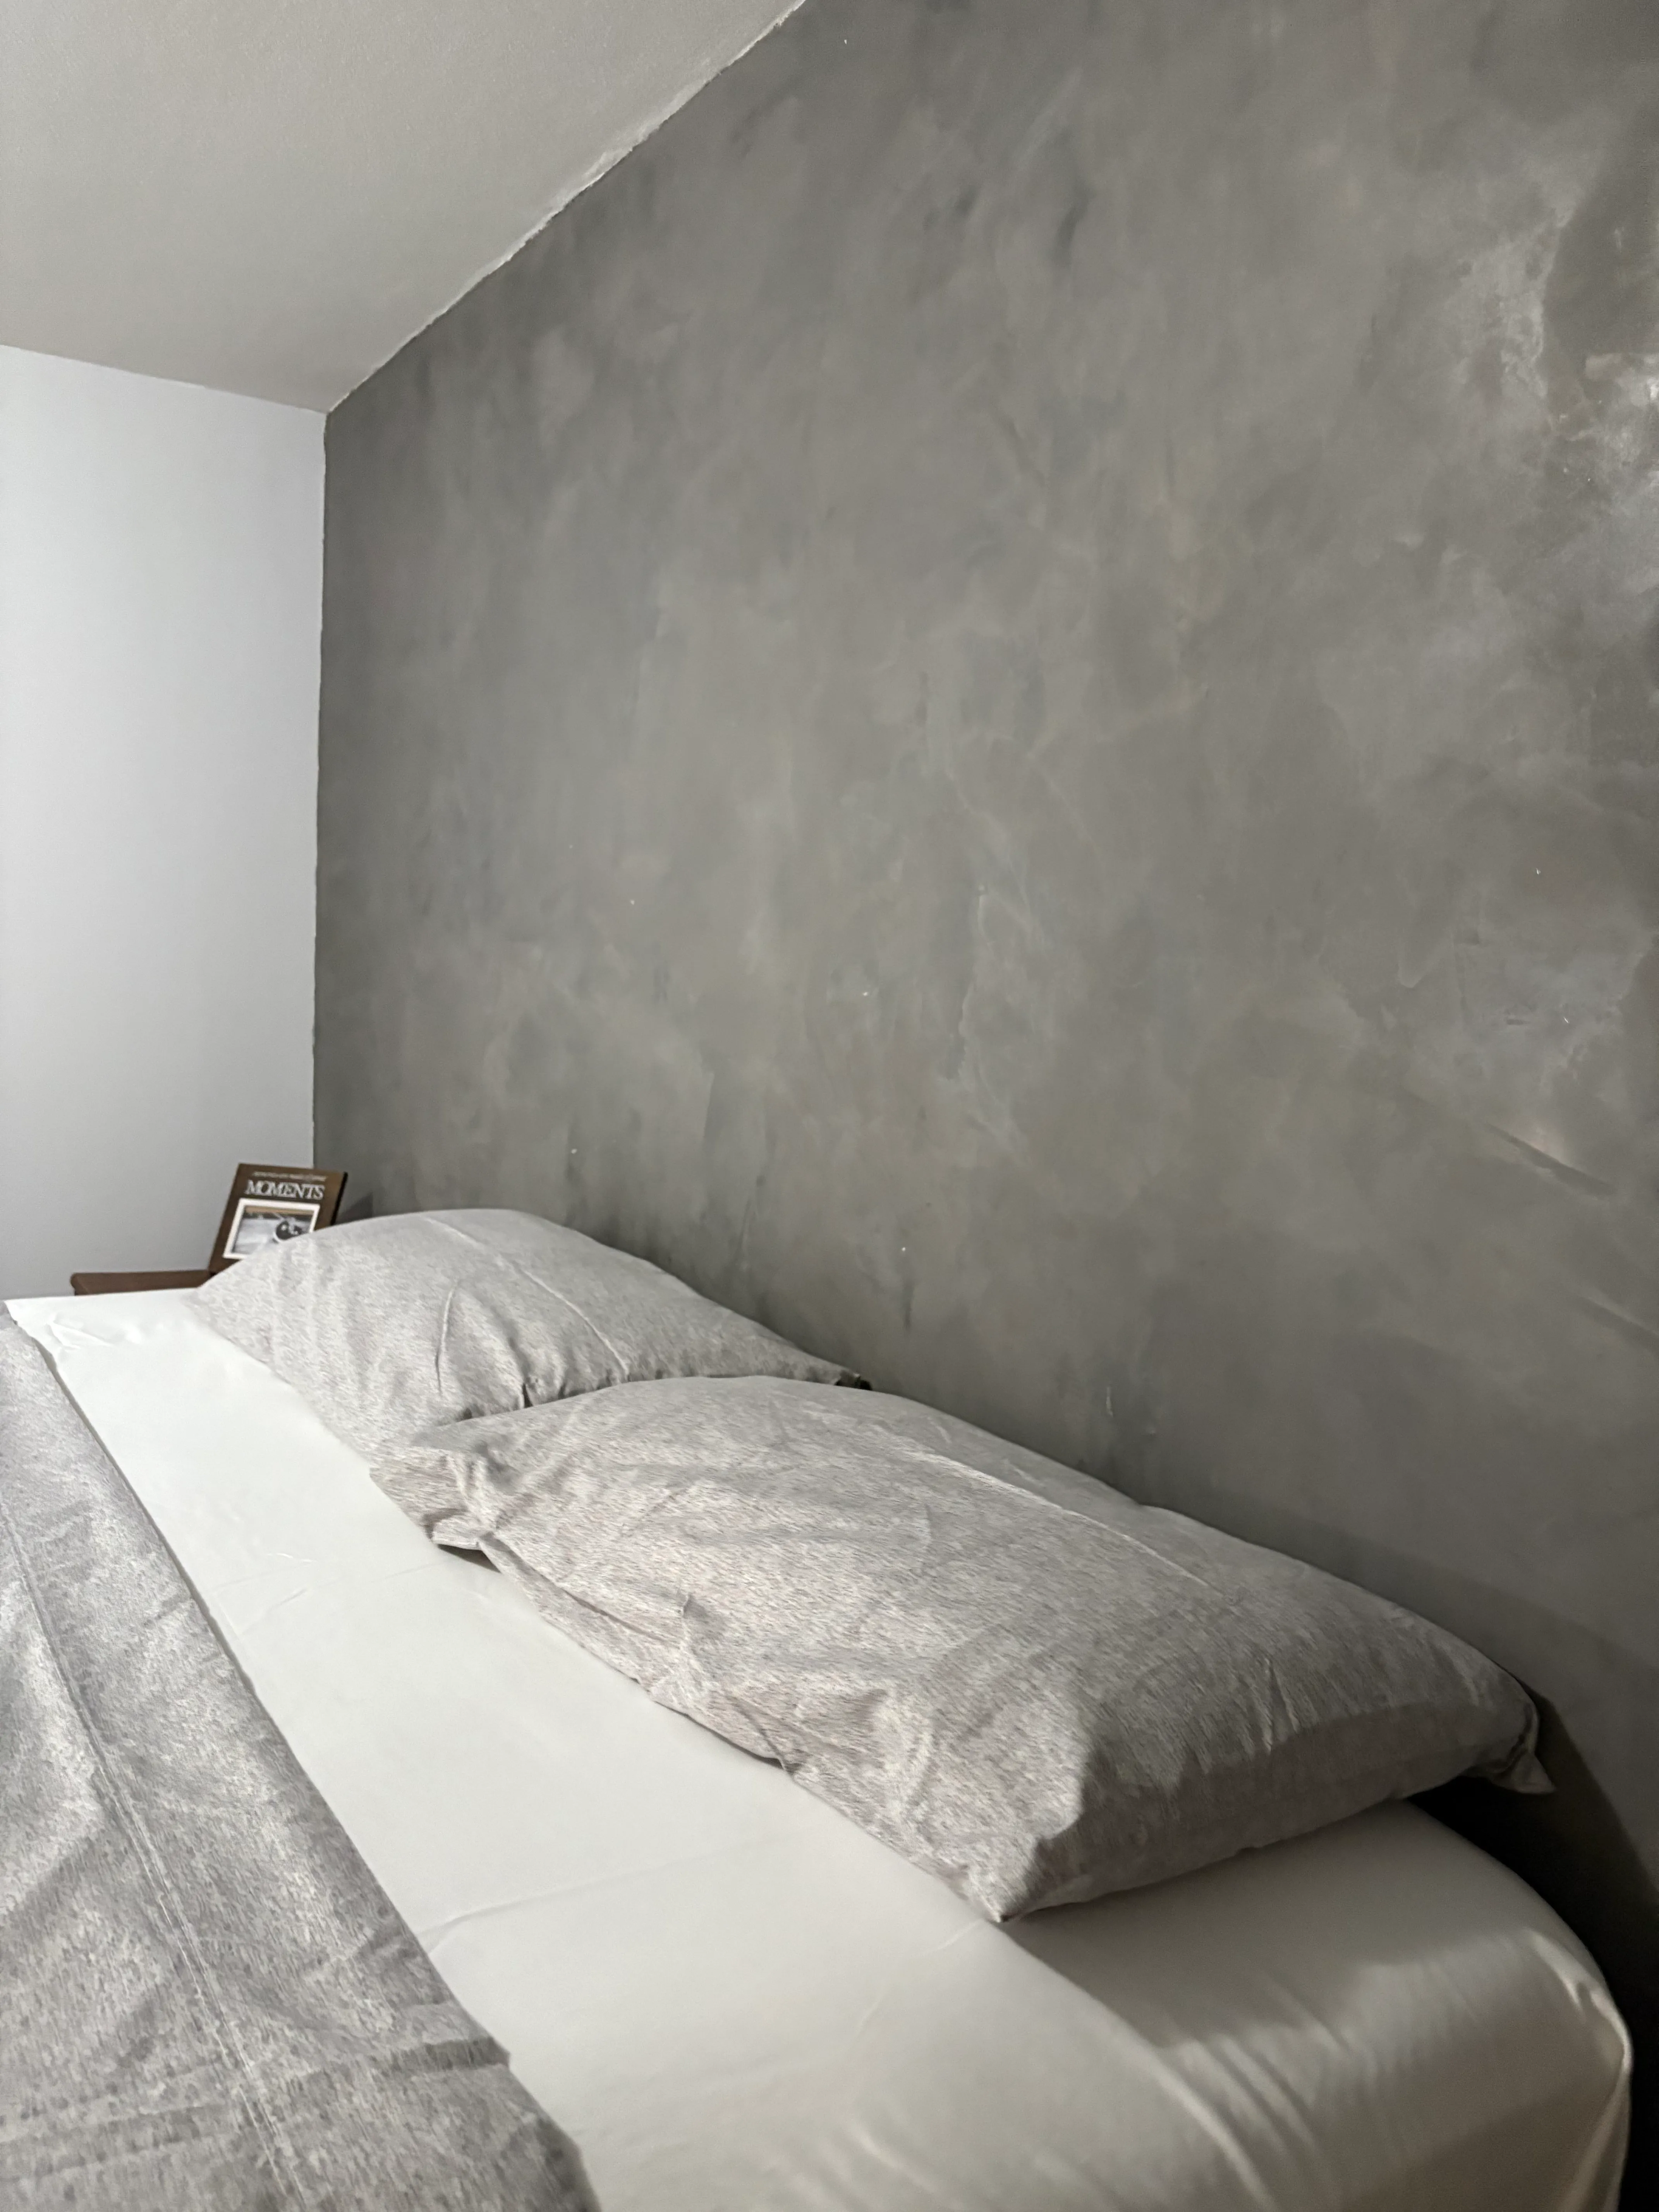
Microcement is a polymer-modified cement coating applied in thin layers, usually 2 to 3 millimeters total thickness. It creates a seamless, continuous surface with no grout lines and no joints. It can go on walls, floors, countertops, showers, and even furniture. The finish ranges from matte to satin depending on the sealant, and the color options are nearly unlimited.
It's not concrete. It's not stucco. It's a specialized coating system that bonds to almost any stable substrate, including existing tile, drywall, plywood, and concrete. The seamless look is what draws most people in. No grout lines means cleaner sight lines and a more modern, minimal aesthetic.
Cost comparison
Microcement typically runs $15 to $30 per square foot installed, depending on the surface, the number of coats, and the complexity of the space. A standard bathroom might land in the $3,000 to $6,000 range for walls and floor combined.
Tile costs $10 to $30 or more per square foot installed, but that range is wide. Basic ceramic subway tile on a simple wall is on the low end. Large-format porcelain, natural stone, or intricate patterns with custom grout push the cost higher. When you factor in the tile itself, thinset, grout, backer board, and labor, a fully tiled bathroom can run $4,000 to $10,000 or more.
Where microcement often saves money is on complex surfaces. Curved walls, niches, benches, and irregular shapes all require tile cuts, which add labor time. Microcement flows over those surfaces without extra steps. If your bathroom has a lot of angles or built-in features, the seamless application can actually come in cheaper than tile.
There's also the demolition factor. If you're going over existing tile, microcement goes right on top. No tear-out, no disposal costs, no repairing the substrate underneath. That alone can save $1,000 to $3,000 on a bathroom remodel.
Durability and lifespan
Both materials last a long time when installed correctly. Tile can last 50 years or more. Microcement, with proper sealing and maintenance, lasts 15 to 25 years before needing significant attention. But they fail in different ways, and that matters.
Tile's weak point is grout. Grout cracks, stains, and deteriorates over time, especially in wet areas. Cracked grout lets moisture behind the tile, which leads to mold, loose tiles, and eventually structural damage to the substrate. The tiles themselves are tough, but the system depends on every grout joint staying intact.
Microcement's weak point is the sealant. The polyurethane or epoxy topcoat protects the surface from water and stains. When the sealant wears down, the microcement becomes more porous and vulnerable. But resealing is straightforward and doesn't require tearing anything apart.
For impact resistance, tile wins. Drop something heavy on a tile floor and you might crack one tile, which can be replaced. Drop something heavy on microcement and you might chip or dent the surface, which requires a localized repair and reseal. Neither is fragile, but tile handles point impacts better.
Maintenance
This is where the two really diverge. Tile maintenance revolves around grout. You need to seal grout lines regularly, usually every 1 to 2 years in wet areas. Grout cleaning is a chore that most homeowners dread. Mold and mildew love grout lines in showers and around tubs. Even with diligent sealing, grout discolors over time.
Microcement has no grout lines. Cleaning is simple: wipe it down. For day-to-day maintenance, it's significantly easier than tile. The trade-off is that microcement needs the surface resealed every 3 to 5 years, depending on wear and exposure. Resealing is a professional job that takes a day and costs a fraction of what the original installation cost. Between resealings, you just clean it like you would any sealed surface.
For homeowners in Vancouver, WA who are tired of scrubbing grout in their showers, the maintenance difference is often the deciding factor.
Installation process
Tile installation is familiar to most contractors. Prep the substrate, apply thinset, set the tiles, grout, seal. It's well-understood, and there's a large pool of experienced tile setters available. A typical bathroom tile job takes 3 to 5 days.
Microcement installation requires specialized training. The application involves a primer, a mesh reinforcement layer, two base coats, two color coats, and two coats of sealant. Each layer needs curing time. A bathroom typically takes 4 to 6 days. The skill required is higher and more specific, which means fewer contractors offer it and the ones who do need to know the material well.
One major advantage of microcement is that it can be applied directly over existing tile, as long as the tile is stable and well-bonded. That means you can skip the demolition phase entirely. No jackhammering, no hauling debris, no repairing the surface underneath. For homeowners in Ridgefield and across Clark County who want to update a dated bathroom without a full gut job, this is a big deal.
Tile installation, on the other hand, usually means removing the old surface first. That adds time, cost, and disruption to the project.
Where each works best
Microcement is the stronger choice for:
- Seamless showers -- no grout lines to clean, smooth continuous surfaces, modern look
- Modern aesthetics -- if you want that clean, minimal, European-inspired style
- Going over existing surfaces -- overlay on old tile, concrete, or other stable substrates without demolition
- Complex shapes -- curved walls, shower benches, niches, and irregular surfaces
- Accent walls and decorative surfaces -- pairs well with decorative plaster finishes and Fresco Harmony in adjacent rooms
Tile is the stronger choice for:
- Outdoor areas -- patios, walkways, and exterior surfaces handle freeze-thaw cycles and UV exposure better with the right tile
- High-traffic commercial spaces -- restaurants, retail, and areas with heavy foot traffic and frequent impacts
- Budget-friendly simple layouts -- a straightforward subway tile backsplash or basic floor layout is hard to beat on price
- Unique patterns and designs -- mosaics, geometric layouts, and mixed-material designs that depend on individual pieces
- Situations where impact resistance matters -- kitchens where heavy pots get dropped regularly, for example
Making the call
The right choice depends on four things: your budget, your aesthetic preference, what's already on your surfaces, and your timeline.
Budget: If you're doing a simple layout with affordable tile, standard ceramic or porcelain tile will likely cost less. If you're looking at higher-end tile, natural stone, or a space with a lot of cuts and complex angles, microcement becomes cost-competitive or even cheaper.
Aesthetic: If you want seamless, modern, and minimal, microcement delivers that in a way tile can't. If you want pattern, texture variation between individual pieces, or a classic look, tile gives you options microcement doesn't.
Existing surfaces: If you're remodeling and want to avoid demolition, microcement's overlay capability is a real advantage. Going over existing tile saves time and money. If you're building new and the substrate is already prepped for tile, that advantage disappears.
Timeline: Both take roughly the same amount of time for a standard bathroom. But if you factor in demo time for removing old tile, microcement's overlay approach can shave days off the project.
We install both microcement and work alongside tile setters on projects across Vancouver, WA and Clark County. If you're not sure which direction to go, we're happy to look at your space and give you an honest recommendation. Sometimes the answer is microcement. Sometimes it's tile. Sometimes it's microcement in the shower and tile on the floor. The best projects use the right material for each surface.