If you've ever worked from home while someone runs a blender in the kitchen, or tried to sleep with traffic noise bleeding through the bedroom wall, you already understand why soundproofing matters. The question isn't whether you want a quieter room. It's whether the fixes you're considering will actually work.
There's a lot of bad advice online about soundproofing. Egg cartons, foam panels, heavy curtains — most of it does almost nothing for sound coming through walls. Real soundproofing happens inside the wall assembly itself, and it comes down to three things: mass, decoupling, and absorption.
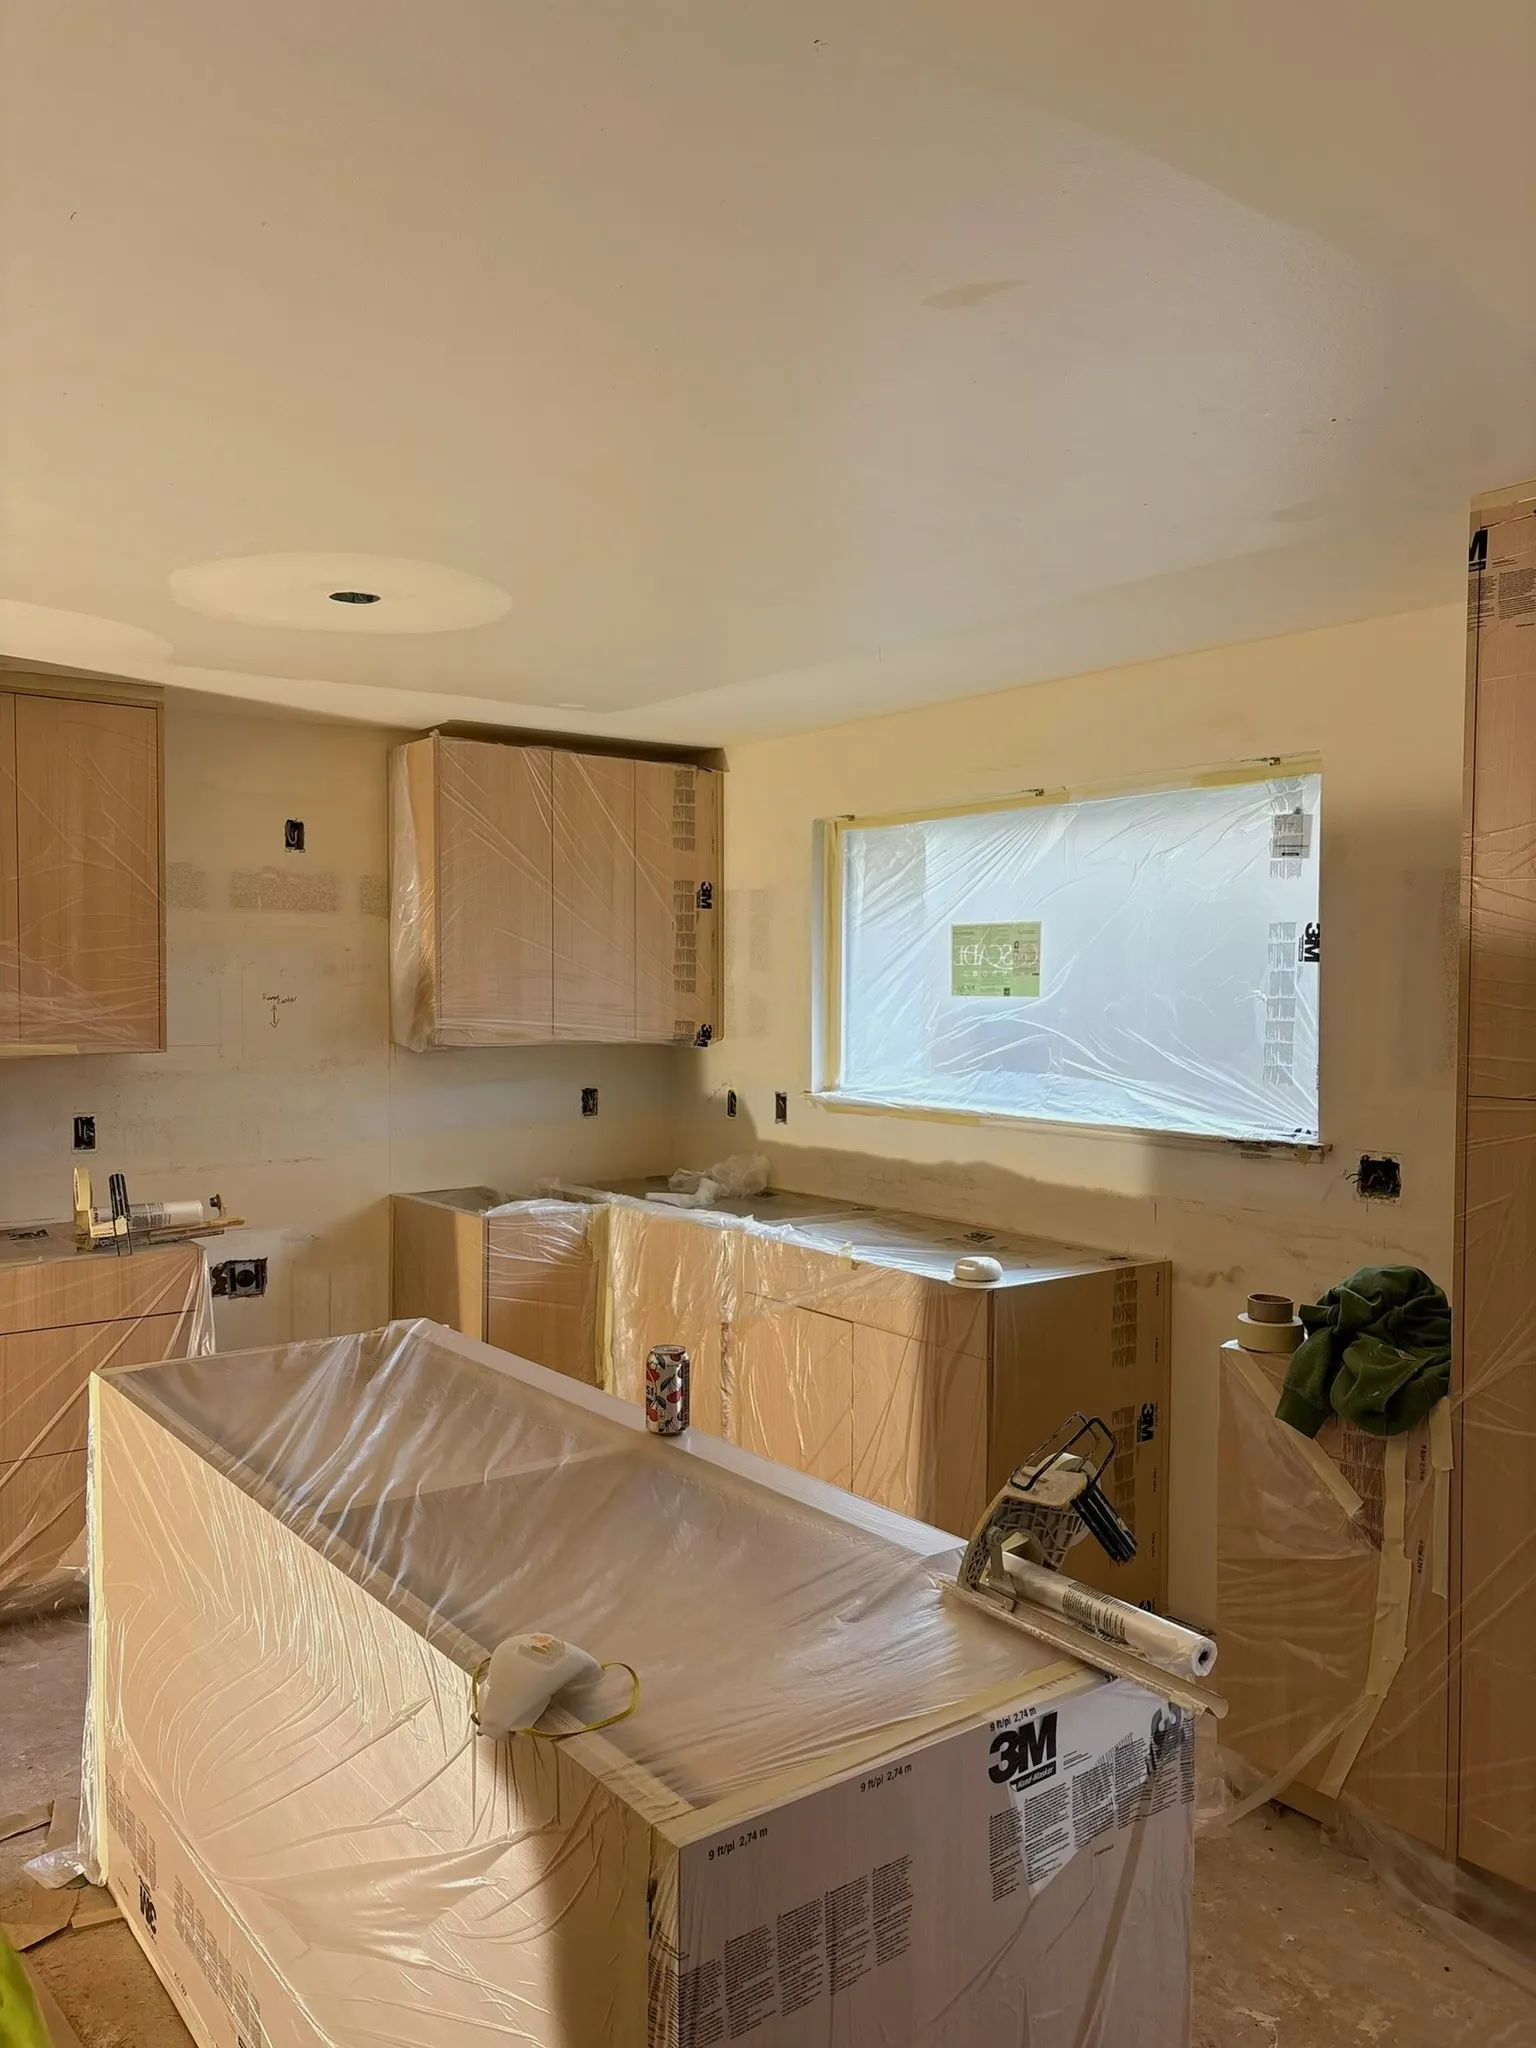
This guide covers what works, what doesn't, and how to think about the problem whether you're doing the work yourself or hiring a contractor. We install drywall and insulation on projects across Vancouver, WA and Clark County, and soundproofing wall assemblies are something we build regularly.
Why soundproofing matters more than it used to
Ten years ago, most homeowners didn't think about sound control unless they were building a home theater. That's changed. Remote work made home offices permanent. Multigenerational living is more common. And homes are being built closer together in subdivisions across Clark County, which means your neighbor's TV is closer to your bedroom wall than it was in older neighborhoods.
The rooms where soundproofing makes the biggest difference:
Home offices. You're on a video call and the kids are in the next room. Or your spouse is on their own call ten feet away. A properly soundproofed office wall turns a constant distraction into background silence.
Media rooms and home theaters. You want to watch a movie at real volume without shaking the rest of the house. This is one of the few cases where most homeowners are willing to invest in a full sound-rated wall assembly, and it pays off.
Bedrooms near traffic or shared walls. Highway 14, I-5, and even arterial streets like Mill Plain generate enough road noise to affect sleep quality. A bedroom wall facing a busy road with standard construction lets a surprising amount of that noise through.
Shared walls in duplexes and townhomes. Building code requires a minimum STC 50 rating on party walls between units. But many older buildings were built to lower standards, and even code minimum isn't always enough if your neighbor plays drums.
How sound travels through walls
Before you can fix a noise problem, it helps to understand how sound actually gets from one side of a wall to the other. There are two types of sound transmission, and they behave differently.
Airborne sound is what most people think of: voices, music, TV, traffic noise. Sound waves hit one side of the wall, vibrate the drywall, transfer through the studs and cavity, and vibrate the drywall on the other side. That second sheet of drywall acts like a speaker, re-radiating the sound into the next room. Every element in the wall — the drywall, the studs, the air cavity — participates in this transfer.
Impact sound is vibration that starts with physical contact: footsteps on a floor above, a door slamming, something dropped. The vibration travels through the structure itself. Impact sound is harder to control because it bypasses the air cavity entirely — it moves through solid connections between framing members.
Most residential soundproofing focuses on airborne sound, because that's where the biggest improvements come from with wall modifications. Impact sound is more relevant for floor/ceiling assemblies, which is a different topic.
STC ratings: what the numbers mean
STC stands for Sound Transmission Class. It's a single-number rating that tells you how well a wall assembly blocks airborne sound. Higher is better. Here's what the numbers feel like in practice:
STC 25-30: Normal speech is clearly audible through the wall. This is a single layer of 1/2-inch drywall on each side of a standard 2x4 stud wall with no insulation. It's what you get in the cheapest apartment construction.
STC 33-35: Loud speech is audible, but normal conversation is muffled. A standard 2x4 wall with insulation and one layer of 1/2-inch drywall on each side lands here. This is typical residential interior wall construction.
STC 40-45: Loud speech is faintly audible. Music and TV are reduced but not eliminated. This is where you land with a good insulated wall plus resilient channel or double drywall on one side.
STC 50-55: Loud sounds are barely audible. This is the building code minimum for party walls between dwelling units, and it's the target for most home offices and media rooms. Achieving this typically requires a combination of insulation, decoupling, and added mass.
STC 60+: Most sounds are inaudible. This is recording studio territory and requires specialized assemblies — often double stud walls with an air gap. It's overkill for most residential applications.
The important thing to understand about STC is that improvements aren't linear. Going from STC 33 to STC 38 is noticeable. Going from STC 45 to STC 50 is noticeable. But each additional point gets harder and more expensive to achieve. You don't need STC 60 in your bedroom. You need enough improvement that the noise stops being a problem, and for most people that's somewhere in the STC 45 to 55 range.
Drywall approaches to soundproofing
Drywall is the outermost layer of the wall assembly, and it's where a lot of sound either gets blocked or gets through. Here are the main drywall-side strategies, ordered from simplest to most effective.
Double-layer drywall. Adding a second layer of 5/8-inch drywall over the existing layer is the simplest upgrade. More mass means more resistance to vibration. A wall with two layers of 5/8-inch drywall on one side is noticeably quieter than a wall with a single layer. On its own, this adds about 3 to 5 STC points. The sheets should be installed with staggered seams so the joints don't line up.
Damping compound between layers. Green Glue is the most common product here. You apply it between the two drywall layers, and it converts sound vibration into heat. This is one of the most cost-effective soundproofing upgrades available. Double drywall with Green Glue between the layers can add 8 to 12 STC points to a standard wall. Two tubes per 4x8 sheet is the standard application rate.
Resilient channel. These are thin metal channels that screw to the studs, and then the drywall screws to the channel instead of directly to the stud. The channel flexes slightly, which decouples the drywall from the framing and interrupts the vibration path. Resilient channel alone can add 5 to 8 STC points. But here's the catch: if even one screw accidentally hits a stud through the channel, it short-circuits the whole system. Installation has to be precise.
Mass-loaded vinyl (MLV). This is a thin, dense, flexible sheet that gets sandwiched into the wall assembly, usually between the studs and the drywall or between two drywall layers. One-pound MLV (1 pound per square foot) adds meaningful mass without adding much thickness. It's effective but adds $1 to $2 per square foot in material cost, and it needs to be installed with sealed seams to work properly.
Specialty sound-rated drywall. Products like QuietRock are engineered boards with viscoelastic damping layers built in. A single sheet of QuietRock 510 performs roughly equivalent to two layers of standard 5/8-inch drywall with Green Glue. The advantage is thickness savings — one layer instead of two. The disadvantage is cost: QuietRock runs $40 to $55 per sheet compared to $12 to $15 for standard 5/8-inch board. For projects where wall thickness is a constraint, it can be worth the premium.
Insulation's role in sound control
An empty wall cavity acts like a drum. Sound hits one side, resonates in the air space, and amplifies on the other side. Filling that cavity with insulation absorbs sound energy and breaks up standing waves inside the wall.
Fiberglass batts are the standard. R-13 fiberglass in a 2x4 wall cavity provides decent sound absorption and is the most affordable option. It's what goes into most residential walls for thermal purposes, and it helps with sound as a side benefit. Filling the cavity with fiberglass adds about 4 to 6 STC points compared to an empty cavity.
Mineral wool batts (Roxul/Rockwool) are denser and perform better for sound. Roxul Safe'n'Sound is specifically designed for interior sound control. It has a higher density than fiberglass — about 2.5 pounds per cubic foot versus 0.5 to 1.0 for fiberglass — and it absorbs more sound energy, particularly at lower frequencies. Mineral wool typically adds 6 to 8 STC points to an empty cavity. It also doesn't sag over time the way fiberglass can.
One thing people get wrong: overstuffing the cavity doesn't help. Cramming R-19 batts into a 2x4 wall (which is a 3.5-inch cavity) actually compresses the insulation and can reduce both its thermal and acoustic performance. Use the insulation rated for the cavity depth. R-13 in 2x4 walls. R-21 or R-19 in 2x6 walls. The insulation should fill the cavity without being forced in.
Insulation alone won't make a wall soundproof. But without it, nothing else you do on the drywall side reaches its full potential. It's the foundation of any good sound-rated wall assembly.
The full wall assembly approach
The best soundproofing results come from combining multiple strategies in a single wall assembly. Each component addresses a different part of the sound transmission path. Here are three assemblies we commonly build, ordered by performance.
Good (STC 43-46): Standard 2x4 stud wall, mineral wool insulation in the cavity, double layer of 5/8-inch drywall with Green Glue on one side, single layer on the other. This is a meaningful upgrade over standard construction and works well for bedrooms and home offices where you want to reduce conversational noise and TV sound.
Better (STC 50-55): Standard 2x4 stud wall, mineral wool insulation, resilient channel on one side, double layer of 5/8-inch drywall with Green Glue on the resilient channel, single layer on the other side. This assembly hits code-minimum party wall performance and is what we recommend for dedicated home offices, media rooms, and shared walls where you want to block most noise. The resilient channel decouples the heavy drywall side from the framing, and the combination is greater than the sum of its parts.
Best (STC 58-63): Staggered stud wall (2x4 studs on a 2x6 plate, alternating so each side of the wall has its own set of studs) or double stud wall with an air gap. Mineral wool insulation filling the full cavity. Double drywall with Green Glue on both sides. This assembly fully decouples the two wall surfaces from each other. It's the gold standard for home theaters and music rooms. The tradeoff is wall thickness — a staggered stud wall is about 6 inches thick, and a double stud wall with a gap can be 8 to 10 inches.
The assembly you choose depends on how much noise you need to block, how much wall space you can give up, and your budget. For most residential projects, the "Better" assembly is the sweet spot. It's achievable within a standard 2x4 wall and delivers a dramatic improvement over standard construction.
Common soundproofing mistakes
We've seen a lot of DIY soundproofing projects that underperform because of mistakes that are easy to avoid if you know what to look for.
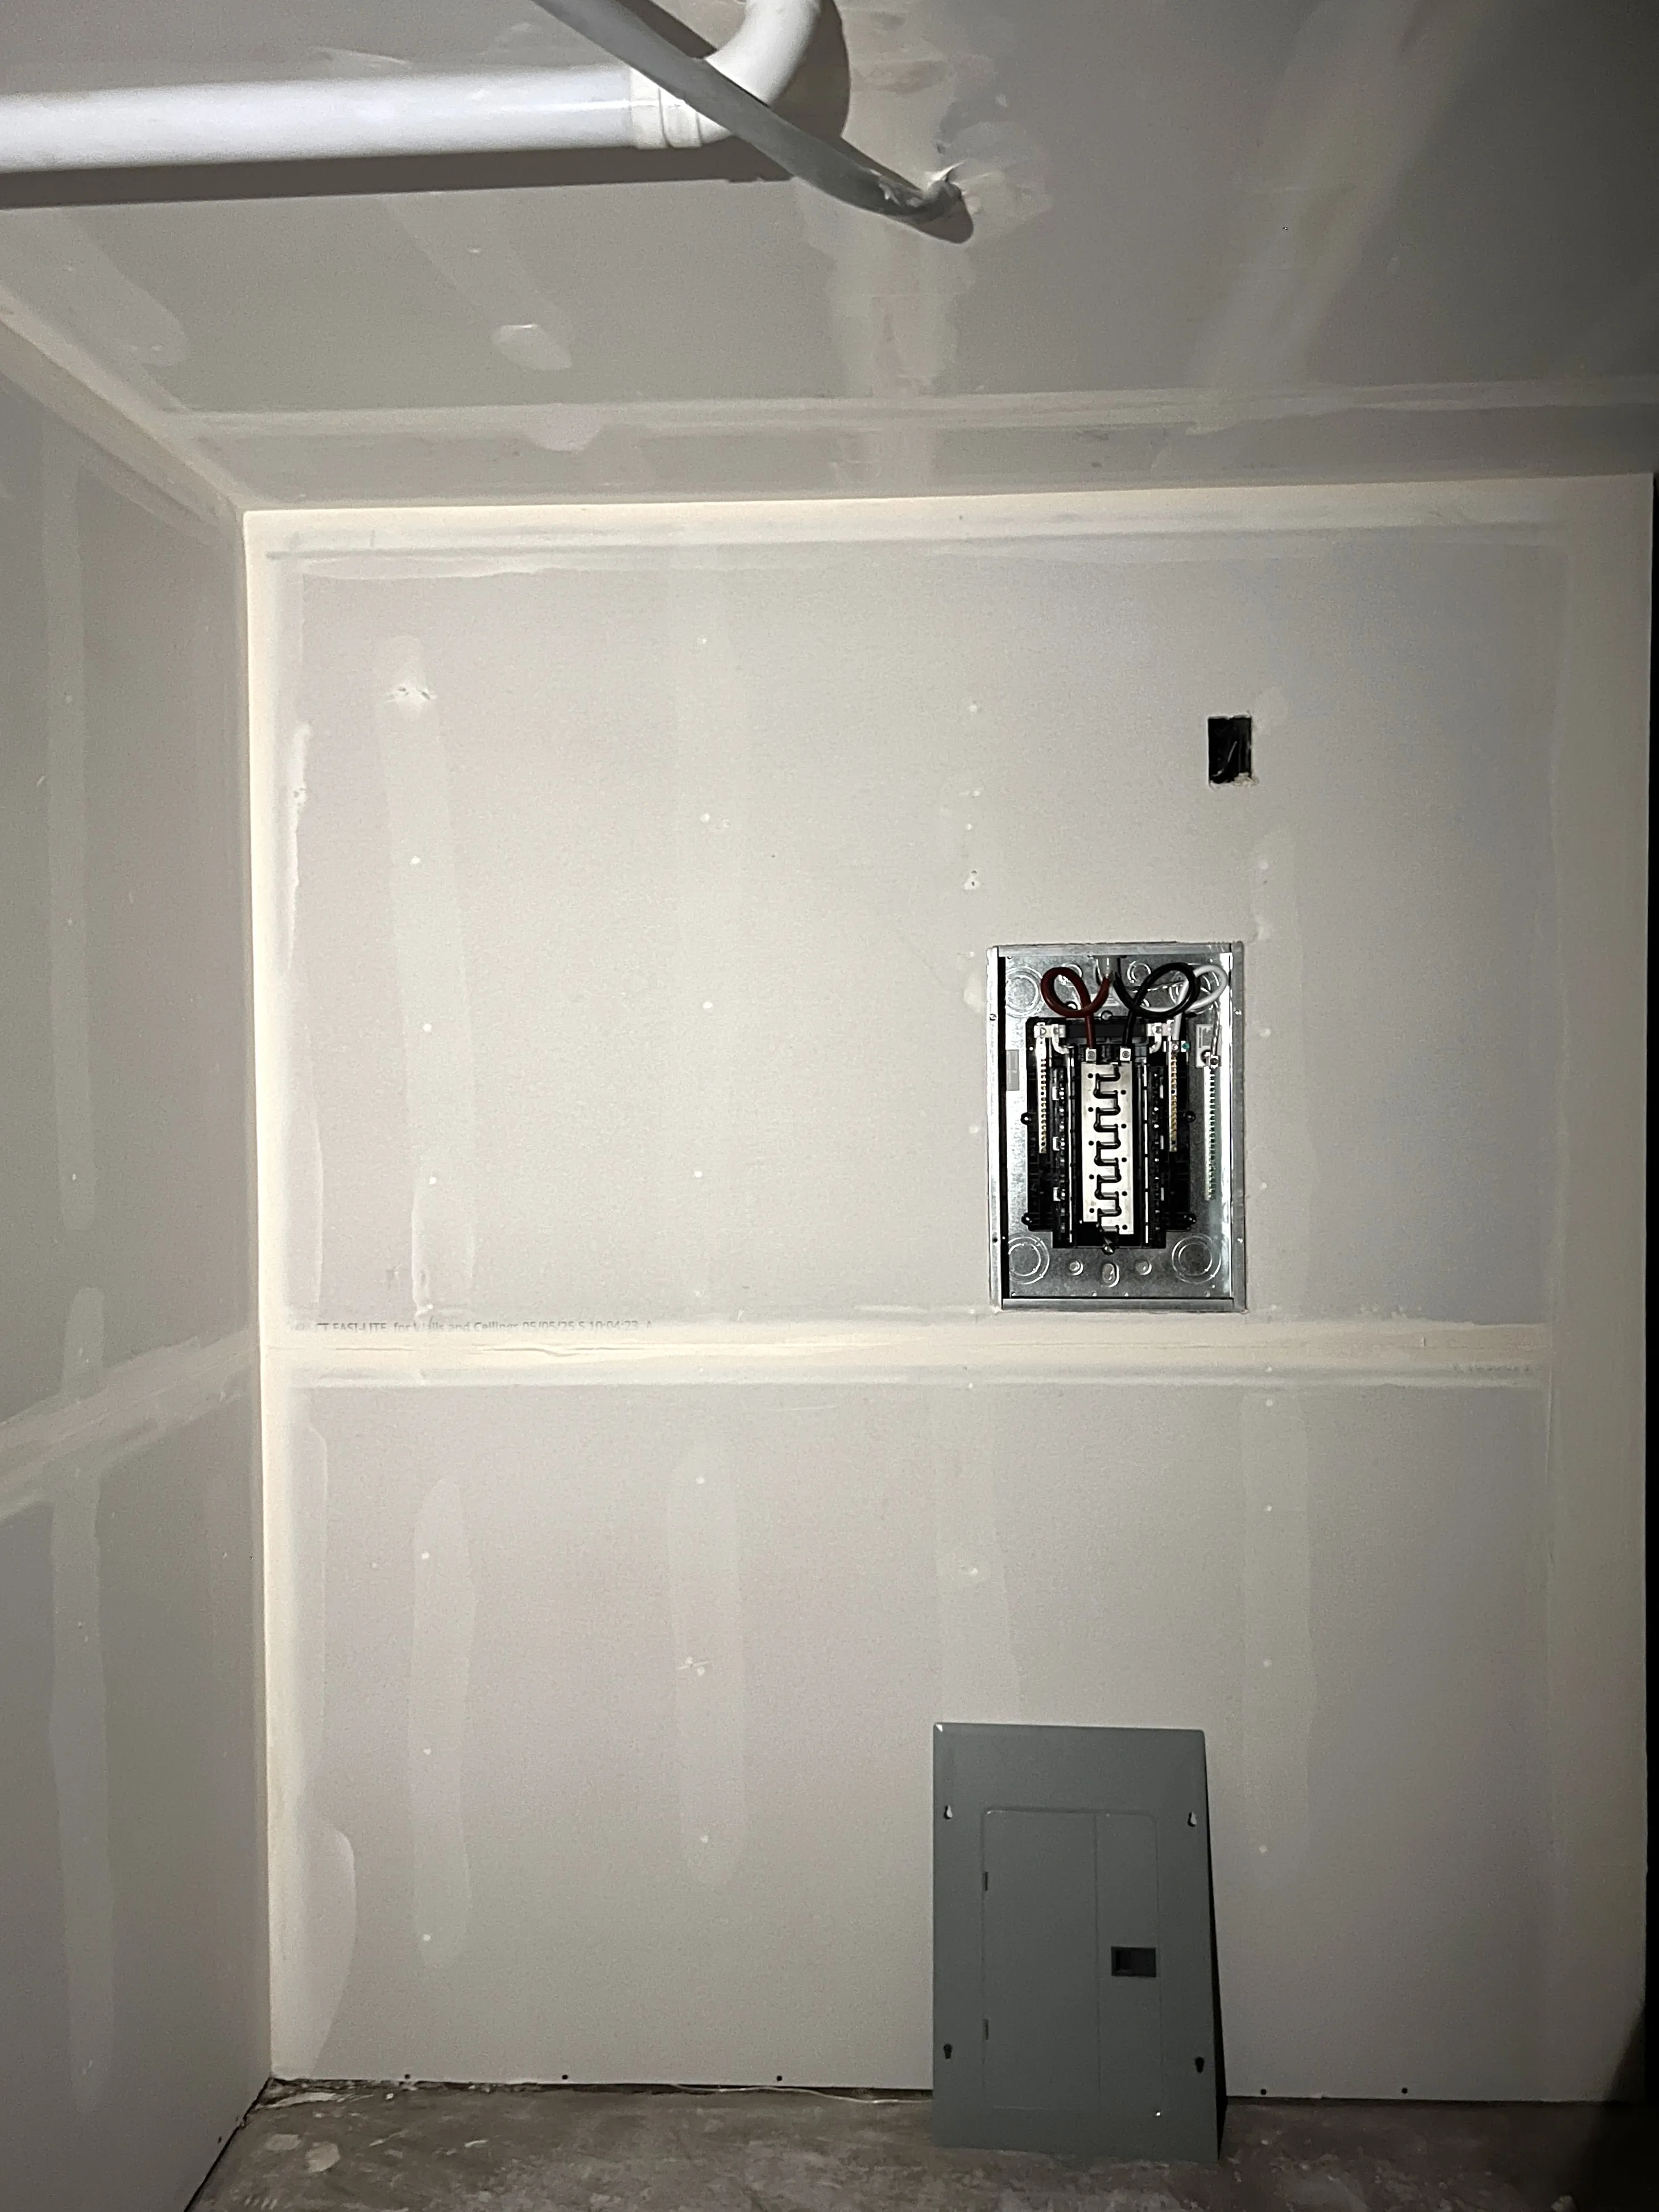
Ignoring flanking paths. This is the biggest one. You can build an STC 55 wall, but if sound flanks around it through the ceiling, floor, ductwork, or electrical outlets, your real-world performance drops to whatever the weakest path allows. Sound is like water — it finds the path of least resistance.
Unsealed electrical boxes. A standard electrical outlet box is basically a hole in your sound wall. Sound pours through them. Putty pads (acoustical sealant pads that wrap around the outlet box) are cheap and effective. Stagger outlets on opposite sides of the wall so they're not back-to-back. Back-to-back outlets create a direct air path through the wall.
Gaps around the perimeter. Every edge where the drywall meets the floor, ceiling, or adjacent wall needs to be sealed with acoustical caulk. Not regular caulk — acoustical caulk stays flexible permanently, which matters because buildings move. A 1/16-inch gap along the base of an otherwise well-built wall can reduce your STC by 5 to 10 points.
HVAC penetrations and ductwork. Supply and return ducts can carry sound between rooms as effectively as a speaking tube. If you're soundproofing a room and the ductwork connects it to the room you're trying to block noise from, you need duct liner or a duct silencer. Otherwise, the wall barely matters.
Doors. A hollow-core interior door has an STC rating around 15 to 20. You could build the best wall assembly in the world, and the door would let everything through. If sound control matters, you need a solid-core door with proper weatherstripping and a door sweep that seals against the threshold.
Short-circuiting resilient channel. If a single drywall screw passes through the resilient channel and into the stud, it creates a rigid connection that bypasses the decoupling. The entire purpose of the channel is defeated. This is why resilient channel installation needs to be done by someone who understands how it works and uses screws of the correct length.
DIY vs. hiring a professional
Some soundproofing work is reasonable for a capable homeowner. Other parts really do need a contractor. Here's how to think about it.
What you can do yourself: Adding a second layer of drywall with Green Glue over an existing wall is a straightforward project if you're comfortable with basic drywall work. Sealing outlet boxes with putty pads, caulking perimeter gaps with acoustical sealant, and upgrading to solid-core doors are all DIY-friendly tasks. Adding insulation to open wall cavities before drywall is also something many homeowners handle.
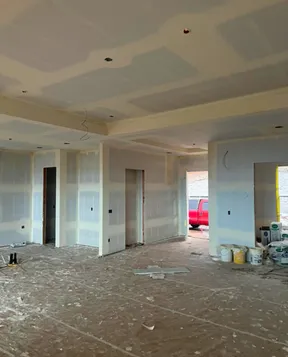
Where you need a contractor: Resilient channel installation requires precision. If the channel is screwed in wrong or the drywall screws are too long, the system fails and you won't know it until the wall is finished and still letting sound through. Building staggered stud walls or double stud walls is framing work that needs to be done correctly for structural reasons. And any project that involves tearing out existing drywall, rebuilding the wall assembly, and finishing it to a clean Level 4 or Level 5 surface is professional territory.
The other advantage of hiring a contractor is that you get the full system done right the first time. A soundproofing wall assembly is only as good as its weakest point. A pro thinks about the flanking paths, the outlet boxes, the perimeter sealing, and the door — not just the wall itself.
We handle both insulation and drywall installation in-house, which means one crew builds the entire wall assembly from cavity insulation through finished drywall. No gaps between trades, no finger-pointing if something doesn't perform. That matters on soundproofing projects more than almost anything else, because the details between trades are exactly where performance gets lost.
If you're planning a soundproofing project in Vancouver, WA or anywhere in Clark County, we're happy to walk through the options with you and recommend the right assembly for your situation. Reach out for a free estimate, or call us directly at (360) 904-3878.