If you've gotten a bid for drywall installation or talked to a contractor about new construction, you may have heard the term "finish level." It sounds technical, and the official spec documents don't make it any clearer. But the concept is actually straightforward.
Drywall finish levels are a standardized system, defined by the Gypsum Association, that describes how much taping, mudding, and sanding goes onto the drywall after it's hung. The scale runs from Level 0 (no finishing at all) to Level 5 (a flawless, skim-coated surface). Each level builds on the one before it, adding more labor and material.
The finish level you need depends on what's going on top of the drywall: paint, texture, wallpaper, tile, or nothing at all. Here's what each level actually involves, and which one makes sense for your project.
What are drywall finish levels?
The Gypsum Association's "Recommended Levels of Gypsum Board Finish" document (GA-214) lays out six levels of finish, numbered 0 through 5. These aren't building codes or legal requirements. They're industry standards that give contractors, builders, and homeowners a shared vocabulary for what the finished walls should look like.
Each level specifies what happens after the drywall boards are hung and fastened. Level 0 means nothing happens. Level 5 means every square inch gets treated to create a perfectly uniform surface. Everything in between is a tradeoff between cost, time, and visual quality.
Here in Vancouver, WA, most residential work falls between Level 3 and Level 5. But every level has its place, so let's walk through them.
Level 0: No finish
Level 0 means the drywall is hung and screwed to the framing, and that's it. No tape on the seams. No joint compound anywhere. The screw heads are exposed. You can see every joint between the boards.
Where it's used: Temporary construction, staging areas, or spaces where the drywall is only there to meet a fire rating or code requirement and will never be seen. Sometimes used above a ceiling in a plenum space.
Cost context: You're only paying for materials and hanging labor. No finishing labor at all.
You'll almost never encounter Level 0 in a finished home. If someone quotes you Level 0 for a living space, that's a red flag.
Level 1: Fire tape
Level 1 adds tape to the joints and angles, embedded in a thin layer of joint compound. That's it. The tape is set, but the compound isn't smoothed out, sanded, or given a second coat. Screw heads and fasteners are not covered. The surface is rough and visually unfinished.
Where it's used: Above ceilings in commercial buildings, in elevator shafts, in mechanical spaces, and anywhere code requires a fire or smoke barrier but the surface won't be visible. The tape provides continuity across the joints for fire resistance purposes.
Cost context: Minimal additional cost over Level 0. You're paying for tape and a single pass of compound on the joints only.
Level 2: Garage grade
Level 2 takes Level 1 and adds a thin skim coat of compound over the tape and a coat over the fastener heads. The compound is wiped smooth enough to leave no tool marks or ridges, but the surface is not sanded. You'll still see the difference between the mudded joints and the bare drywall face.
Where it's used: Garages, warehouses, storage areas, and spaces that are behind the scenes. It's also common as a substrate for tile. If you're tiling a bathroom wall from floor to ceiling, Level 2 underneath is usually sufficient because the tile adhesive and tile cover everything.
Cost context: Slightly more than Level 1. The fastener heads get covered and the tape joints get a second pass, but there's no sanding step.
Most garages in the Clark County area end up at Level 2 unless the homeowner plans to paint them, in which case Level 3 or 4 makes more sense.
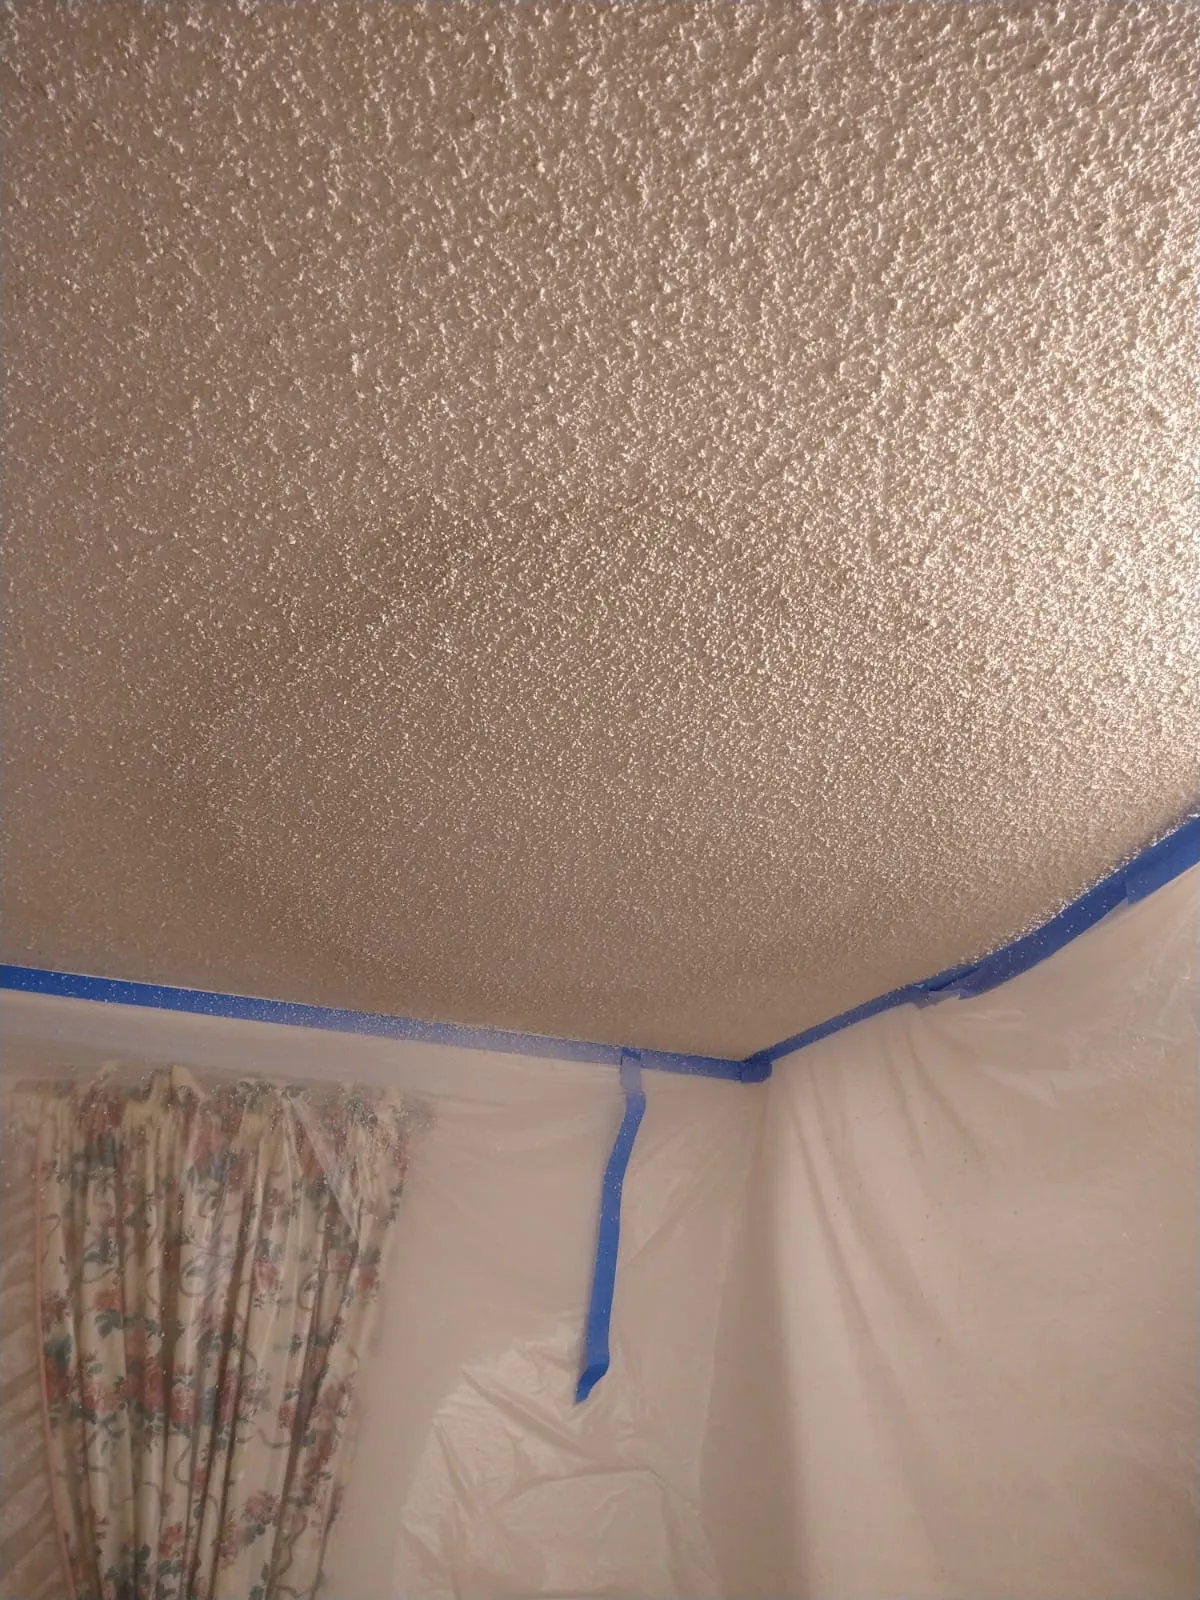
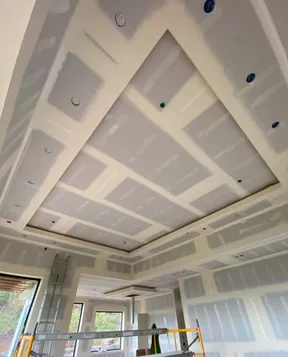
Level 3: Texture ready
Level 3 is where things start to look like a real wall. The tape gets embedded in compound, a second coat covers the tape joints and fastener heads, and everything is sanded smooth. The surface is ready to receive a spray or hand-applied texture.
Where it's used: Any wall or ceiling that will receive a medium to heavy texture before painting. Knockdown, orange peel, skip trowel, popcorn ceiling (if anyone still wants that). The texture hides the difference between the mudded joints and the bare board, so you don't need the additional coats that Level 4 requires.
Cost context: Moderate. Two coats of compound plus sanding. This is typically the minimum level for any wall a homeowner will see and live with.
Important note: Level 3 should not be used under flat or light-sheen paint without texture. The joints will photograph through the paint, especially in raking light from windows. If you're painting without texture, you need Level 4 at minimum.
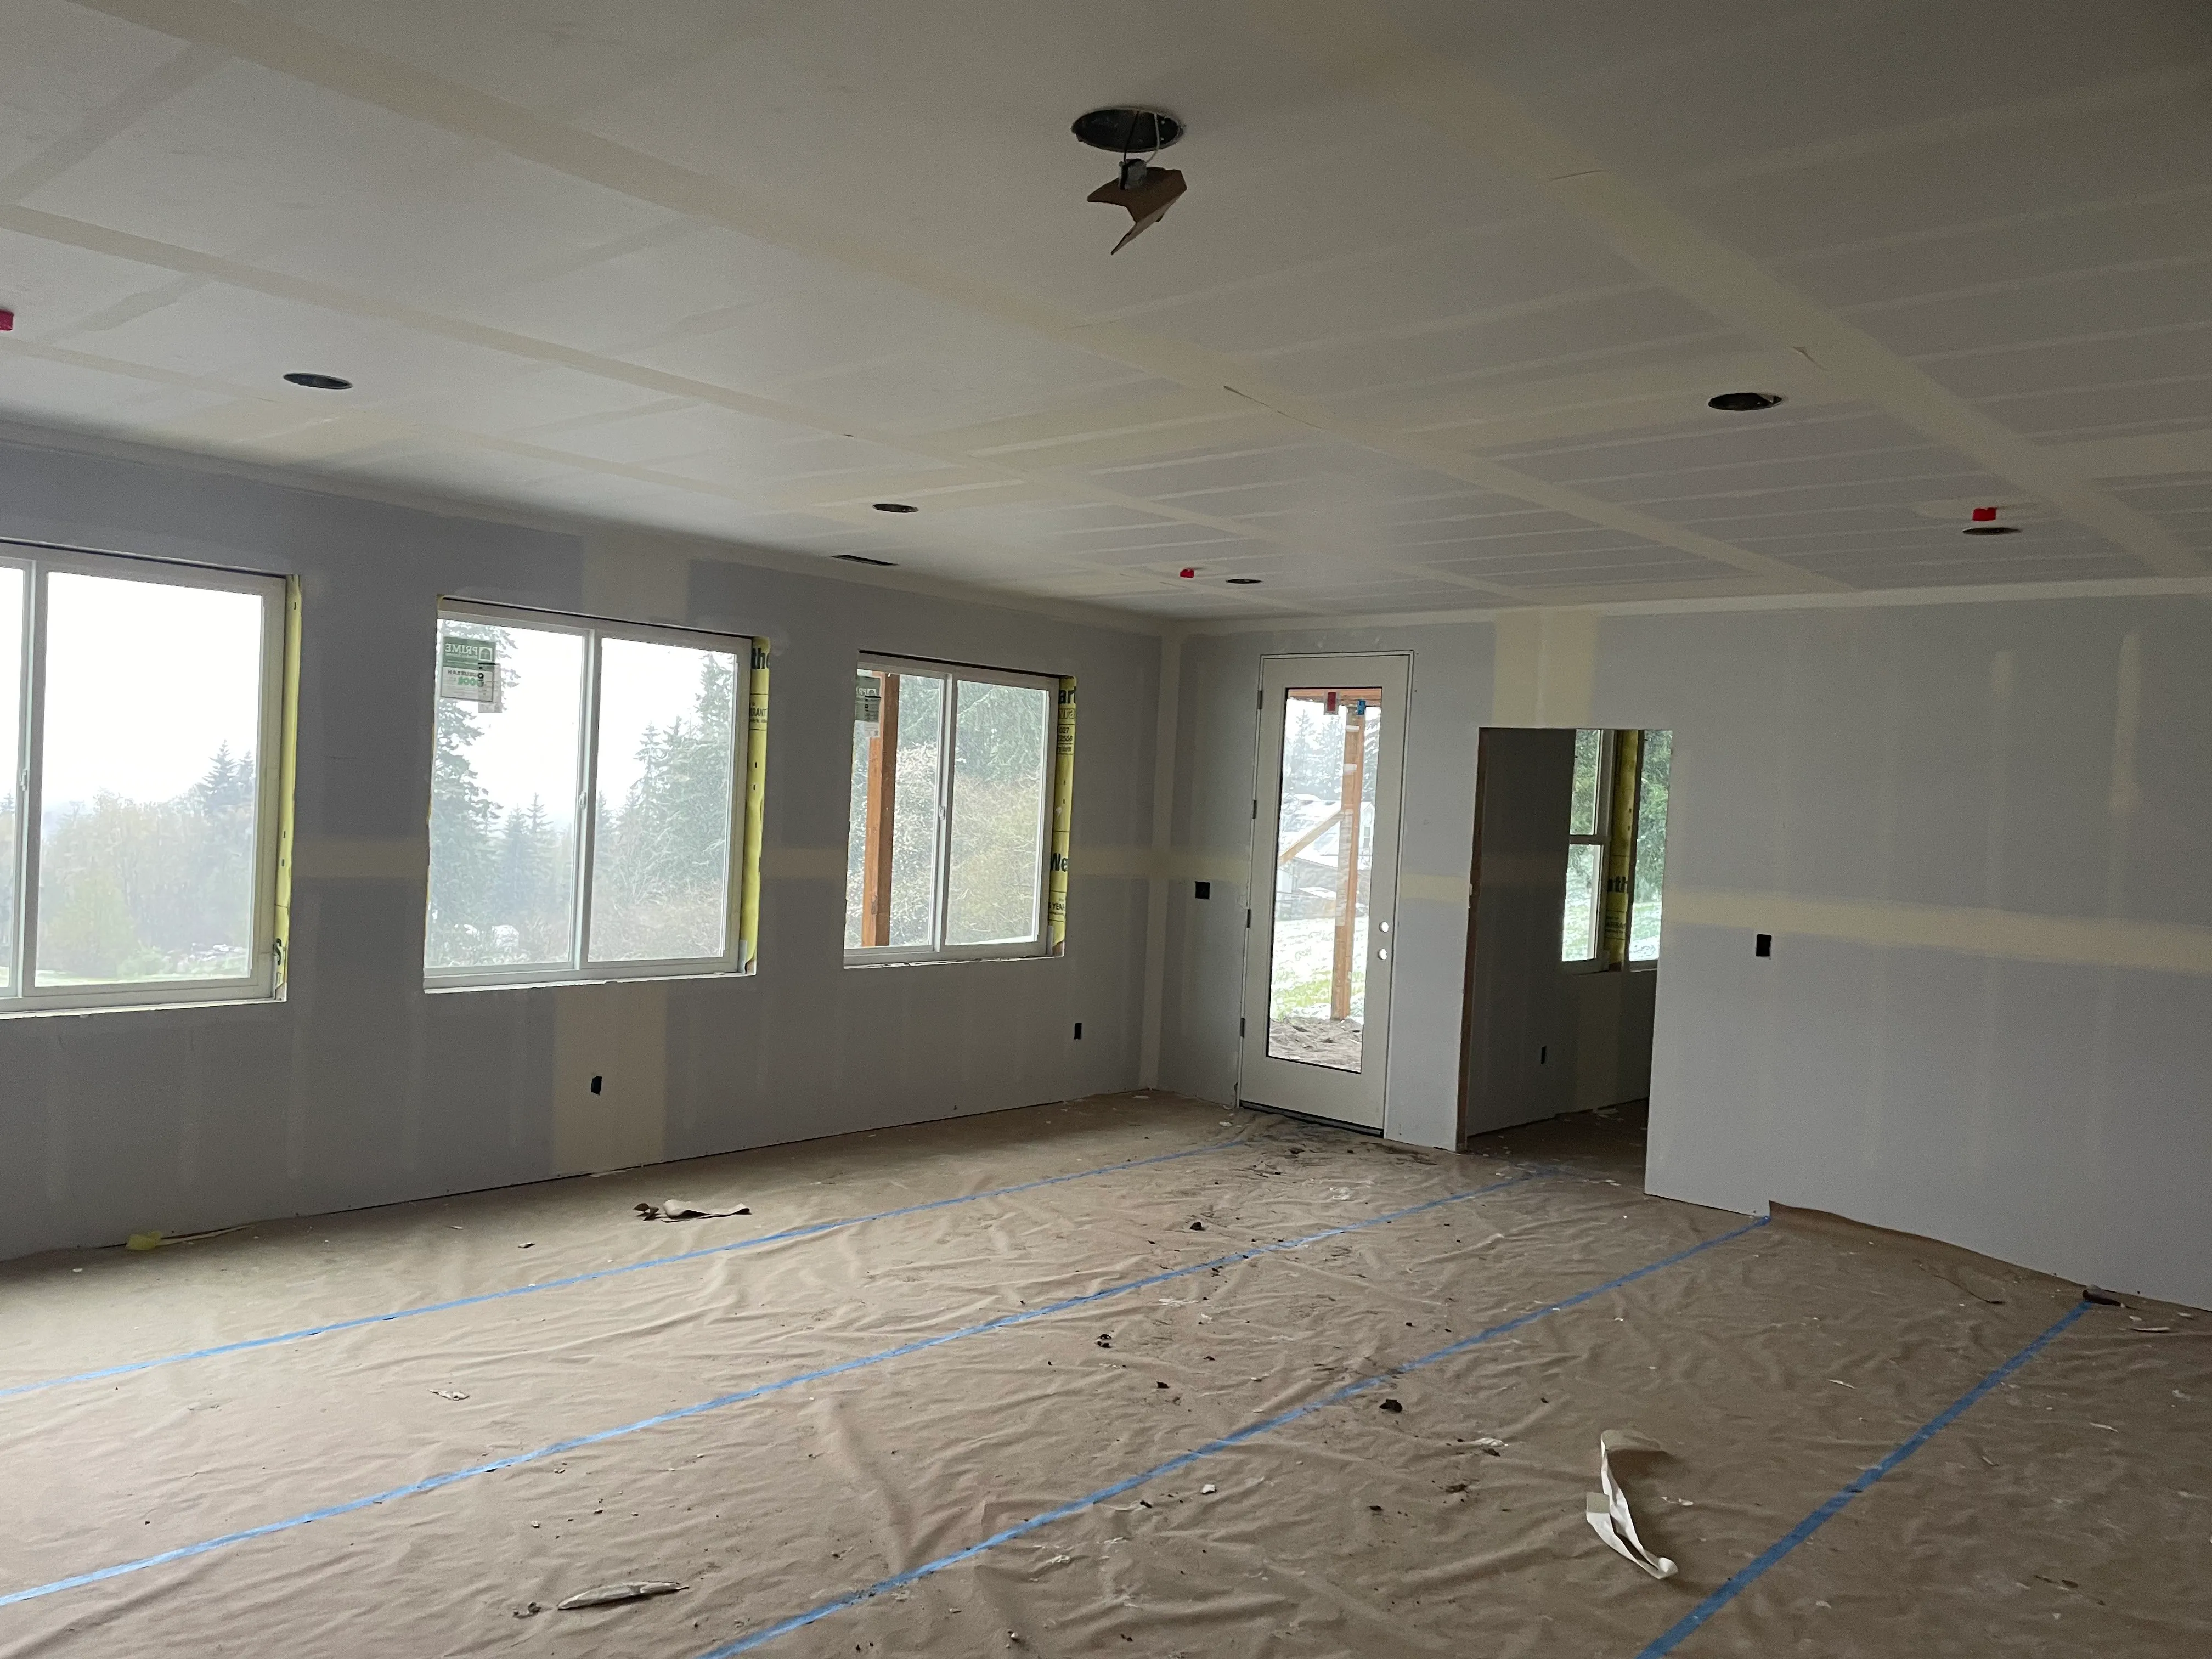
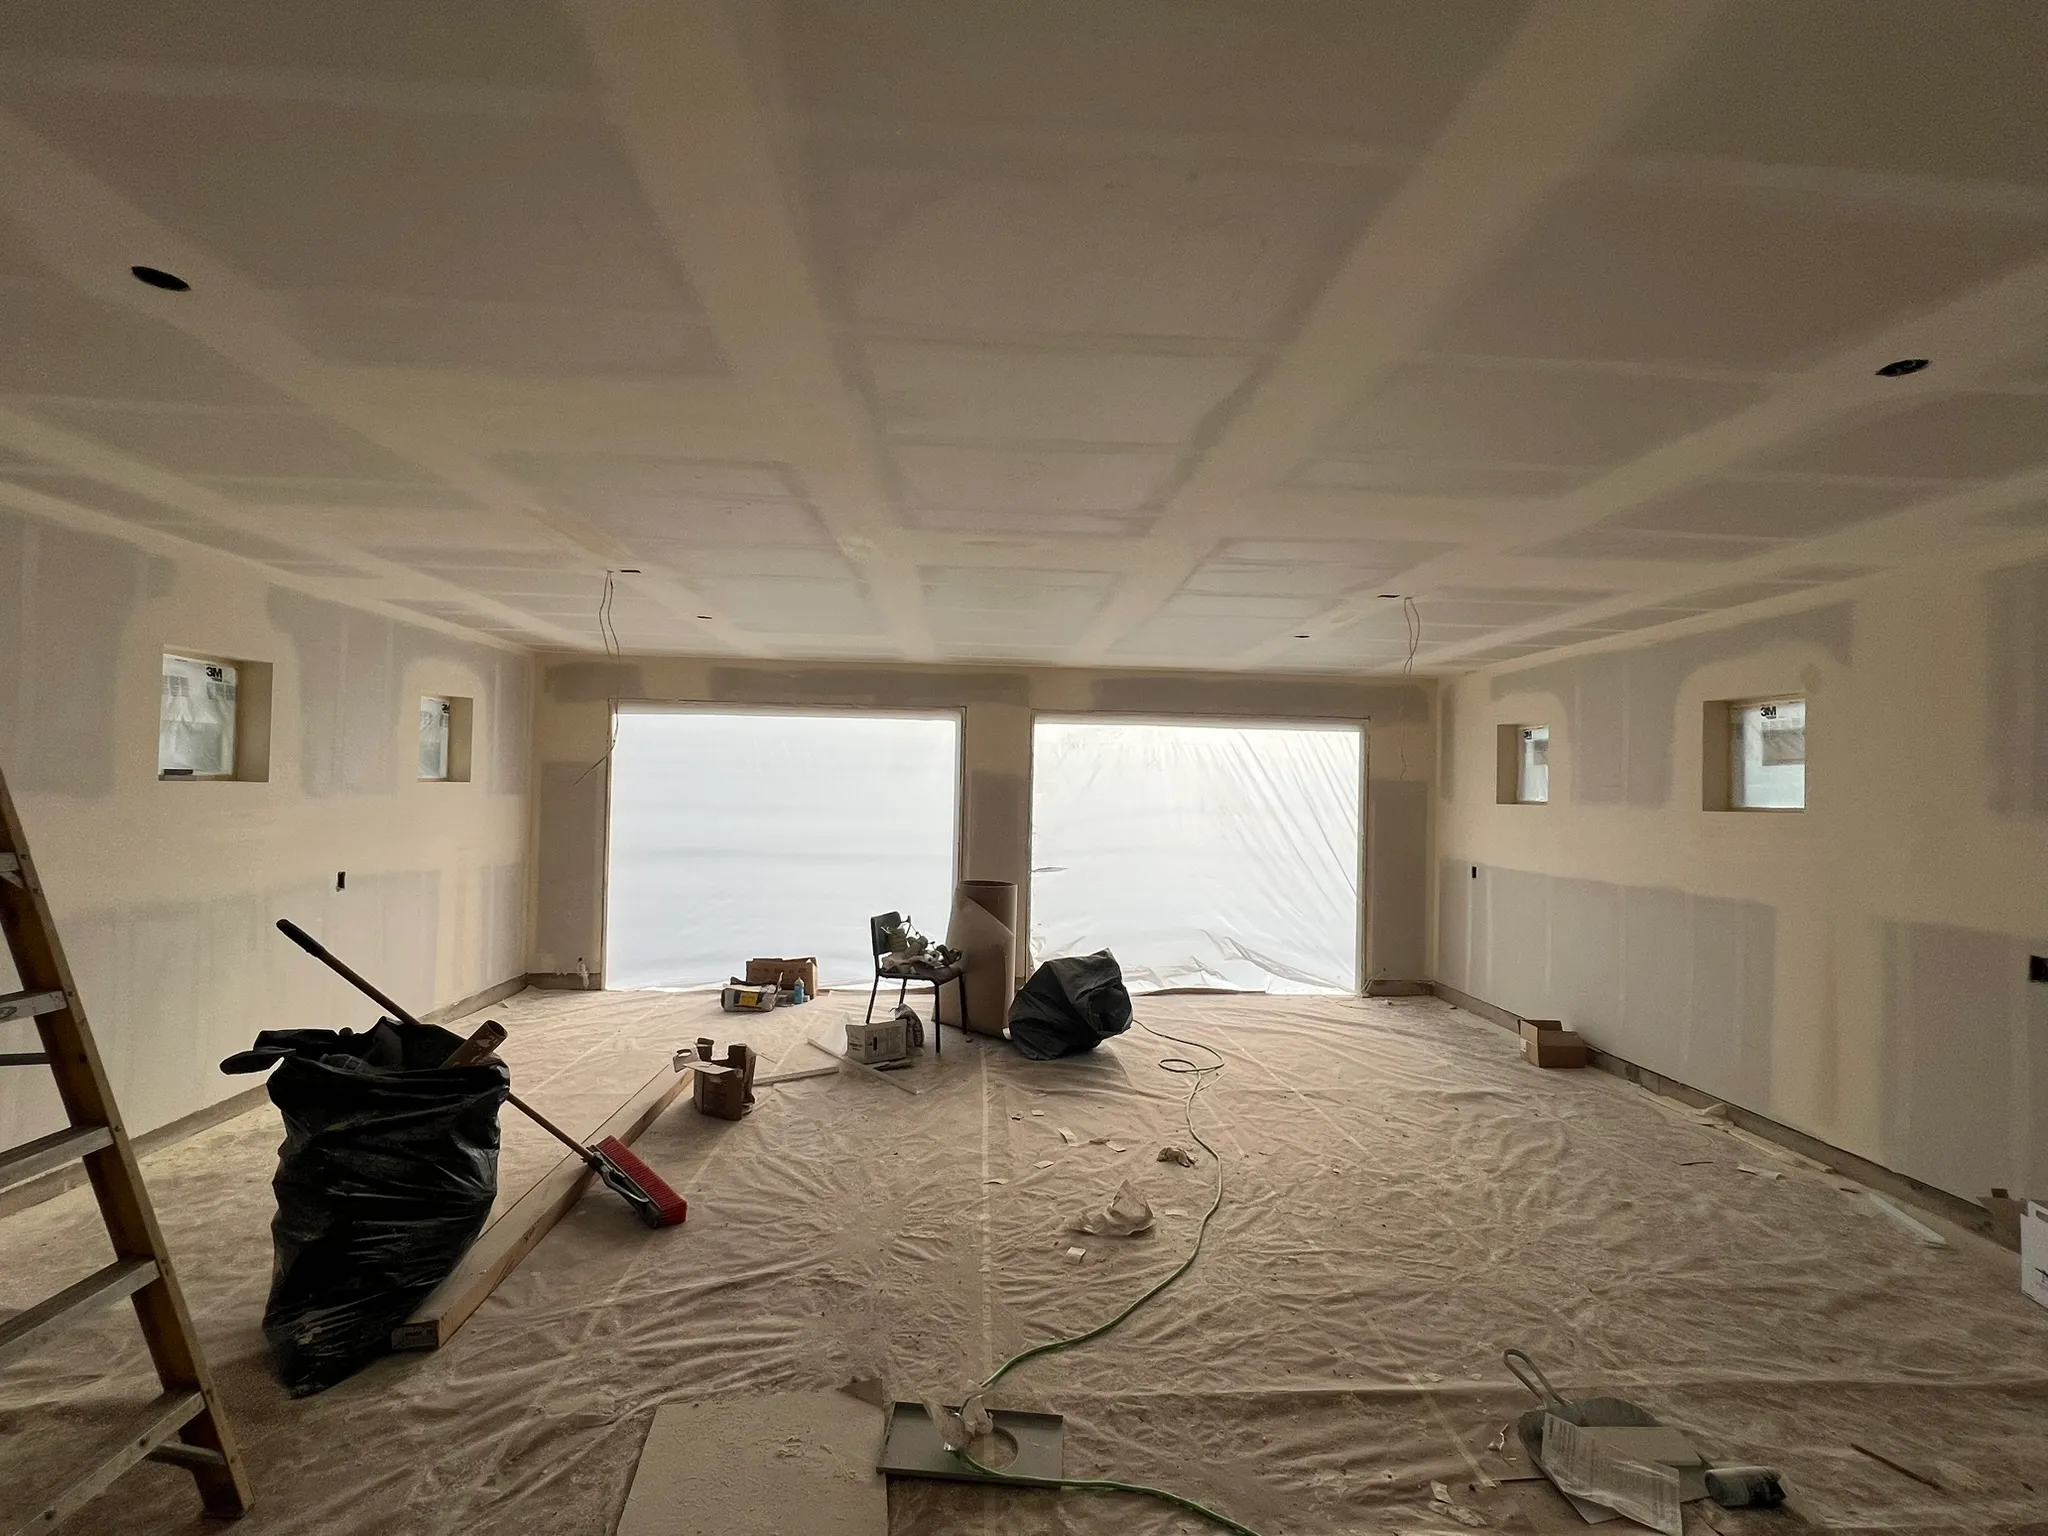
Level 4: Standard residential
Level 4 is the standard for most residential construction and remodels. The joints get taped and receive three coats of compound (or two coats with a wider second coat, depending on the system). Fastener heads get three coats. Everything is sanded smooth and flat. The surface is ready for primer and paint.
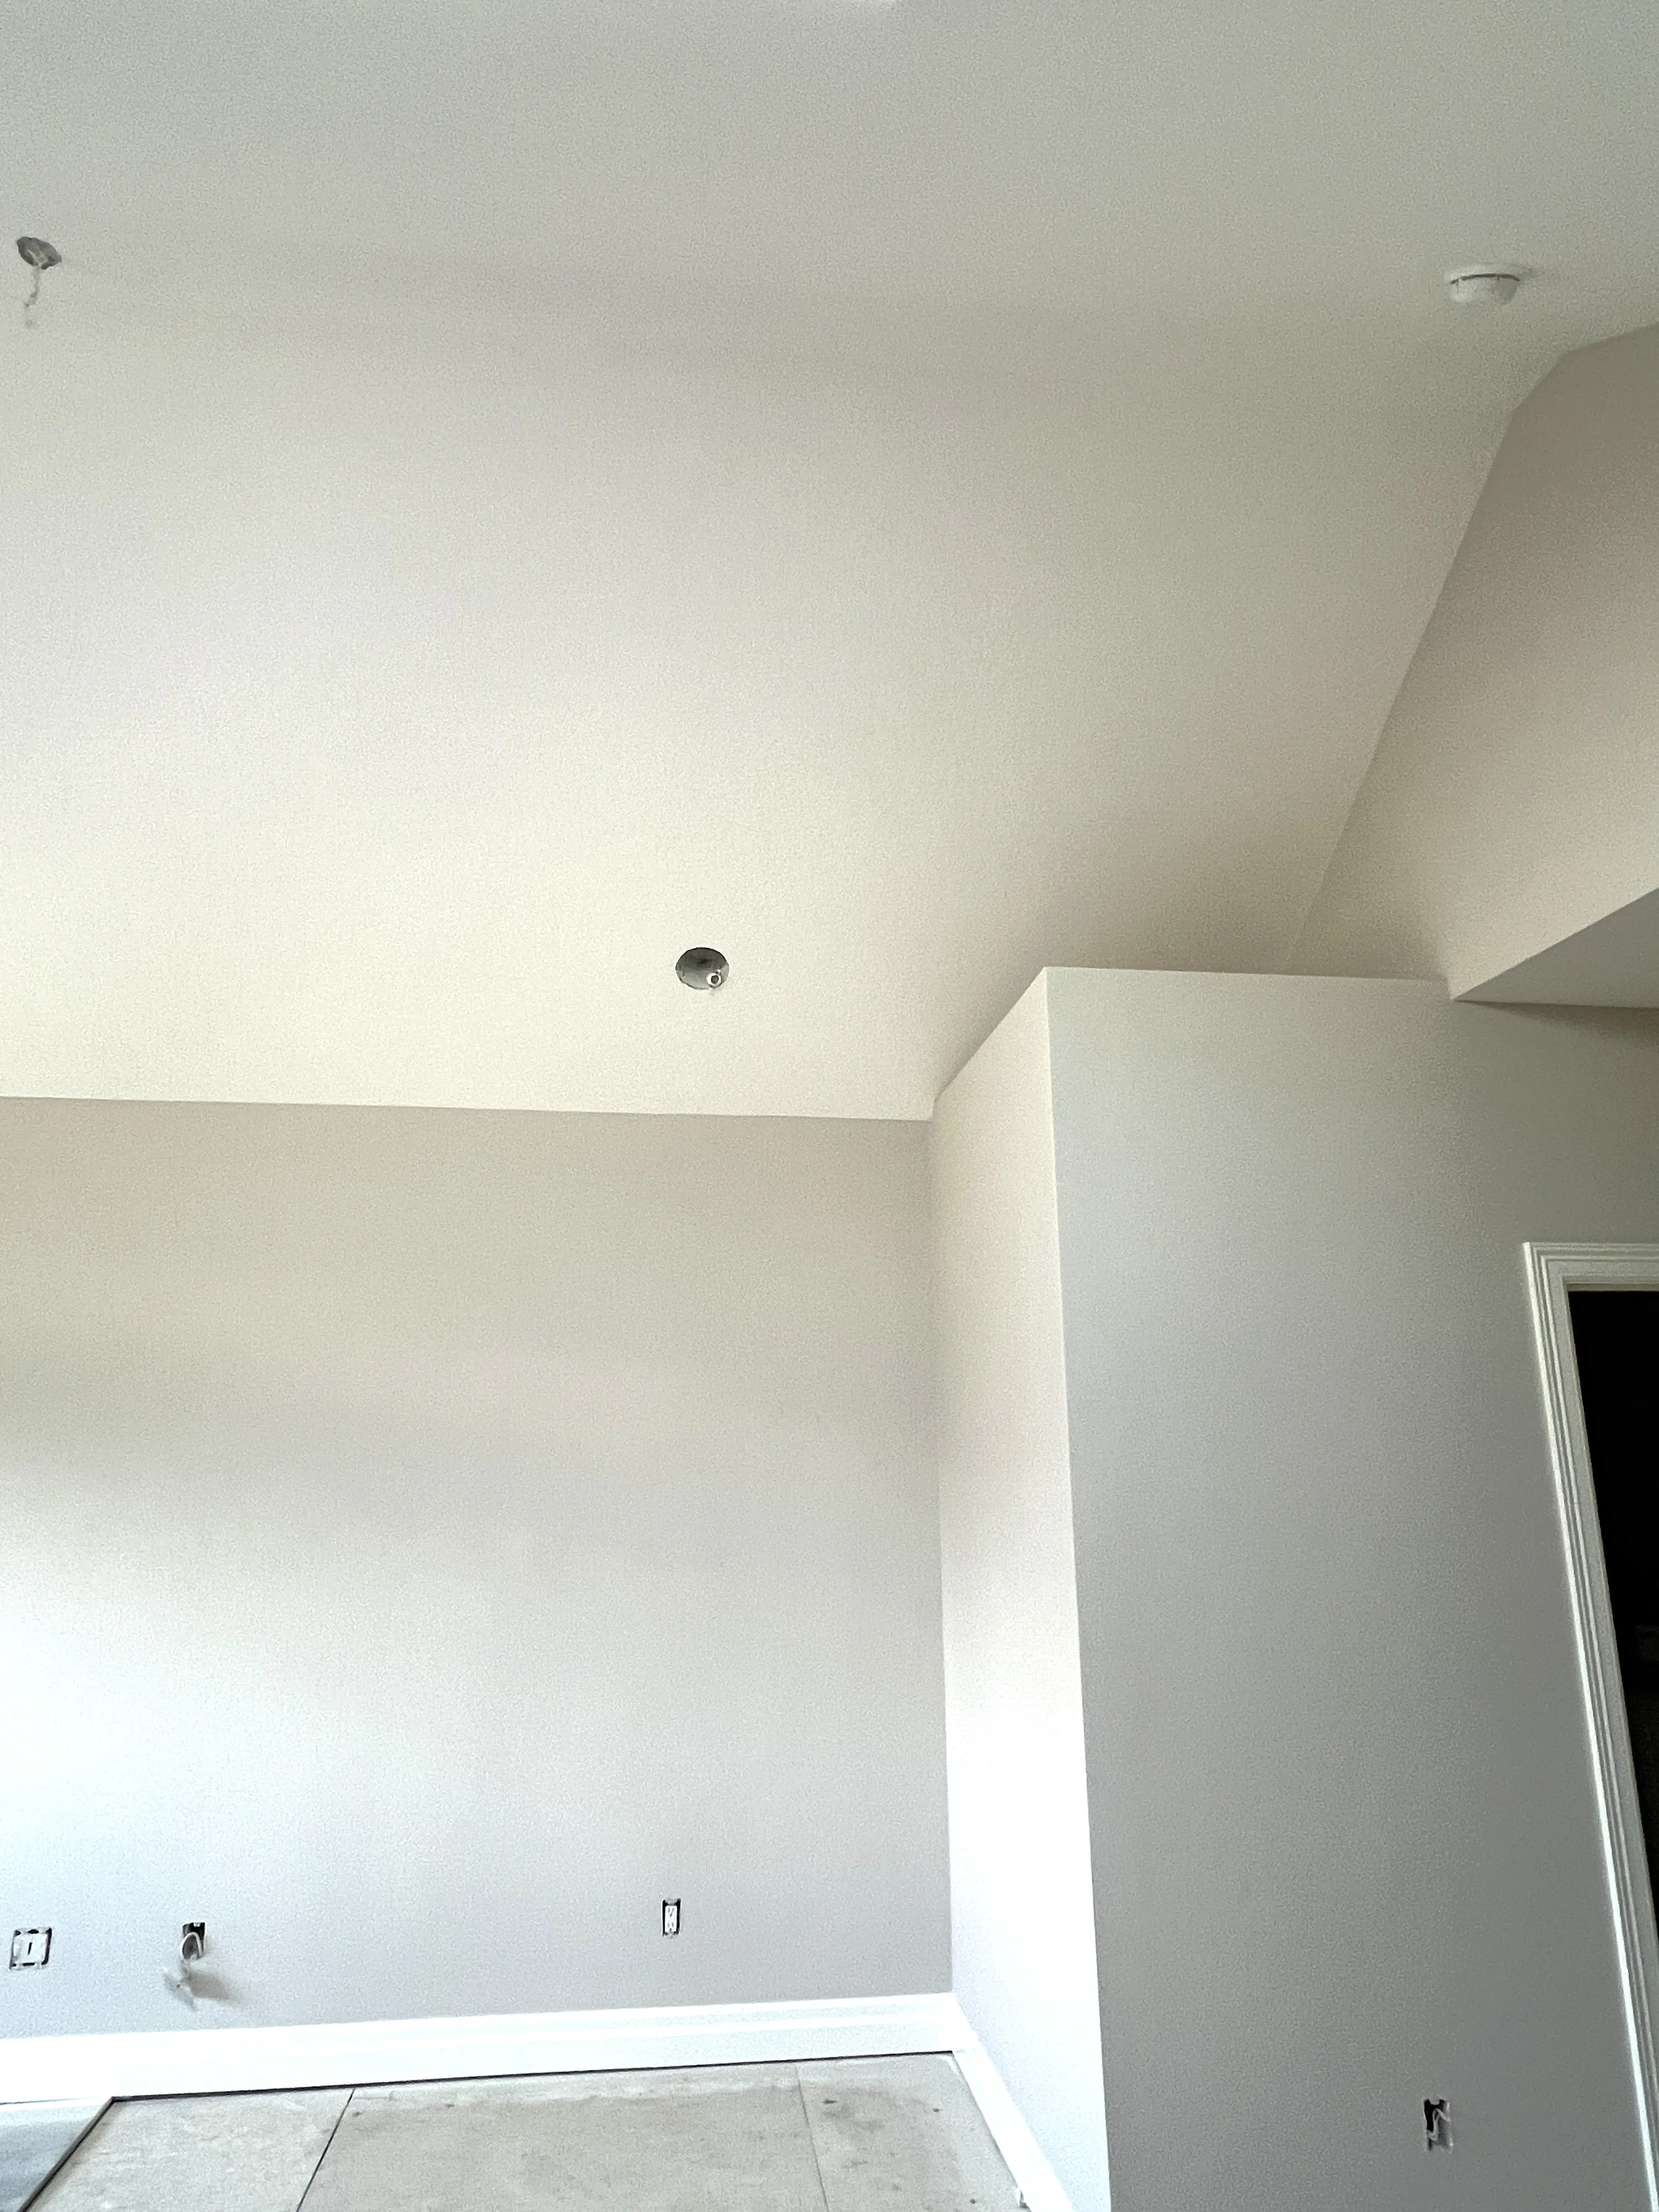
Where it's used: Most bedrooms, living rooms, hallways, kitchens, and bathrooms in residential homes. Level 4 works well under flat, matte, eggshell, and satin paints. It's the go-to for the vast majority of new construction drywall in the Vancouver, WA area.
Cost context: This is the baseline for residential quality. The additional coat of compound and sanding compared to Level 3 adds moderate labor time.
The catch: Level 4 can show joint banding (visible lines where the compound meets the bare board) under certain conditions. High-gloss paint, strong sidelighting, and large flat walls are the usual culprits. If your space has big south-facing windows throwing light across the walls at a low angle, Level 4 might not be enough.
Level 5: Premium smooth
Level 5 is the highest standard. It starts with everything in Level 4, then adds a thin skim coat of joint compound (or a specially formulated Level 5 coating) over the entire surface of every board. This creates a perfectly uniform texture and porosity across the whole wall, eliminating the difference between mudded joints and bare drywall paper.
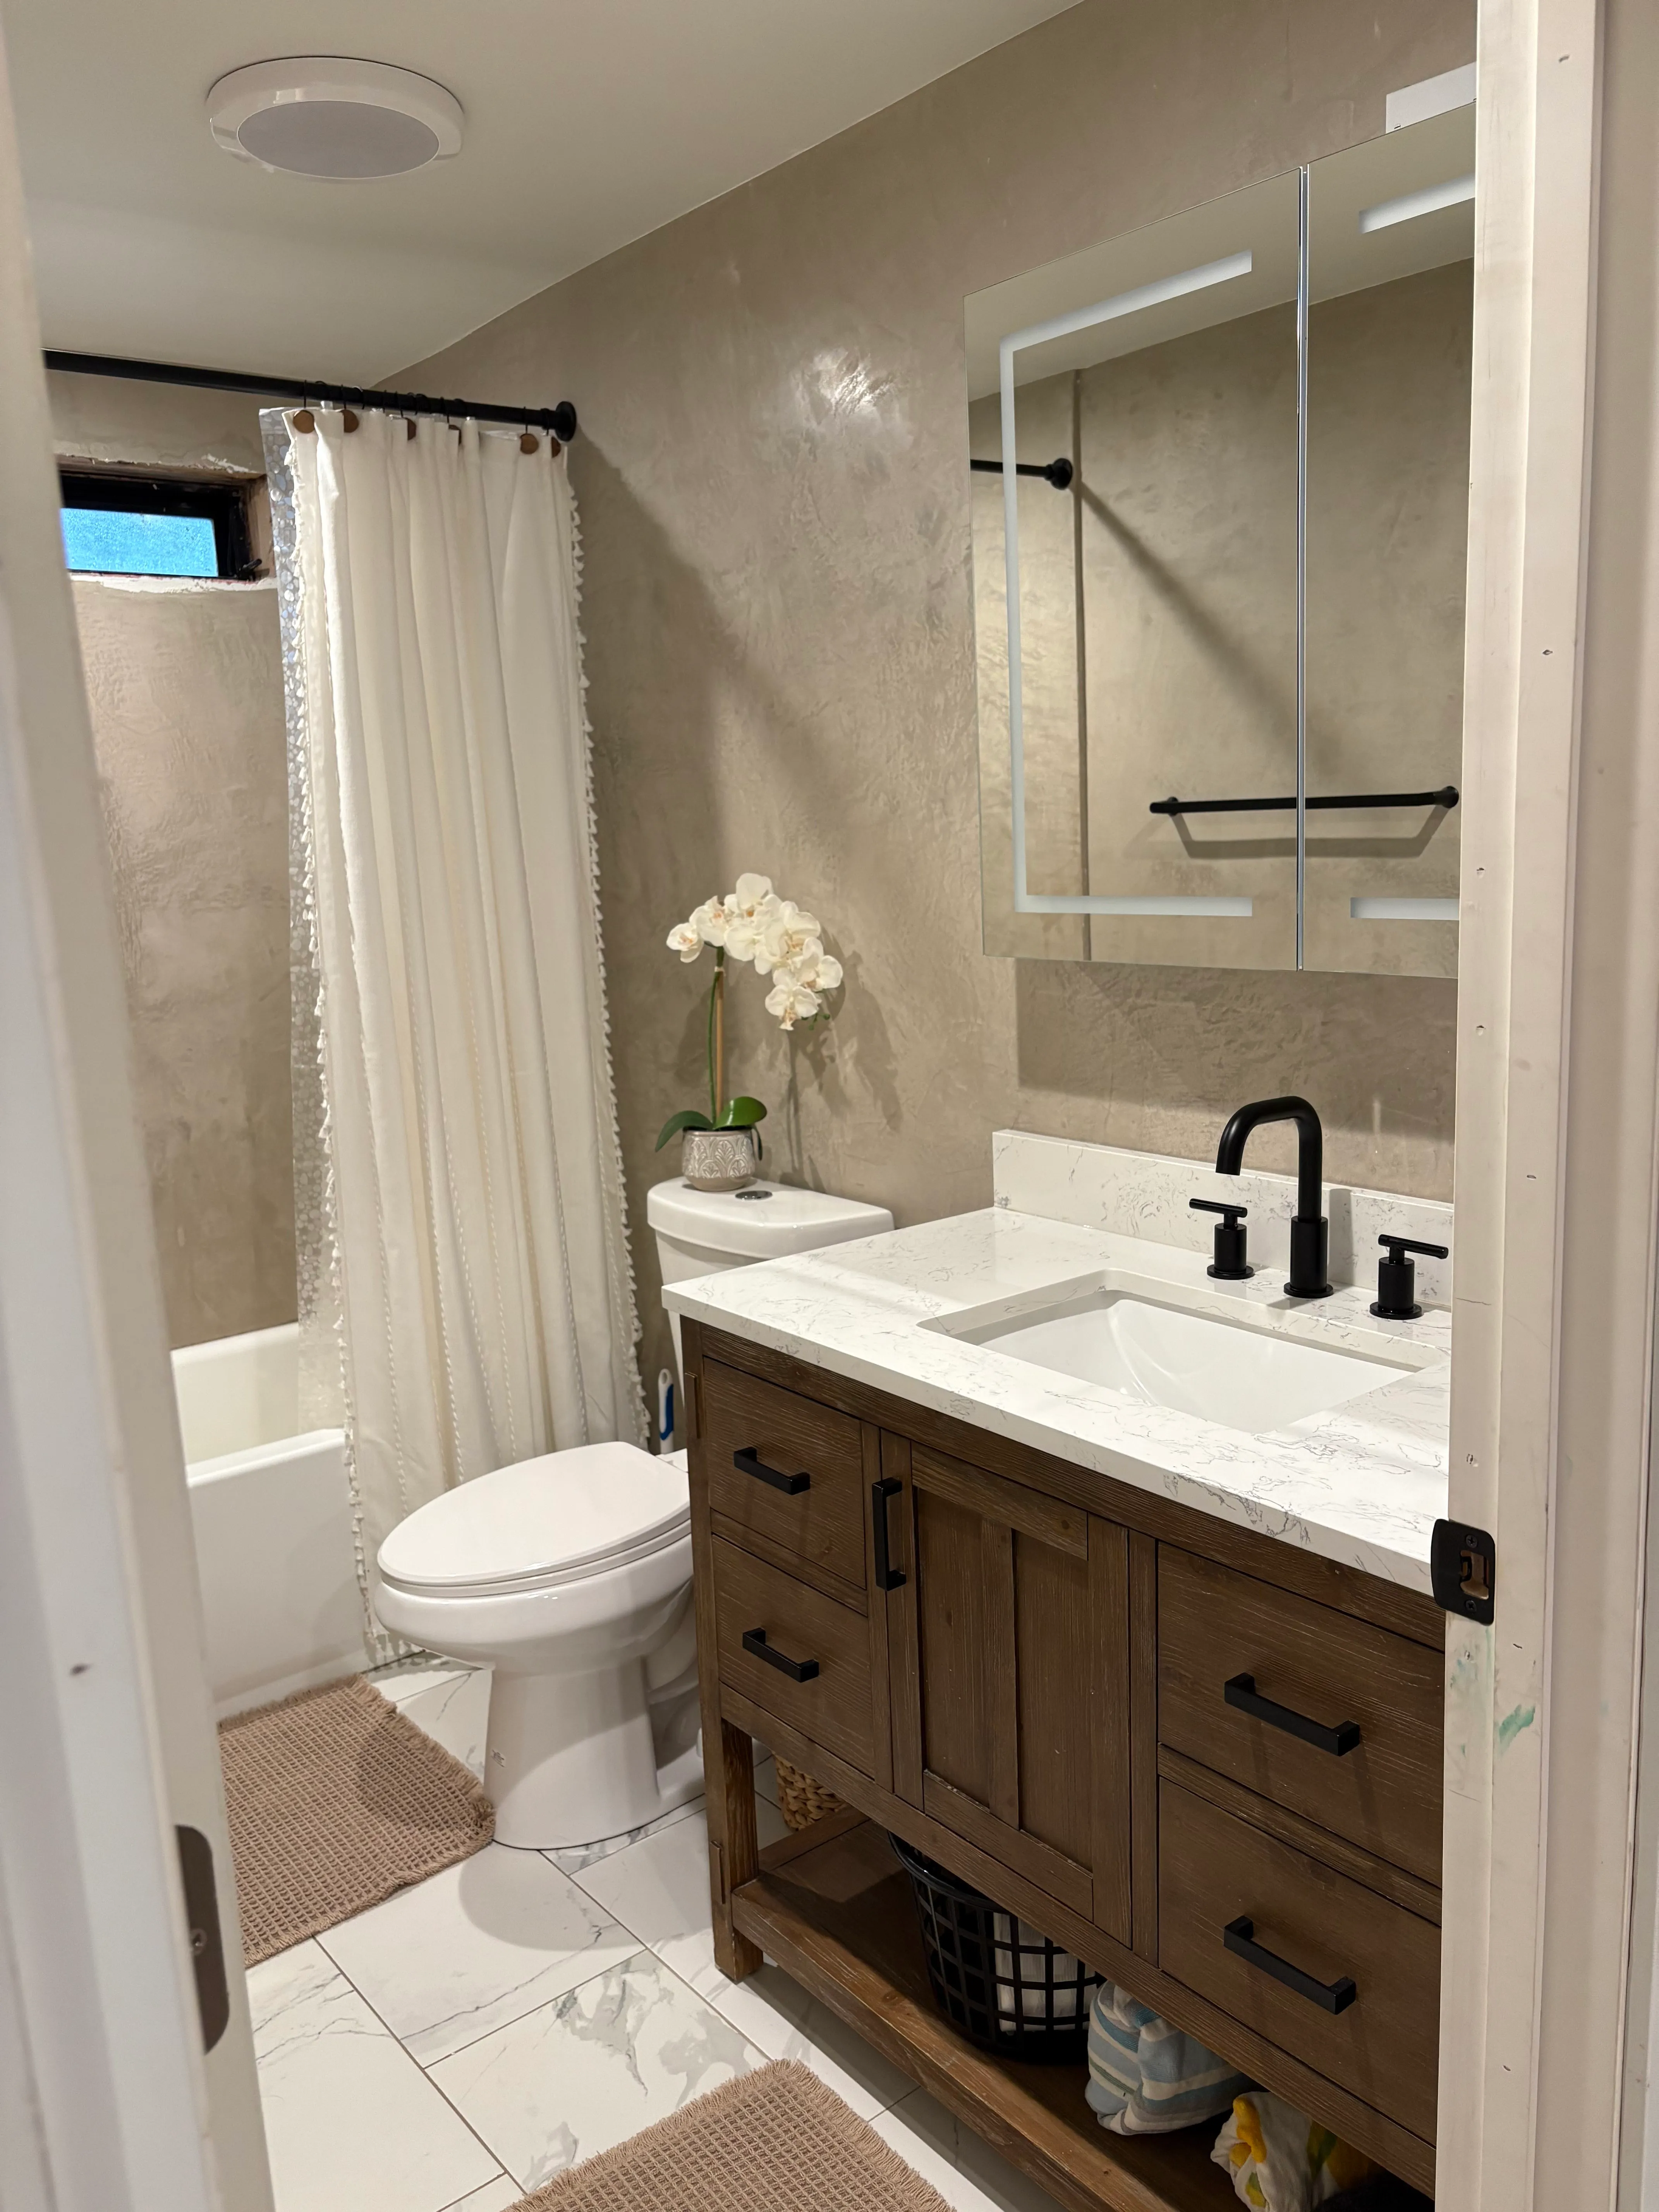
Where it's used: High-end custom homes, feature walls, any surface that will receive gloss or semi-gloss paint, walls under critical lighting conditions, and surfaces that will be finished with decorative plaster or Fresco Harmony. If you want your walls to look absolutely flawless, Level 5 is the way to get there.
Cost context: The most expensive finish level. The skim coat adds significant labor because every square foot of wall and ceiling surface gets coated, not just the joints. Expect the finishing portion of your drywall cost to increase noticeably compared to Level 4.
Level 5 is not always necessary, but when it is, nothing else will do. We recommend it for any room where the paint sheen will be semi-gloss or higher, where large windows create harsh sidelighting, or where decorative plaster finishes are planned.
Which level does your project need?
Here's a practical breakdown based on the type of project:
New construction, standard spec: Level 4 on all living spaces. Level 2 in the garage. Level 1 in attic spaces or above drop ceilings if required by code.
New construction, custom or high-end: Level 5 on main living areas, especially open-concept spaces with lots of natural light. Level 4 on secondary rooms, closets, and utility spaces. Level 2 in the garage.
Kitchen or bathroom remodel: Level 4 for painted walls. Level 2 or 3 behind tile. If you're doing a feature wall with decorative plaster, Level 5 on that wall.
Garage conversion or ADU: Level 4 minimum since it's now living space. Level 3 if you're applying a heavy texture.
Rental property: Level 4 is the standard. It holds up well, looks clean, and is easy to repaint between tenants. Level 3 with texture is also common and can be more forgiving for minor wall damage.
Decorative plaster or Fresco Harmony: Level 5, no exceptions. These finishes are thin and translucent, and they show every imperfection underneath.
If you're not sure which level your project needs, that's a normal question to ask your drywall contractor. At AvilaCo, when we bid a drywall installation in Clark County, we talk through the finish level with you based on what the walls will look like when they're done. The right level depends on your paint, your lighting, your texture plans, and your budget. Check our FAQ page for more common questions, or reach out and we'll walk through it with you.